When the rumors began that our Hope might be going on tour, I knew right away that I wanted to make as many bookmarks as possible on the slight chance we’d be able to go. It was a good thing we grabbed tickets. Because by the time ticketing happened I’d already made two dozen of these Hope on the Street bookmarks!
With the simulcast of j-hope’s concert in Japan coming up, I thought this would be a great time to share the pattern for these guys.
Before you get started — if you haven’t read my post about everything you need to know before making your own felt bookmarks, head on over there. In it, I detail all the tools I use, the type of stitches you can expect to see, and more.
And if you want to read about my adventure into bookmark-making, you can check that out here.
Downloadable patterns & guide
When I started brainstorming for a bookmark for HOS there were few things I wanted out of it. It needed to be simple enough to make a bunch in a short time and it needed to have a lot of variety.
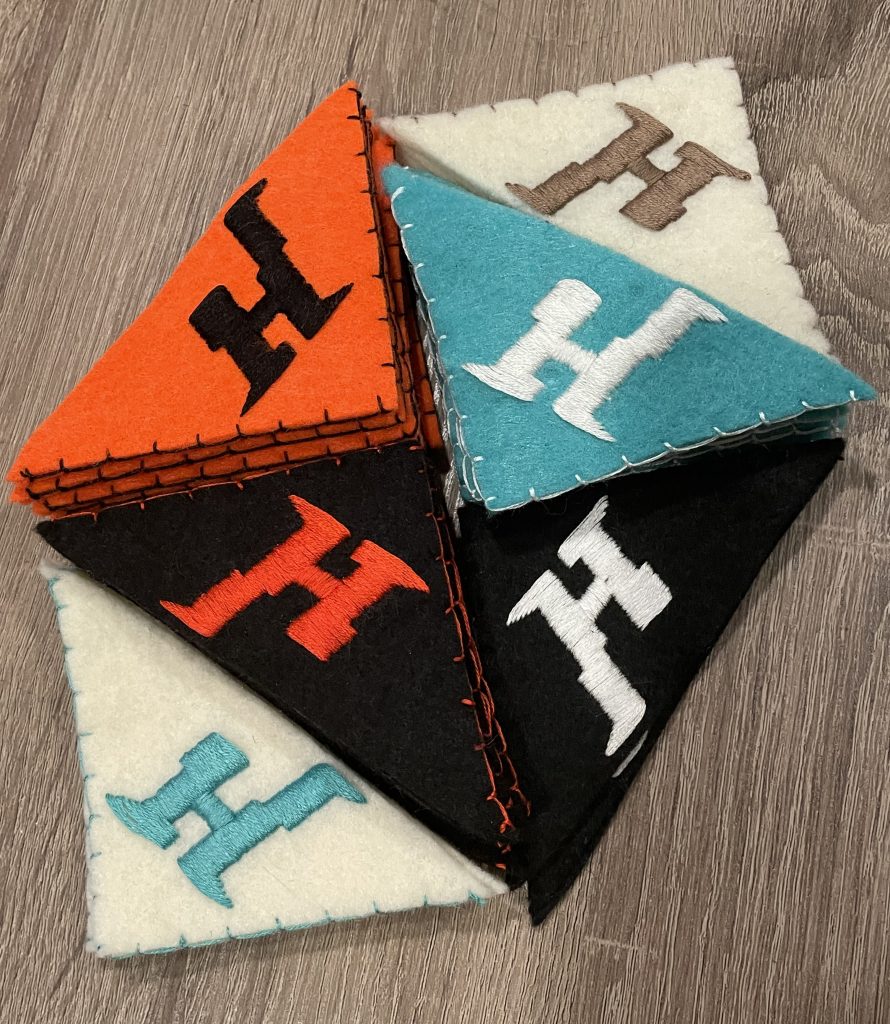
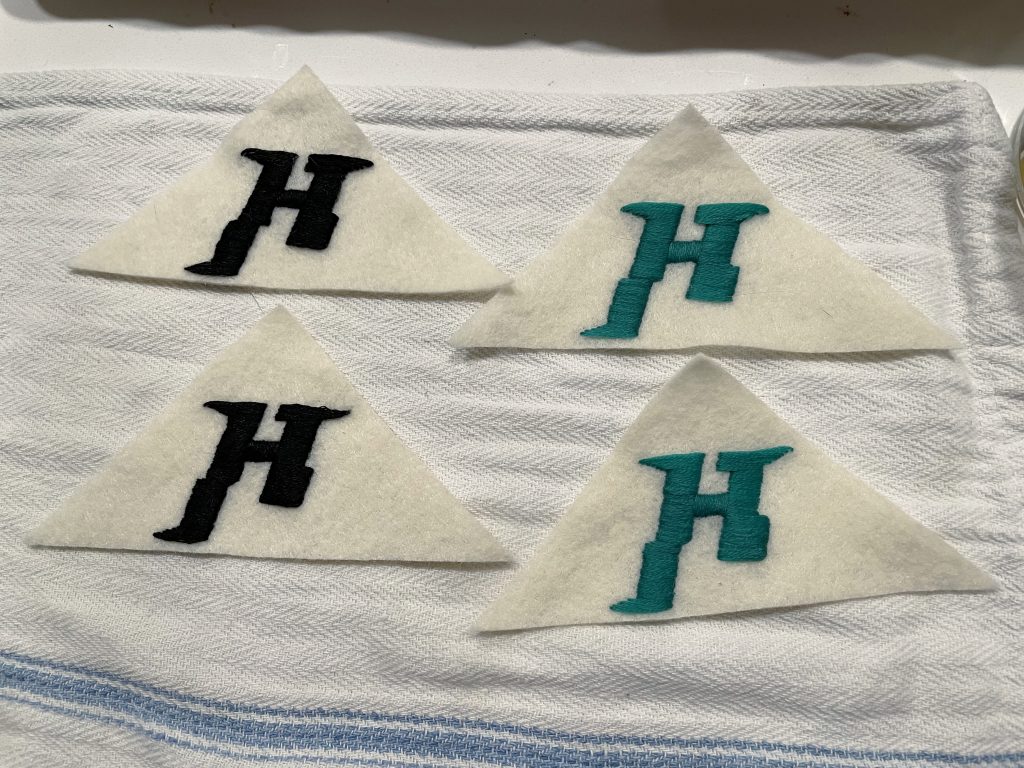
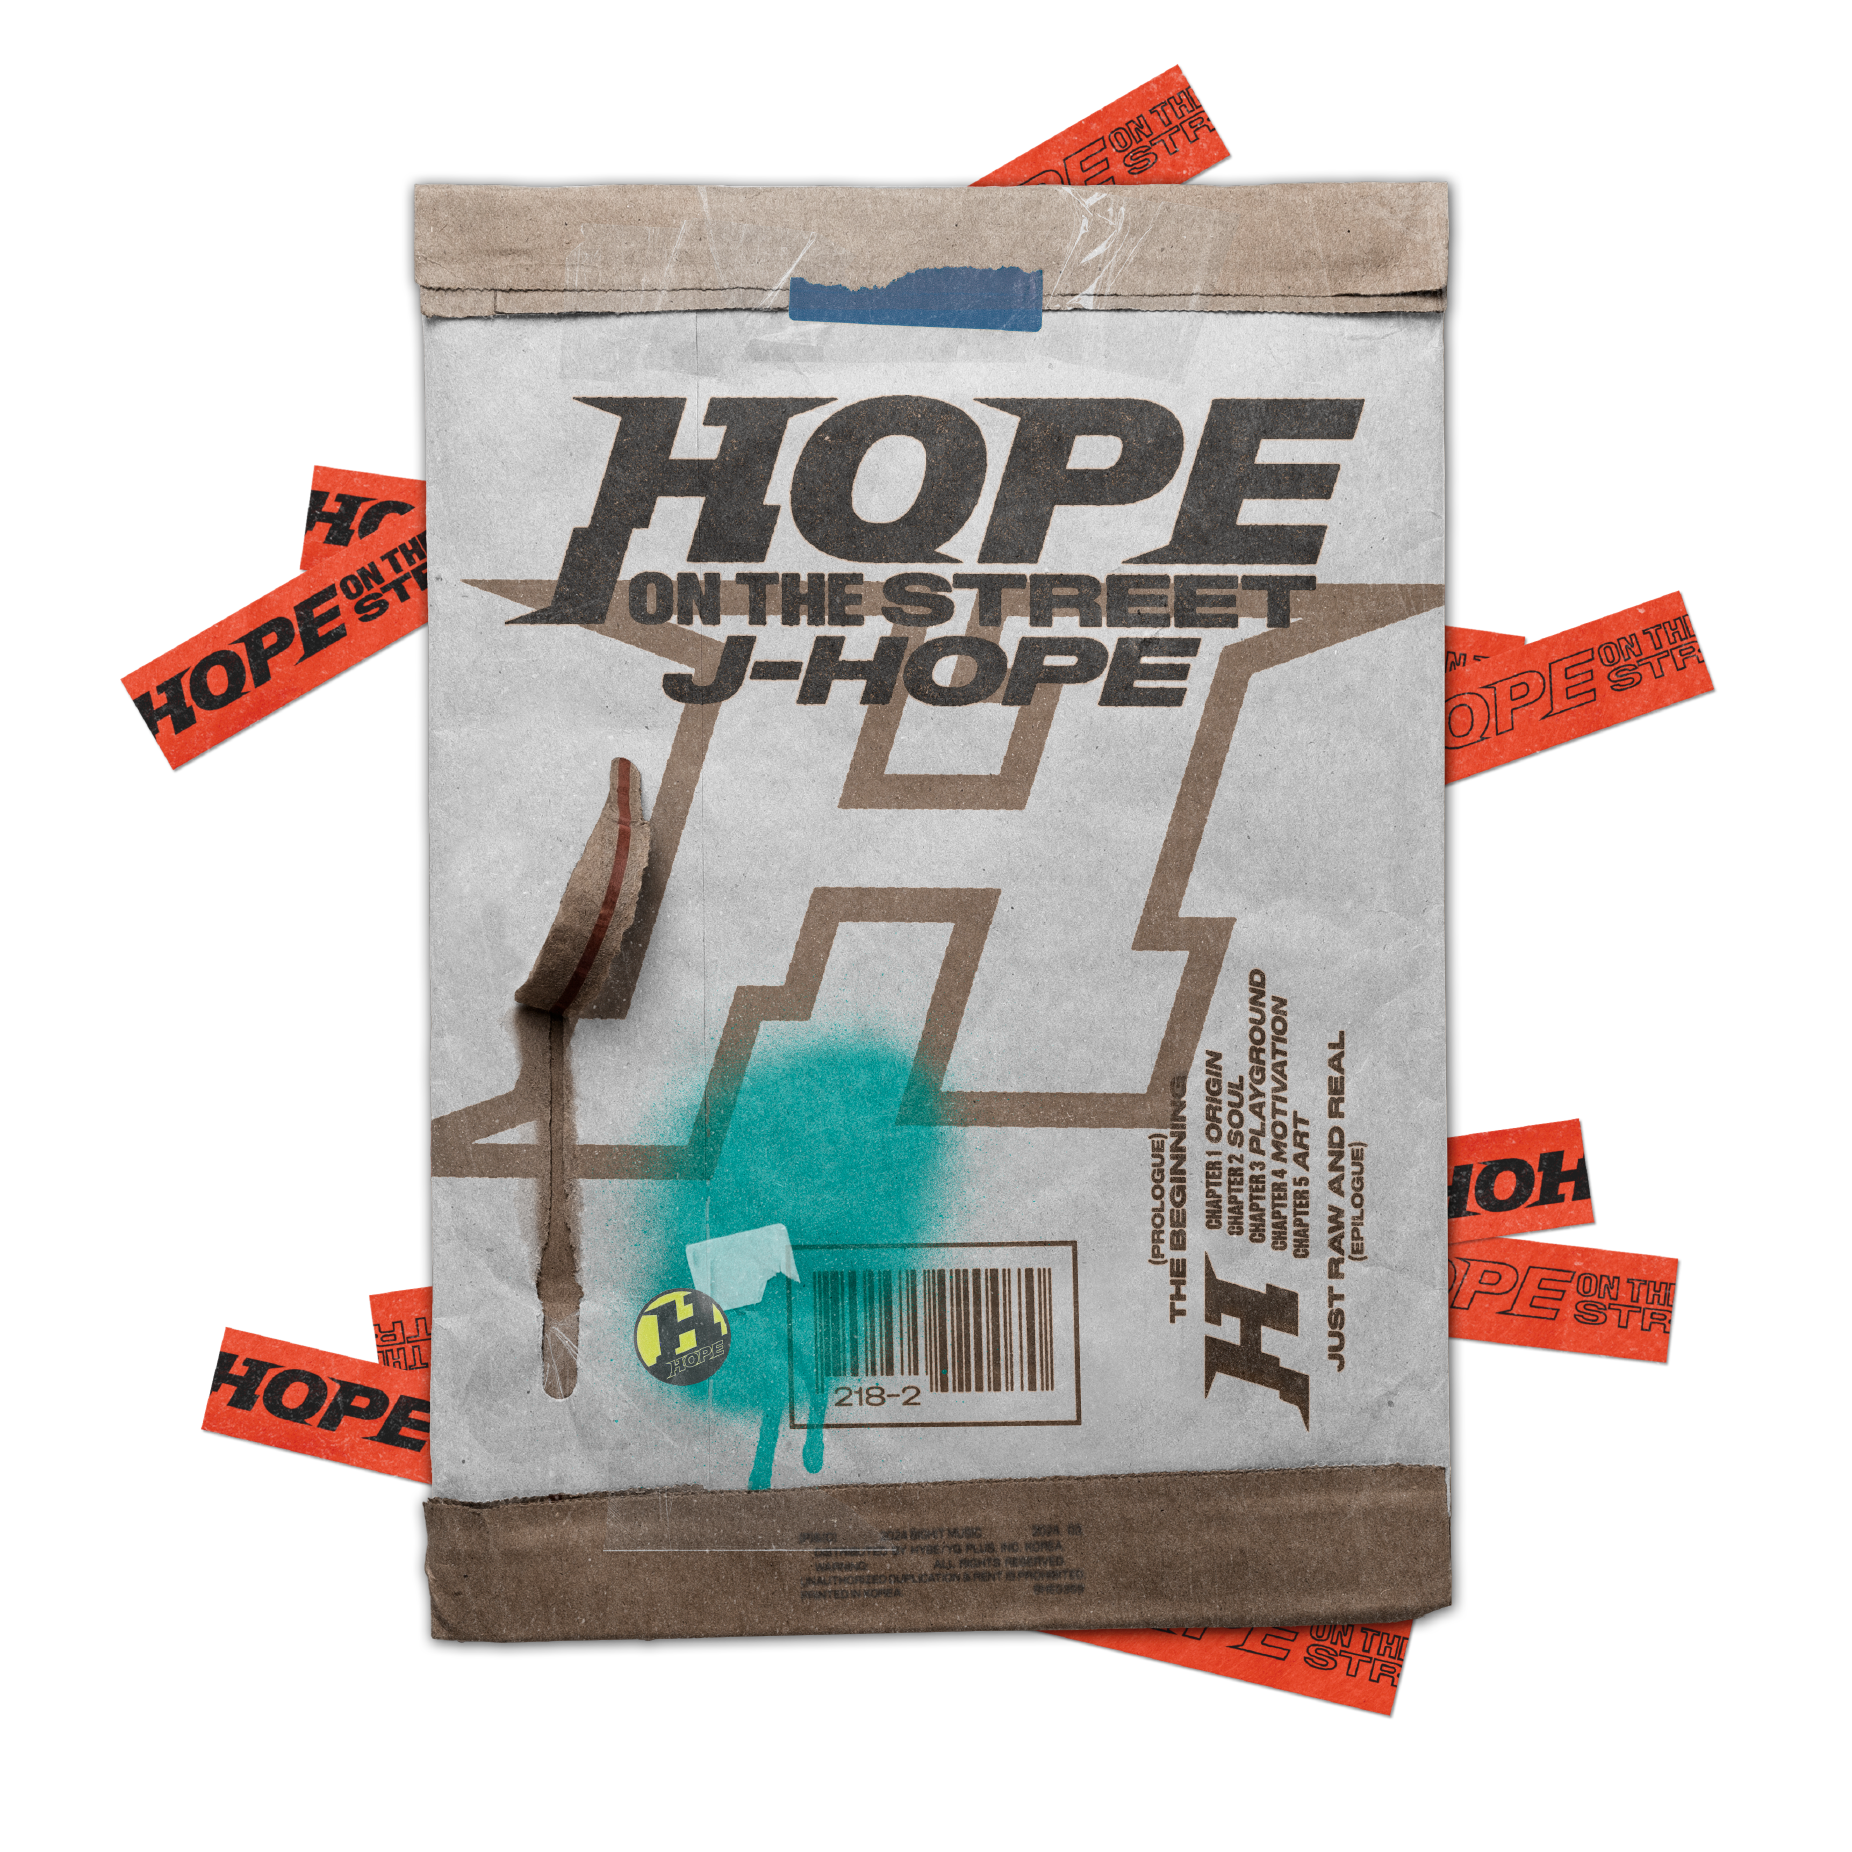
At first, I thought I wanted to copy the way the Hope looked from the Hope on the Street album. However, after making several designs, I’ve discovered that I do not enjoy embroidering words. (My Indigo bookmarks are what broke me but that’s for another time.) So, I thought a compromise could be made by only taking the H, like the front of the varsity jacket merch from that era.
As for color choices, I used the Hope on the Street albums and merch as inspiration. Each of the bookmarks are a color combination from the album versions, from that varsity jacket or this promotional image from BigHit.
I’ve provided several files here so you can make your own Hope on the Street-inspired bookmark. First, a color and stitch guide in PDF form. Then, several file variations of the pattern so you can download and use it how you want. I included both a singular H pattern and one with two H’s in case you want to do two variations on one color of felt.
XCF files are specifically for Gimp, where you can edit how you please. Jpegs and PDFs are used anywhere.


Hope on the Street bookmark step-by-step
This Hope on the Street bookmark is fairly simple and super beginner friendly. If you’d like more information in addition to the guide, I’ll go through my process here.
Materials
- One of the patterns provided
- DMC embroidery floss in the colors you chose. To color match to another brand, you can use this website. Or you can use this website to convert the thread color to RGB values to find the closest match in another brand.
- A transfer method. I use wash-away stick ‘n stitch for all my bookmark projects.
- If you go this route you will need a printer and scissors. I like to sew my pattern on for extra sturdiness. You will need extra floss if you would like to go that route as well.
- To wash away the pattern, you will also need warm water. (I also use a bowl and a metal chopstick)
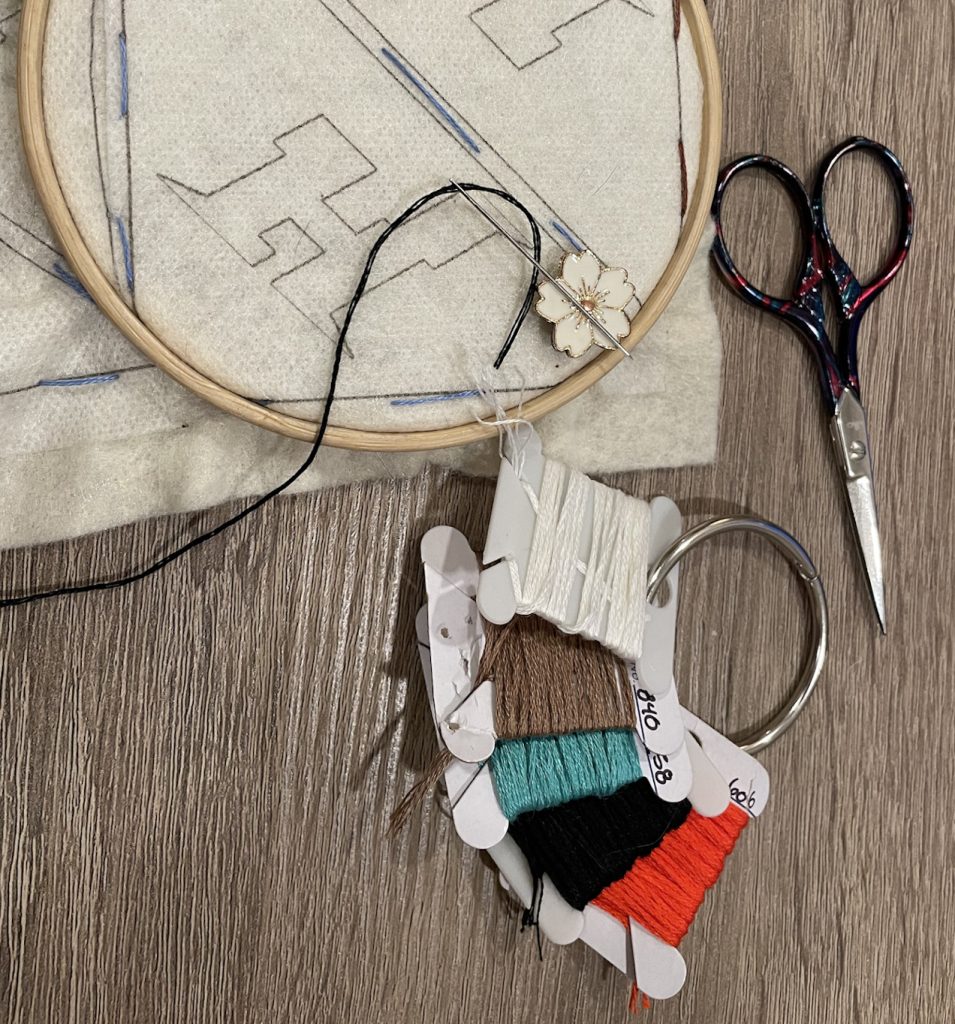
- Medium-sized needles (5 or 6).
- Embroidery scissors (or any small scissors) & fabric scissors
- An, at least, 4-inch hoop, if you want to use a hoop.
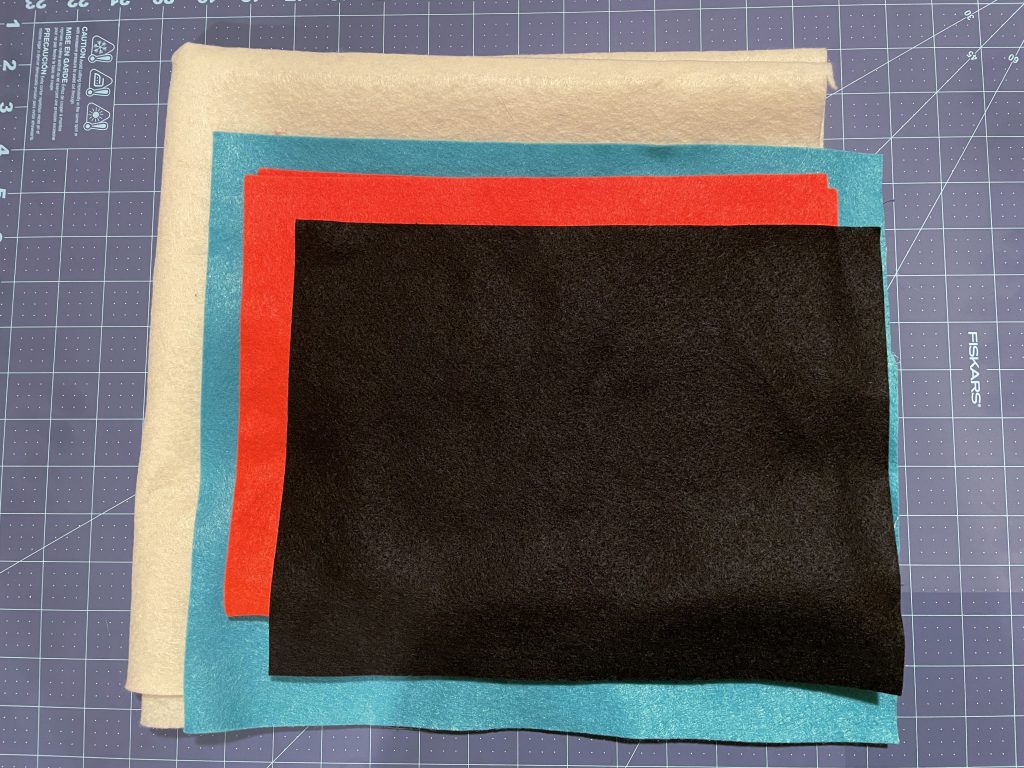
- At least a 4-inch x 4-inch piece of felt in your chosen color.
Color matching felt can be really frustrating, since dying is inconsistent between batches. If you have them, I took the tag inclusions from the HOTS albums in with me to the craft store to color match and found that effective. Otherwise, a reddish orange, a minty teal, or a standard black will all work. I like off-white felts for my projects more than a stark white.
Feel free to check out my Golden bookmark tutorial and scroll down to ‘getting started‘ for a more detailed step-by-step of my bookmark prep process.
Getting Stitching
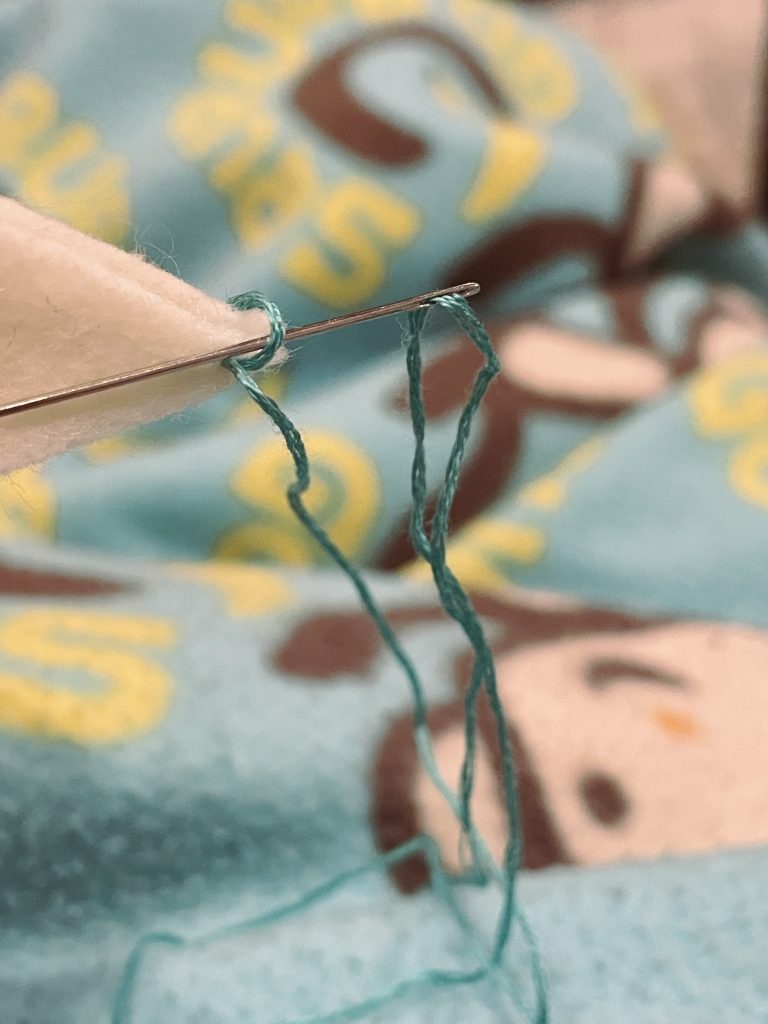
Once you’ve chosen your felt and floss combination from the PDF guide, cut off a length of floss. Divide your floss in half so that you have three strands. Thread your needle, and then double-knot the other end. I highly suggest double-knotting for extra security.
The whole bookmark is done in a single color with a satin stitch.
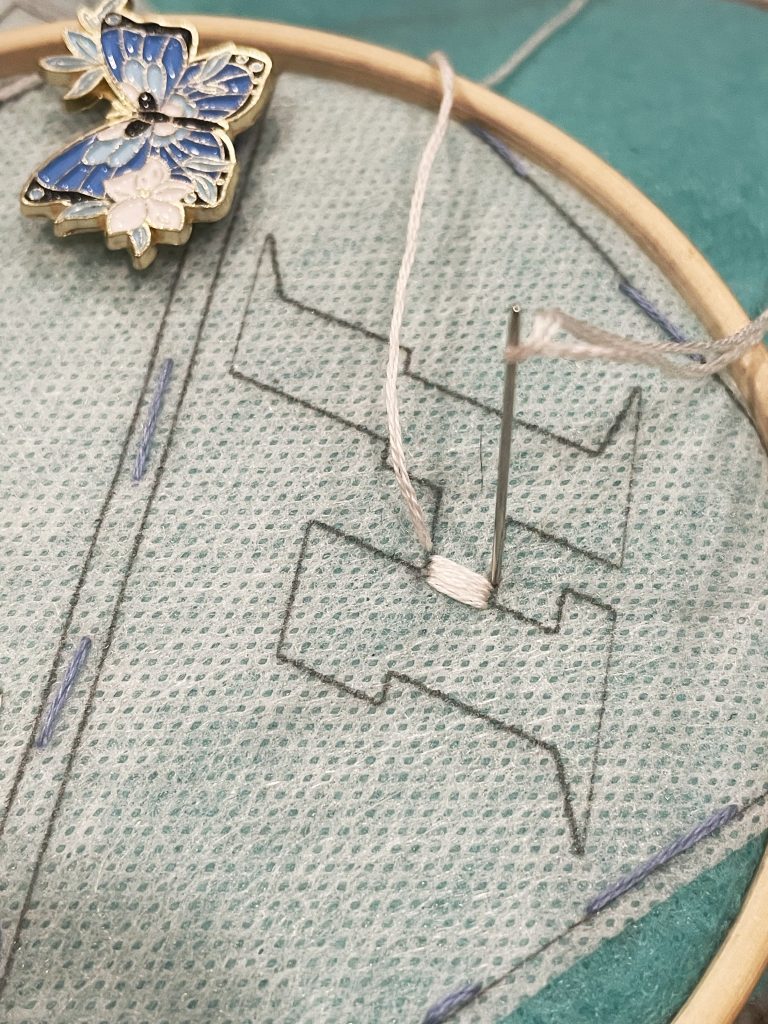
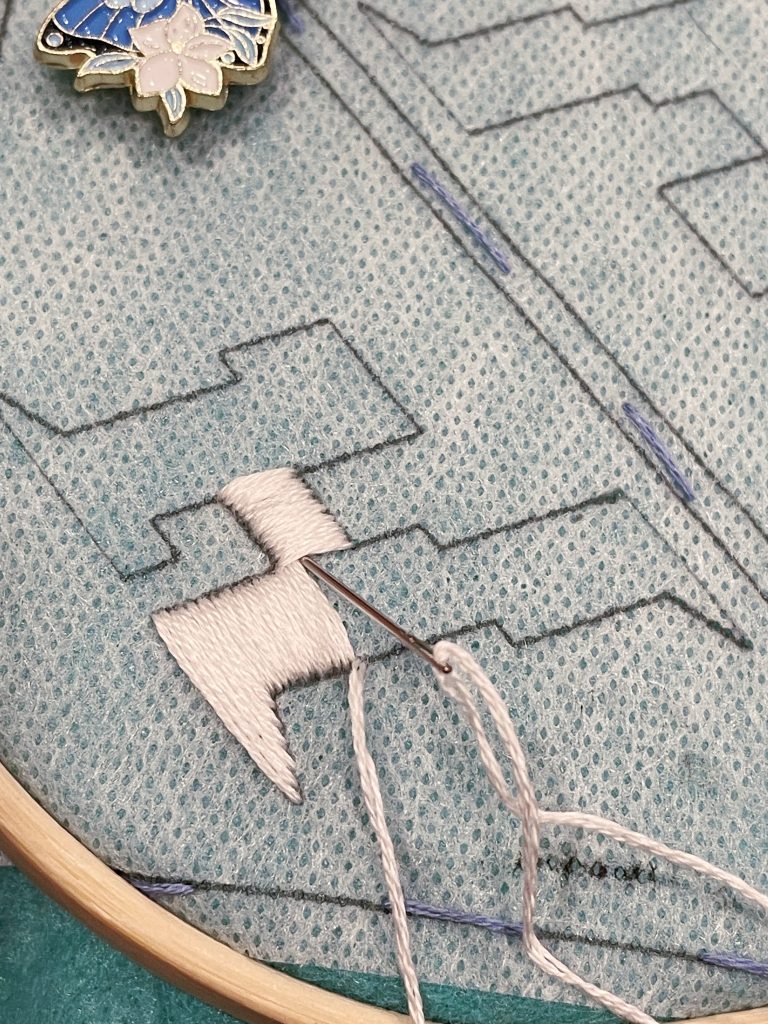
I like to start the Hope on the Street bookmark by doing the center bridge of the H. Satin stitch the bridge vertically. My advice, for a more straight and uniform look, is to fully commit to either stitching directly on the line, or just beyond it. But don’t worry too much if it doesn’t look perfect!
Then, starting at one of the corners of one leg, satin stitch the rest of the H horizontally.
When I satin stich on a diagonal, I like to place my next stitch before pulling the previous one tight. So that I can see the slope correctly as I go.
When you get to the part of the leg directly beside the bridge, tuck your stitches just under the edge of your vertical satin stitches for a more seamless look.
Make sure each leg is stitched separately. And that there isn’t a long strand of floss from one side to the other. This is to avoid pages getting stuck in the bookmark when it’s used.
Be sure to secure the ends of your floss any time you finish off a the length of a strand. You can do this by passing the remainder under the back of your stitches a few times. Then knot it off.
Cleaning up & Assembling
The next several steps are for if you followed my route of making the bookmarks. If you cut out bookmarks before embroidering, didn’t use a wash-away transfer method, or you’ve followed one of my posts before, you can skip ahead.
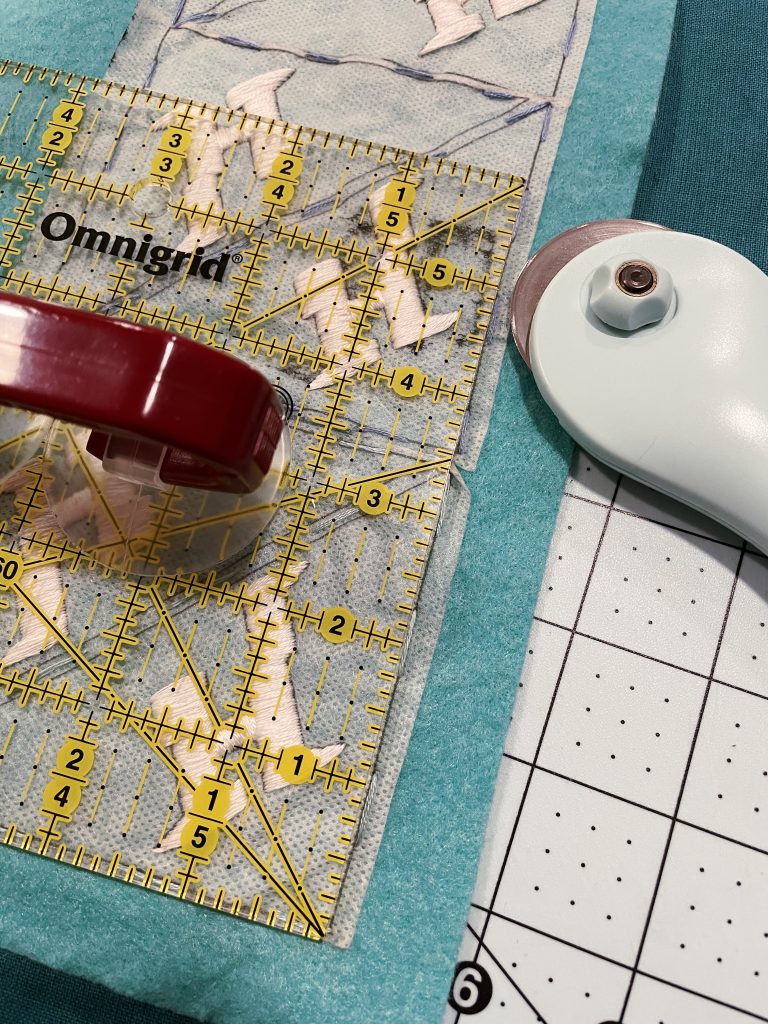
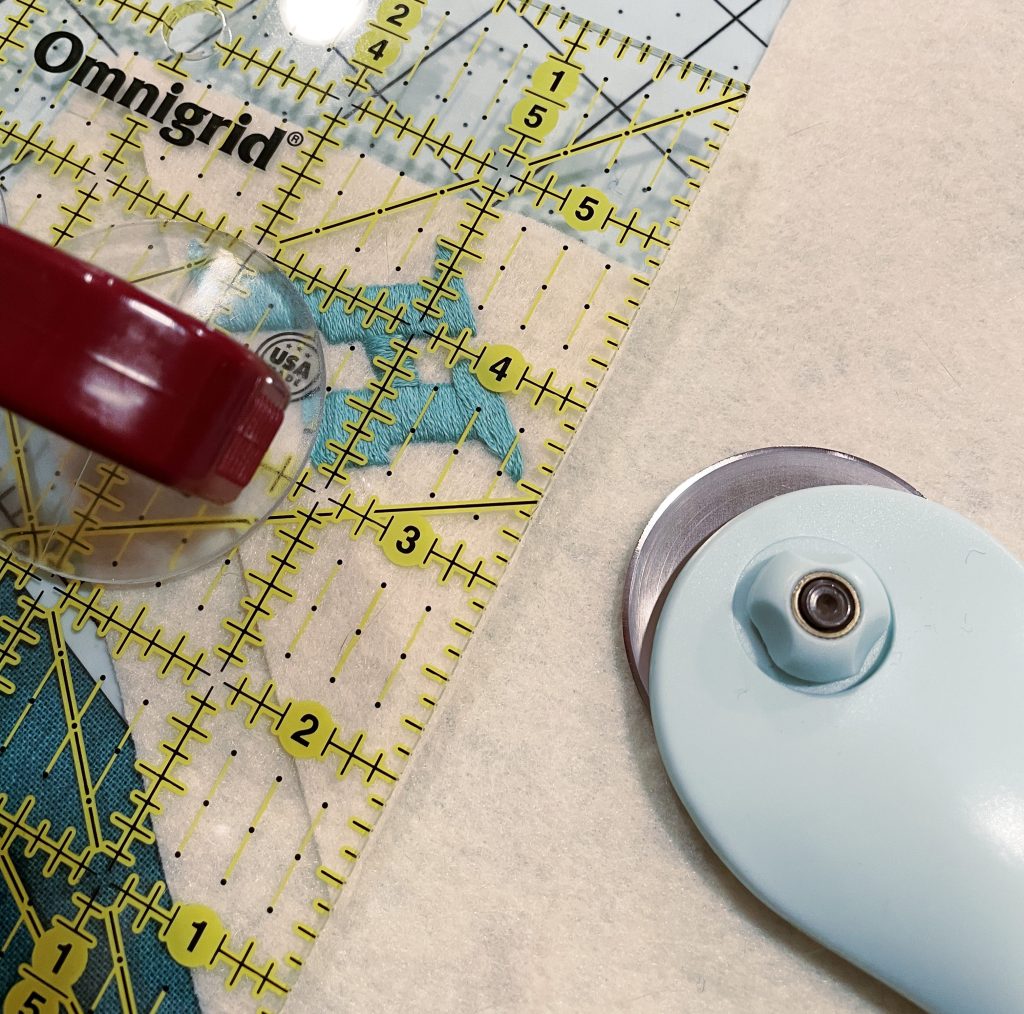
Once you have finished embroidering any or both sides of your Hope on the Street bookmark, cut it from the rest of your felt. I use a straight edge and a rotary blade on a cutting mat.
After I’ve cut my sides out, I like to trim away large portions of blank stick n’ stitch so that the cleaning process will be easier. It isn’t always easy to remove the stick ‘n stitch without damaging the felt. So, pre-trimming is up to your discretion.
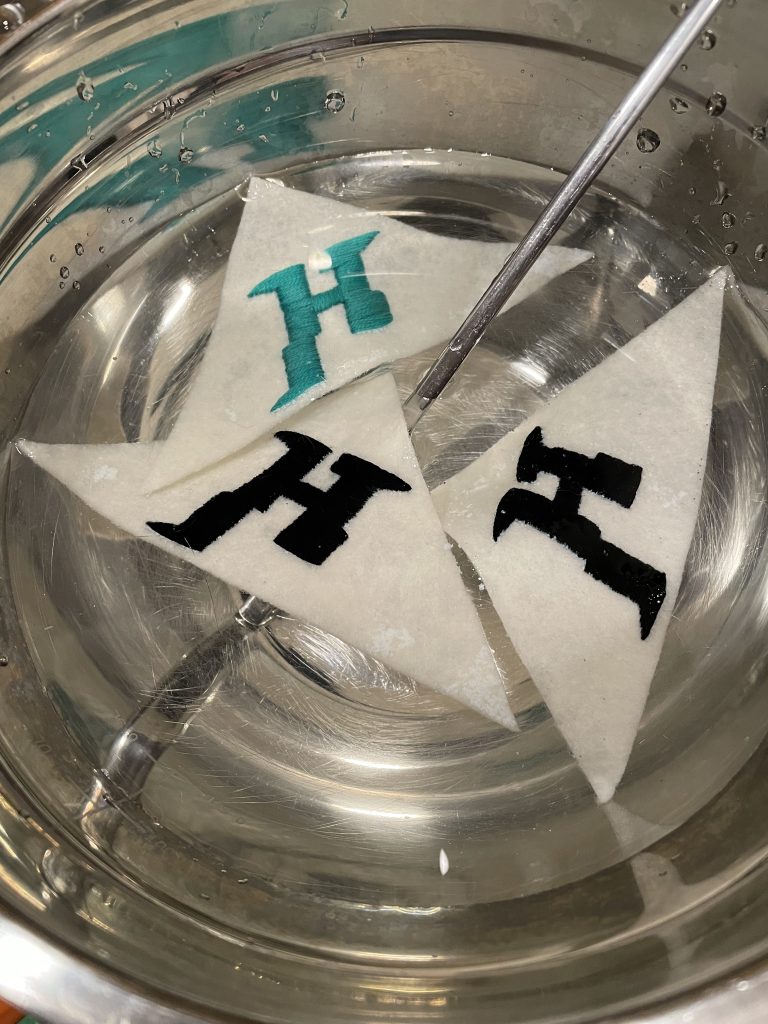
Then run the bookmark pieces under warm water, scrubbing lightly with your fingers. I find cold water doesn’t work as well.
Next, I place my pieces in a bowl of warm water and use the small end of a metal chopstick to be sure all the adhesive has washed away from the stitches. And to also reshape any errant ones.
You can squeeze them in your hand or press them into a clean towel and then let them dry completely.
For the backings, I like to use each bookmark front individually to cut out a back so that it will be the exact same dimensions. Place a front on the same color felt and use it as a guide to cut out the back.
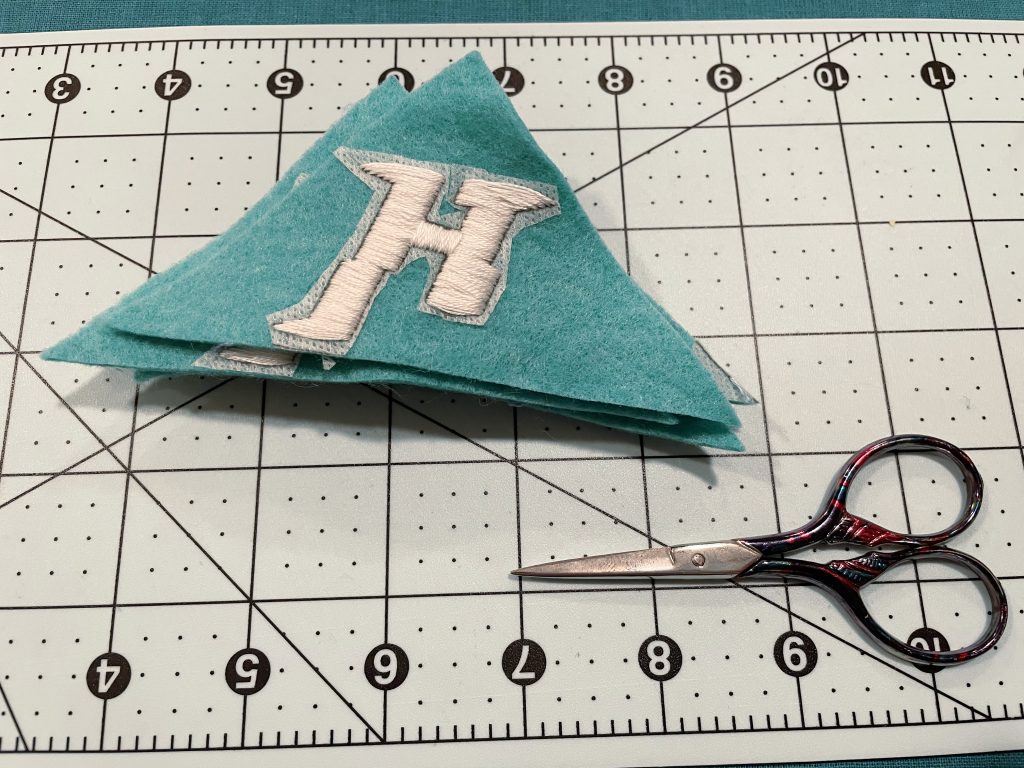
To begin stitching your Hope on the Street bookmark together, place your two sides together so that the backings face each other and their edges line up.
We’re going to use a blanket stitch on the edges of our triangles to sew them together. I am going to link a video that may work better for visual learners.
Thread your needle with the same color thread that you used on your H. Knot the loose end.
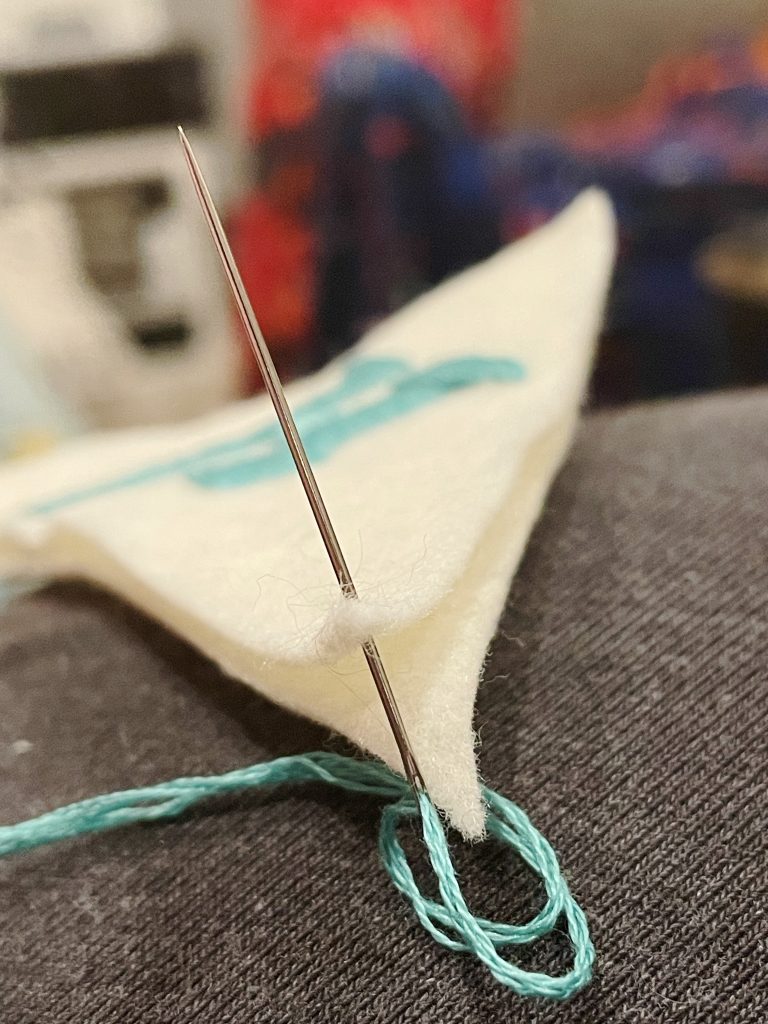
Then, push your needle through one side of the bookmark from the center. This will hide your knot in the middle.
Next, push your needle through both sides, using the same hole as your first stitch.
Before pulling the stitch through, push your needle through the loop you’ve created, then draw tight.
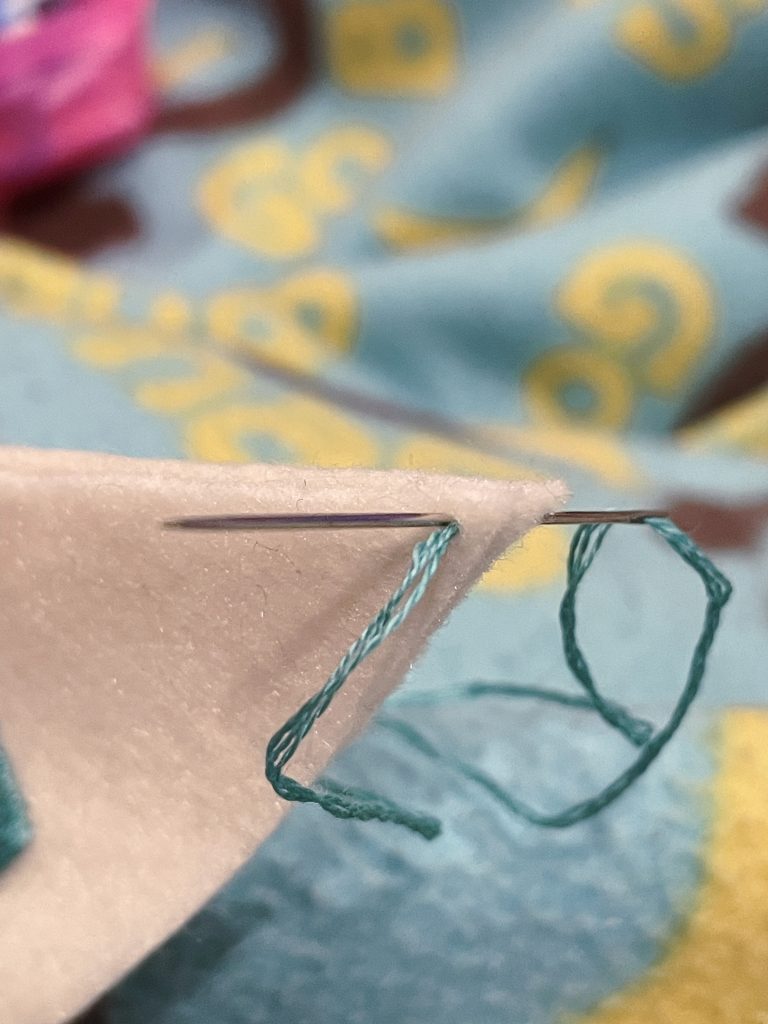
Move a stitch length down the edge, push your needle through both sides, and then bring the needle back through the loop before drawing tight.
The key to a clean blanket stitch is always stitching from the same side as you go. Try to keep your stitch lengths as even as possible.
Once you’ve reached the end, make a knot over your last stitch and trim away the excess.
And you’ve finished you very own Hope on the Street-inspired bookmark

Let me know if you have any questions and how everything went for you.
I’d love to see your finished projects. Feel free to tag me on Instagram or X to share!
If you’re interested in more embroidery bookmark patterns, head here. And let me know which bookmark pattern you’d like to see next.