It has been a bit of a journey to get here. If you want to read about that journey, check out my post here and see how I decided on corner felt bookmarks and some designs.
In this post, I will go over the materials I use for basically all of my bookmarks, give you some links to the basic stitches I use, and talk a little about the image processing program I use to create and print out designs. I’ll also include the base bookmark file I always start from when making new designs
What to know before you get started
With embroidery, everybody has to start somewhere. (If you already know how to embroider, you can skip ahead to the next section.)
I started here. There are a ton of resources out there to help you begin your embroidery journey. I chose Cutesy Crafts for my basics learning because she had sew-along videos on YouTube and a stitching basics pattern that I found really helpful when I was starting out. (Though, after learning what works best for me, I do not employ her strategy for satin stitches.)
Though I am very cavalier about jumping into something with no practice, I suggest learning basic stitches and doing at least one kit embroidery project before trying to tackle the felt bookmarks.
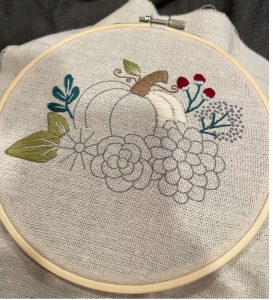
Personally, I wouldn’t choose any kit made by Leasure Arts as I’ve found the fabric they use hard to sew on and their needles really weak. This pumpkin kit was one of the first kits I picked up and I found it easy to follow. It is also pretty cute and something you can pull out during autumn as decoration. Cutesy Crafts also has free beginner-friendly patterns and tons of advice about how to pick your fabric and transfer methods, if you want to explore sourcing your own materials.
Etsy is also a great place to seek out beginner-friendly patterns. If you go this route be sure to check that the pattern has both a stitch and color guide. Otherwise, you likely have to guess how to recreate the project. (Feel free to message me about patterns I have bought and enjoyed learning with!)
All of my BTS felt bookmark designs (so far) mostly use the basic stitches learned through these projects:
- French Knot
- Satin Stitch
- Lazy Daisy
- Back Stitch
- Blanket Stitch
- Straight Stitch
I want to be clear that I am still very much a beginner at embroidery. There is so much more I need to learn and to try — so many stitches I haven’t even looked into because they intimidate me. Embroidery is an amazing art that I have barely scratched the surface of. So don’t worry too much about the difficulty when you start off. It won’t be long before you can tackle my bookmarks and far surpass me in skills!
Until then, we can both watch the videos on this YouTube channel for motivation of what we can someday be. Maybe.
Materials and Tools for Making Felt Bookmarks
Base material
If you read my previous post about how I decided on bookmarks, then you already know why they’re made of felt. Through a lot of exploration and by watching tutorials, I found that felt was the easiest, sturdy material to make the bookmarks out of.
Felt is also a really easy material to buy. Most craft stores will have the colors you need in the children’s craft section, sold in standard paper-sized sheets. And if you are looking to make numerous felt bookmarks, either for yourself or as freebies, you can also buy certain colors by the yard. [I typically buy mine at Joann’s (RIP queen) but you can also buy by the yard from online fabric stores and at Michael’s.] Keep in mind that this is not the thick wool felt used for needle felting!
I typically get six full bookmarks out of one paper-size sheet of felt.
Threads & Color Matching
For almost all of my projects, I used DMC embroidery floss with minor exceptions for experimentation and one instance of using crochet thread for texture. The majority of my stitches for the felt bookmarks are done with three strands, which is half of the skein you would pick up at any craft store.
If you have brand loyalty to Anchor or are hoping to use another brand, this website can help you convert most colors from DMC. This website is also a great resource for any future projects you may want to undertake. It takes RGB values of a color you like and shows the DMC thread color that is closest to it. I used this tool a lot while making the Hobi-inspired, Murakami flowers, to grab the colors from the Hope on the Street albums directly, and to match the color of Wootteo’s eye color for a a bookmark design I’m still working on.
Tools You Will Need & Some I Find Useful
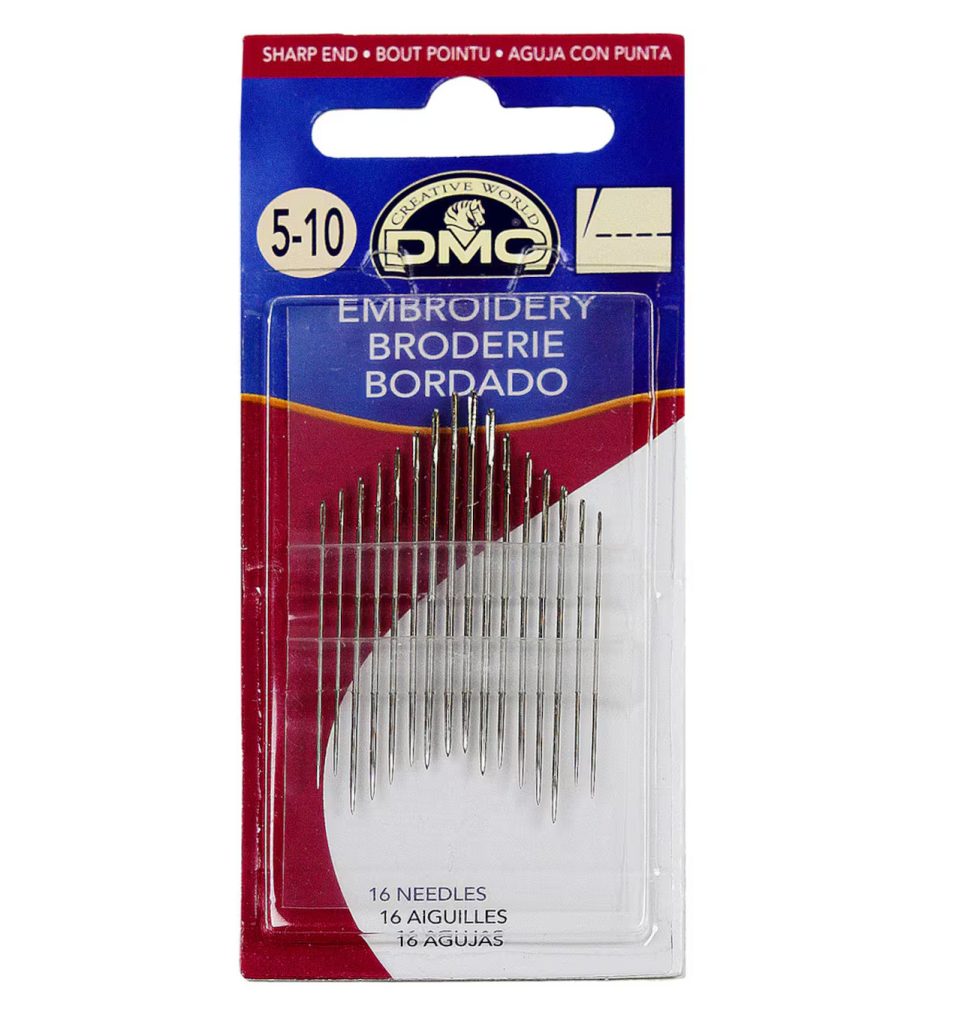
- Needles — I buy whatever embroidery-specific needles my craft or big box store has, I’m not picky on brand. I find that sizes 3-9 are what I use the most, but if you are using a bigger thread like a pearl cotton, you’ll want a bigger needle. With embroidery needles the larger the number, the smaller the needle. If you want a more in-depth exploration of needles, you can check out this blog.
- Embroidery Hoops — You can, of course, cut out your bookmarks before sewing on them and embroider without hoops, but I like to use a hoop to keep a nice tension on the felt while I’m sewing. I use 3 & 4 inch hoops, but a larger hoop would also work.
- A Transfer Method — There are probably a dozen or so ways to transfer embroidery patterns for a project. This blogger has a post about different methods you can explore. For my uses, I like to use a stick ‘n stitch stabilizer. It allows me to print my design directly to the stabilizer that I then stick to the felt and sew down just for a little extra security. If you end up using this product too, be sure it is stored in a way that it does not get bent. I use V’s ‘Type 1’ to keep the pages nice and flat. 😂
- Fabric Scissors or a Rotary Cutter & plain scissors
- For a rotary cutter, you will want a cutting mat
- Embroidery Scissors
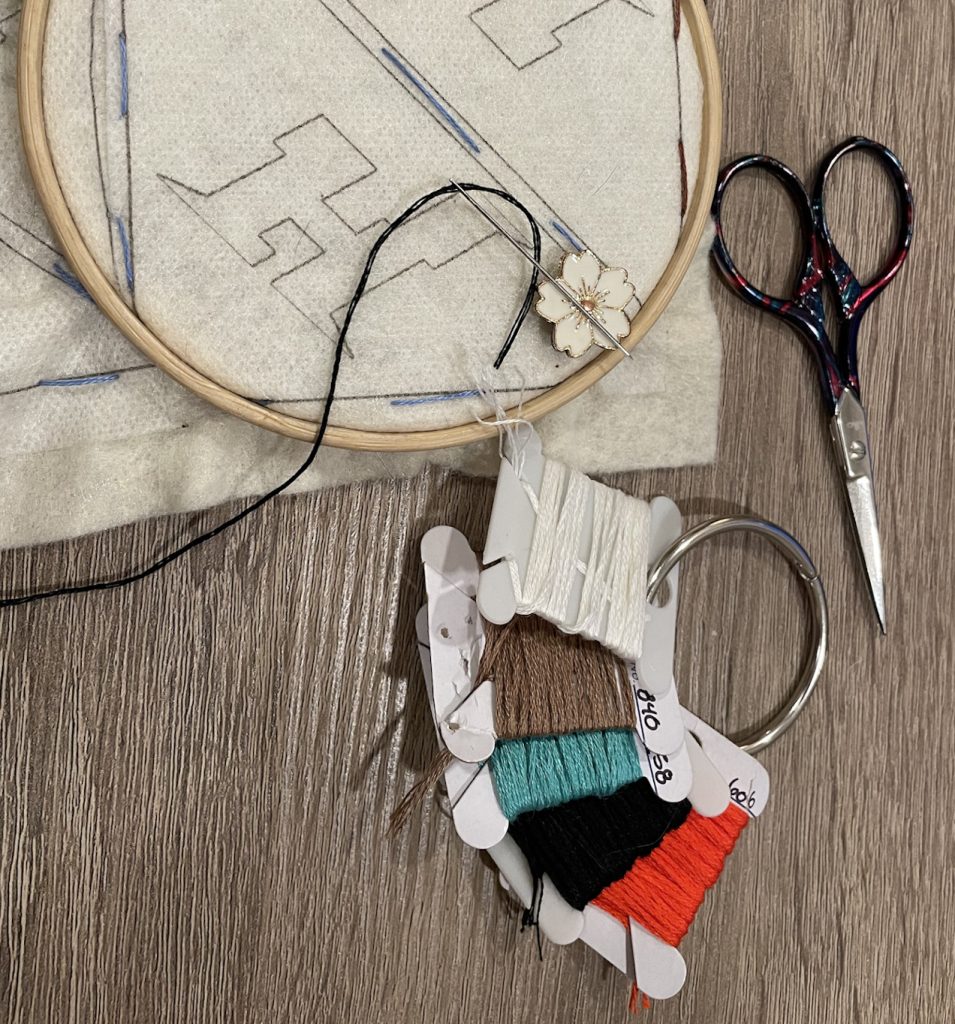
- A Needle Minder (or two or three) — These are in no way necessary. But I like having them to keep me from constantly losing my needle to the couch, or blanket, or ground. Plus, they are super cute!
- Metal Rings & Thread Bobbins — These are another set of unnecessary accessories but I like to have them to organize my threads per bookmark project.
- Likely, a Computer or Tablet & a Printer
GIMP & Bookmark Designing
There are a lot of choices out there for you if you want to design your own felt bookmarks. Inkscape is a popular free program used to make embroidery and cross-stitch designs. This video is a great resource to learn how to use it if you go that route.
I use the free graphics editor program GIMP for all my bookmark designing because I already had experience with it and it was closest to other programs I knew well. (And you know I am not forking out for an InDesign subscription, and my college laptop with student InDesign on it won’t work unless it’s plugged in all the time.)
Gimp does take a little getting used to. If you’ve ever worked with Photoshop or any image processor (hello MS Paint my beloved), you will likely recognize similar symbols and functions. If not, I promise the way I use the program is very basic and does not require you to know the ins and outs of every feature.
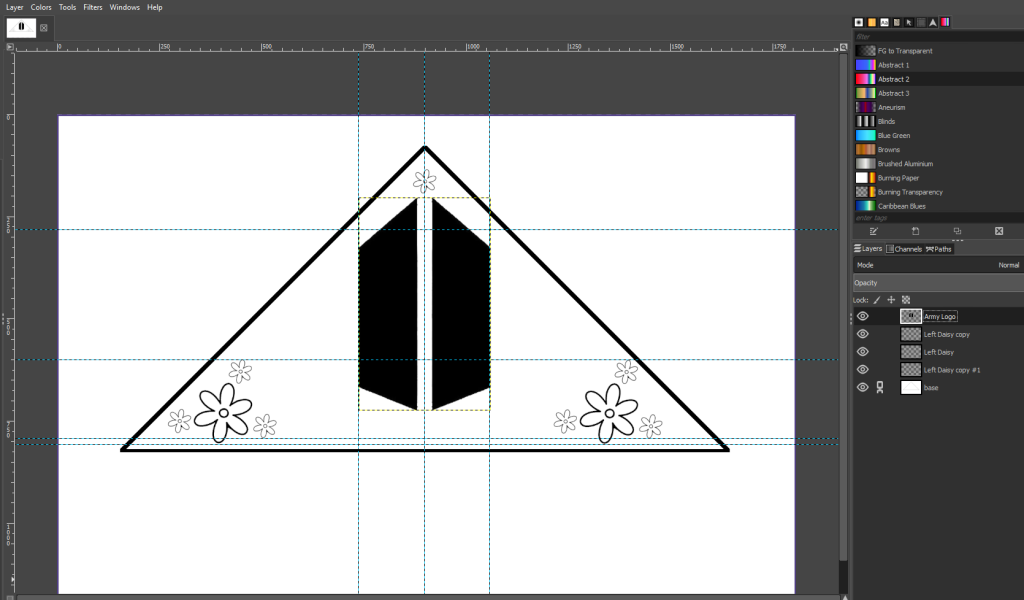
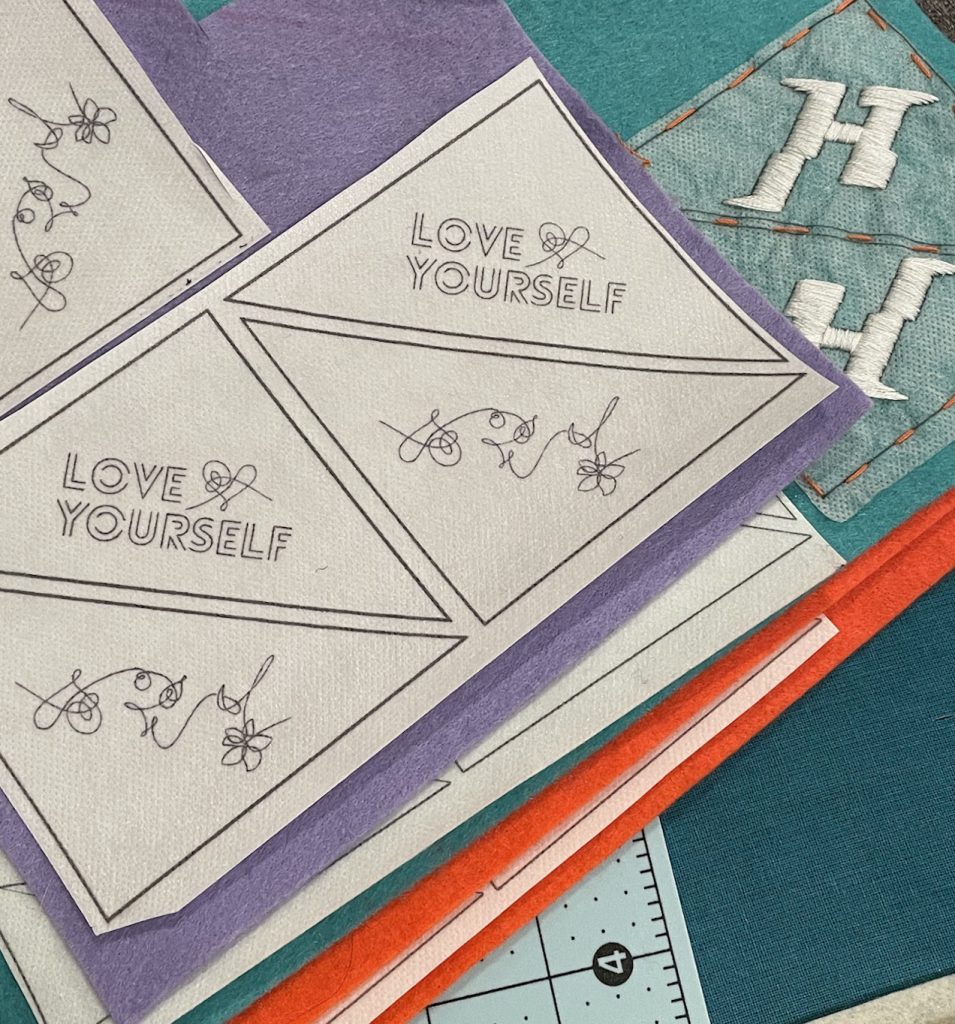
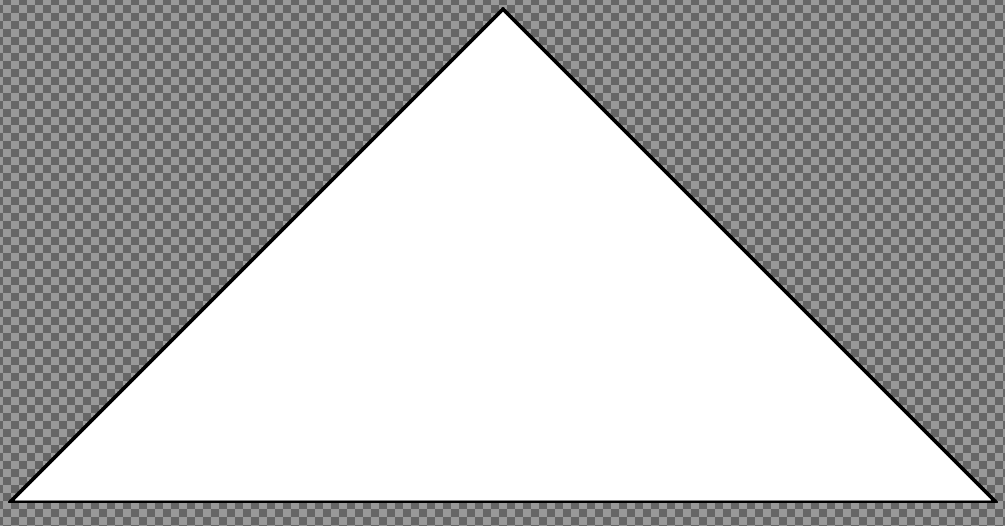
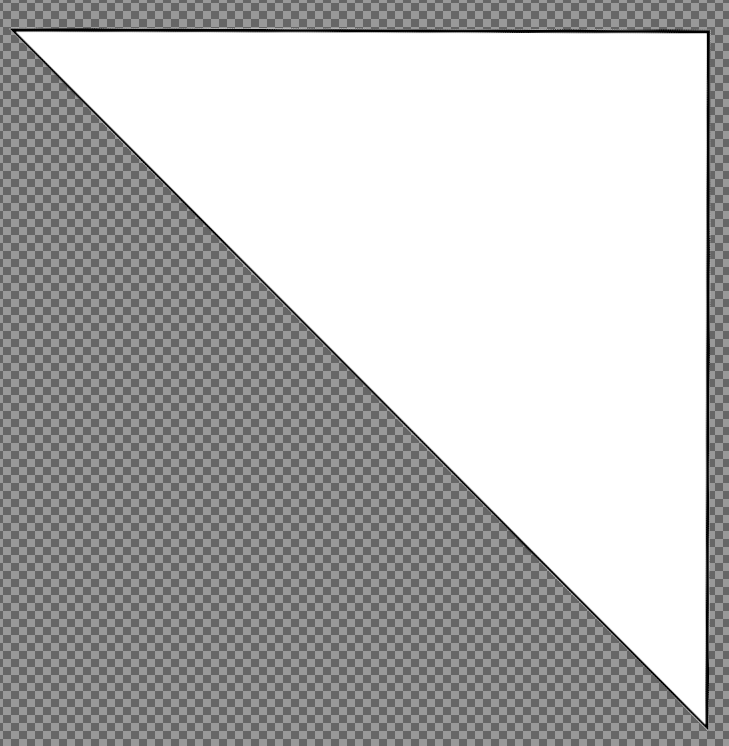
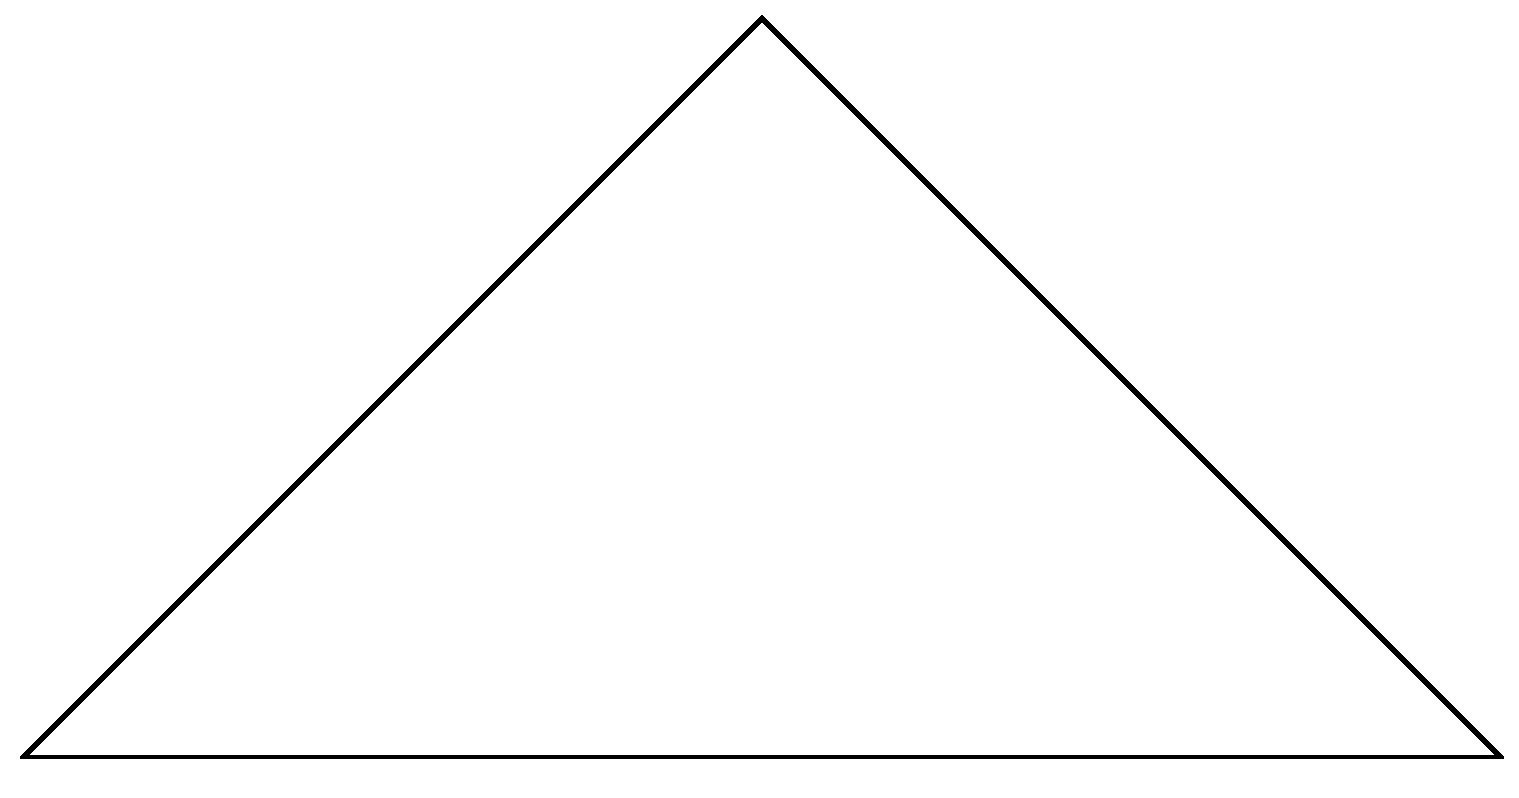
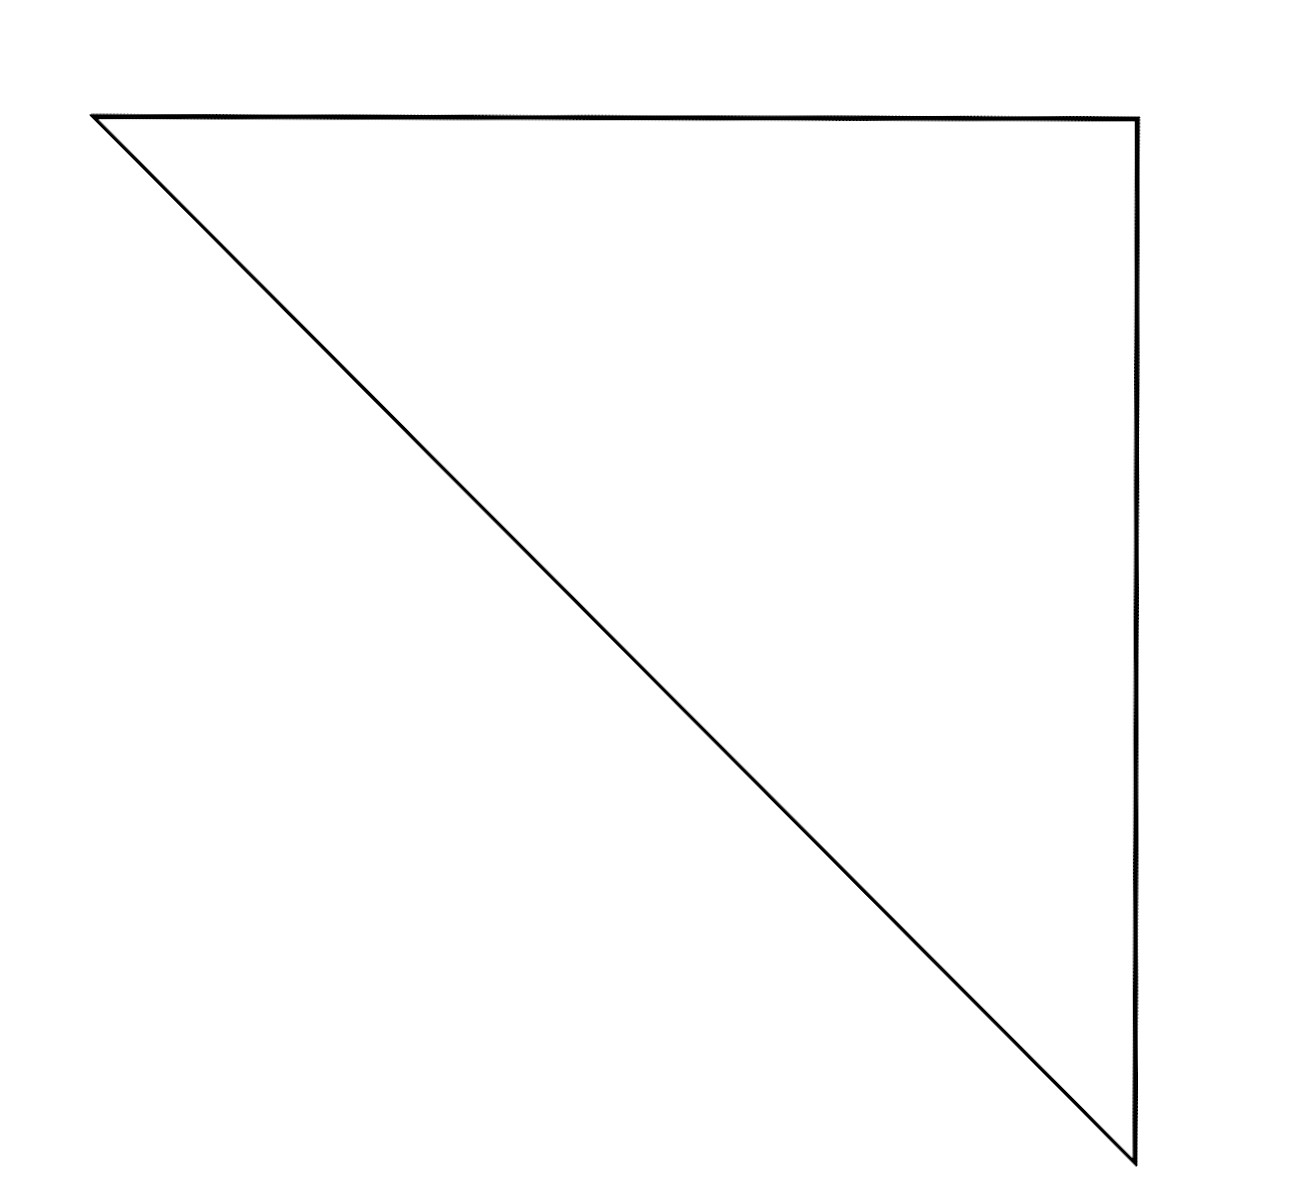
I use a saved base file when I start any design (make sure to save it under a new name after you’ve started!) of a triangle with the right dimensions. I like to work with a horizontal base, but there are also designs out there working on a verticle axis.
I’ve linked the two bases I use to share with you all. As both Gimp files (xcf) and jpegs. But if you’d like to make your own, I found this video helpful in learning how to make triangles in Gimp. The dimensions I use are 3.5 in x 3.5 x 4.949.
I tend to print out several designs at once, so I don’t waste the stick ‘n stitch. You can place about six full squares of designs on a single page with very small margins.
If you’d like a more in-depth post about how I use Gimp, let me know. I’d be happy to make it.
Borahae,
C