I actually started this BTS logo string art project when V asked ARMYs to make some videos for him to watch. I chickened out of recording myself, but I still ended up doing the craft. 🤣
String art was a super popular trend back in my obsessive Pinterest days and something I’ve always had fun making. I have a running project of making a string art for every state that I’ve lived. Which, when I had lived in two states seemed like a good idea. Now that I’m going on six, I’m uncertain I have the wall space to sustain the vision.
But I will always have more room for BTS.
Let’s get into it.
For all string art, I use the same process (whether a state or a worldwide music sensation’s logo). Start with a piece of wood that is a good size for where you want your finished piece to go and how much space you want it to take up. I have gotten all my string art wood at Michael’s. They have a section dedicated to making signs, clocks, pyrography and other wood-related crafts
I used a roughly 8x6x3/4 inch rectangle wooden plaque without any beveled or detailed edges for this BTS logo string art. Though, for my state string arts, I use the plaques with the decorative edges. So, either kind in any size will work for your own project. (Michael’s can be pretty inconsistent in the sizes they keep in stock, so it can be rough to size match.) Be sure to pick something with some thickness to it, so that you don’t end up nailing through it.
Once you have your wood picked out the other supplies you will need are:
- Spray paint – I used Rust-Oleum in French Lilac
- Newspaper or otherwise damageable paper
- An image processing application (gimp, photoshop, indesign, etc)
- A printer & paper
- Tape & Scissors
- A hammer
- String in the color of your choice – I used this cotton crochet thread
- Nails – I always use these linoleum nails from Lowe’s because I think they look nice. You can use any type you desire. Shorter nails work best.
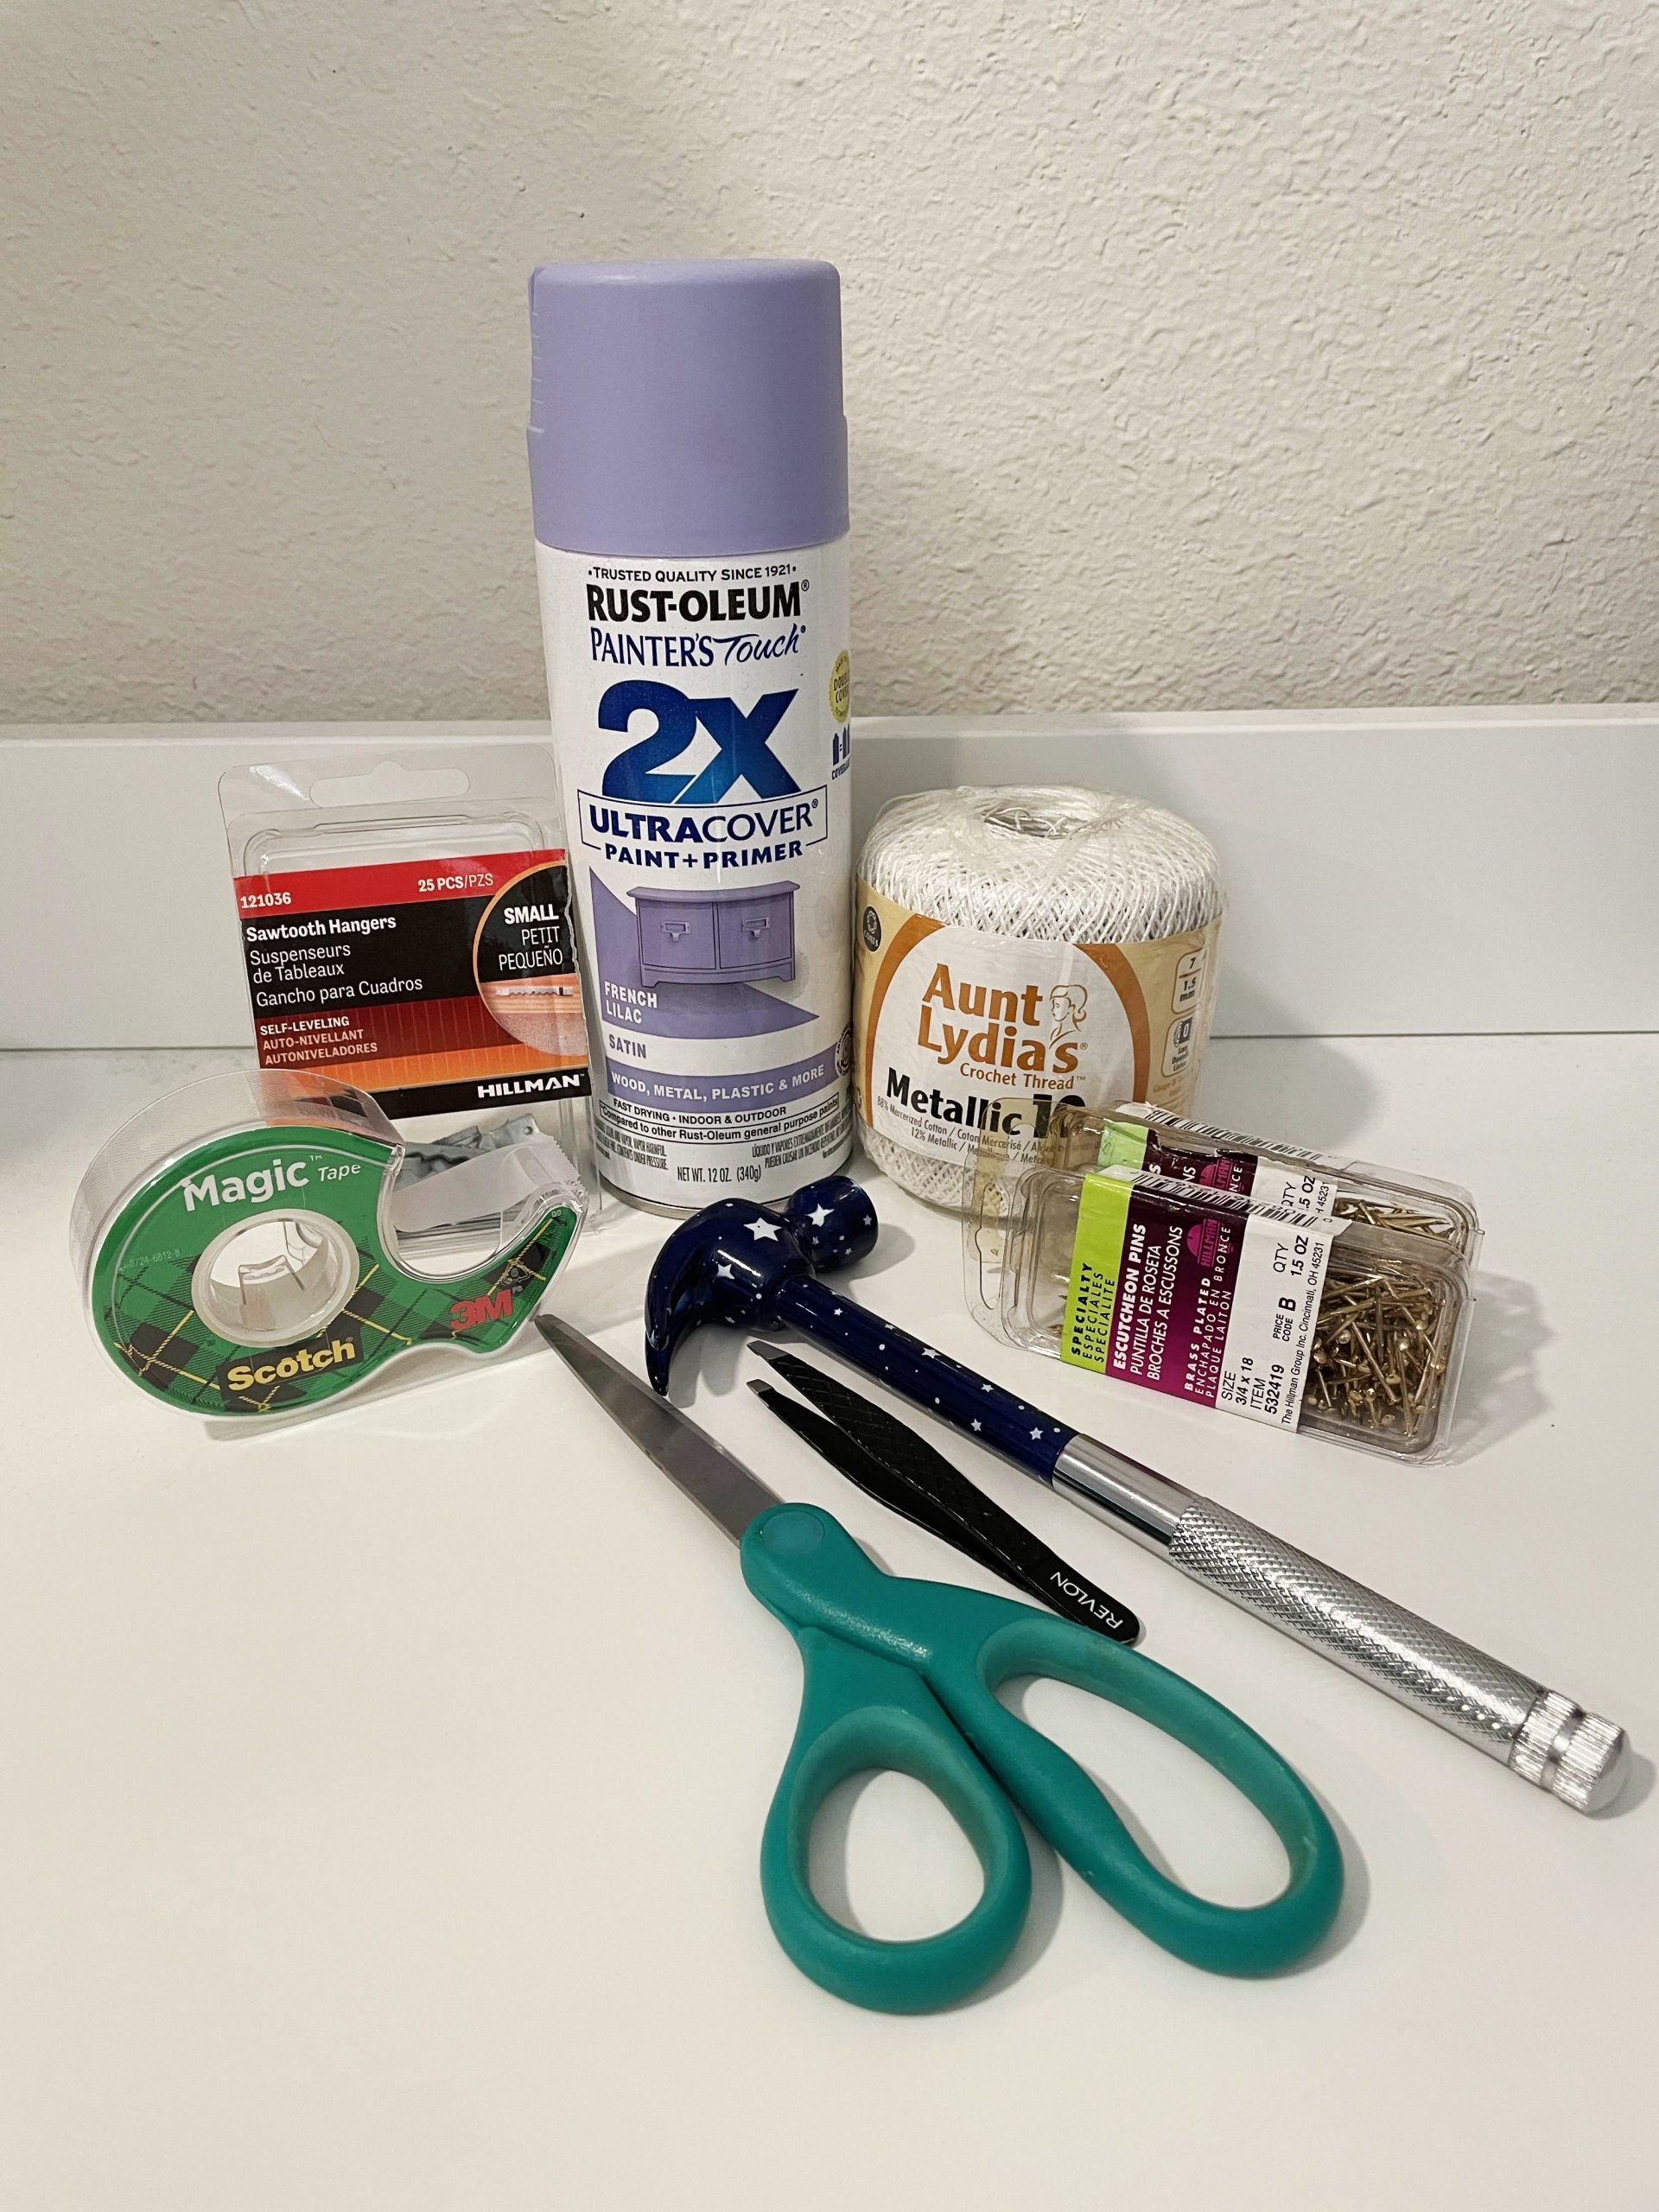
- Optional: sawtooth hangers if you want to hang your project
- Optional: a pair of tweezers you don’t mind damaging
Making Your BTS Logo String Art Base
You’re going to start by setting up a spot either outside or in a well-ventilated area. (But preferably outside). You’ll want to wait for a day with very little chance of rain, snow, wet fog, etc.
Take the 2d measurements (lxh) of your wood and jot it down for later.
Place down your newspaper in layers to prevent damage to any surface underneath and then put the wood in the center. If it’s a breezy day, you will want to weigh down the edges of the workspace so that they don’t get stuck to your wood later.
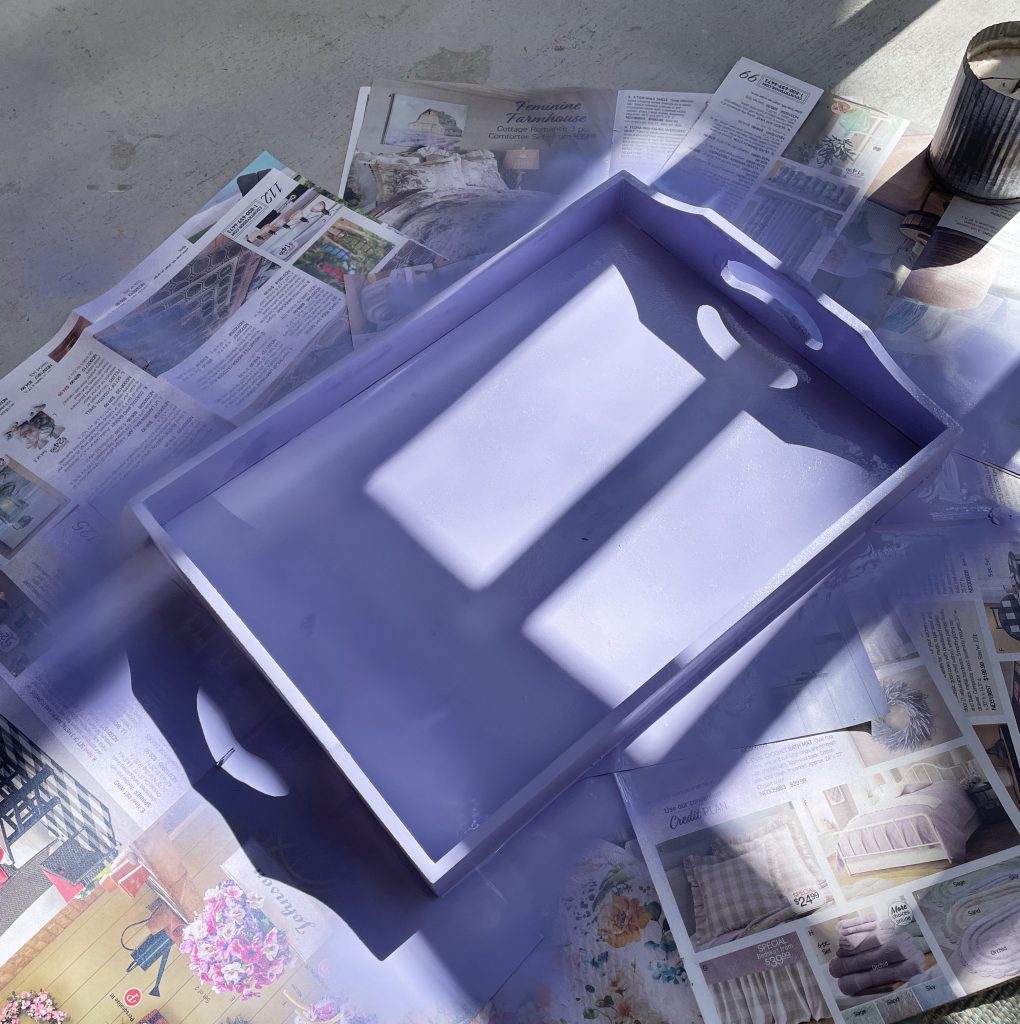
Please read all the instructions on spray paint — both for your safety and for the best results! Spray your wood in layers, drying between each, until you don’t see the wood anymore and you’re satisfied with the coverage consistency.
(I somehow don’t have a photo of painting this project?? So here is a photo of me spray-painting a tray in the same color.)
Let it dry completely. Overnight or longer.
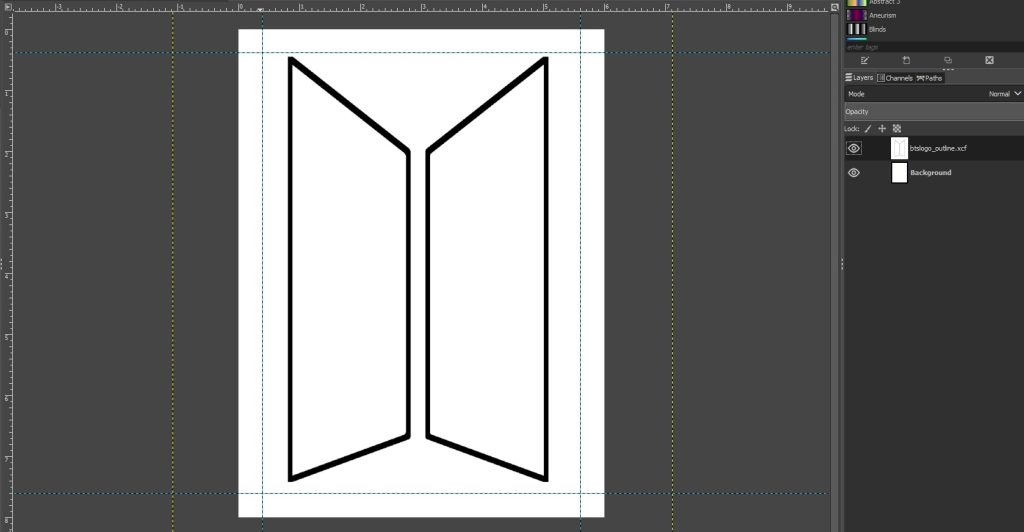
While you’re waiting for your base to dry, open up your image processing program and create a new document with the measurements you took earlier. Use rulers or a line tool to create a workspace with margins on the document. This will prevent the design from butting right up to the edge of your wood. How large your margins are determine how much space your string art will have from the edge of the wood.
Then load your image into the document as a new layer. This is so you can edit and resize your image separately from your base. From here you can scale to fit within your margins.
If I was doing this BTS logo string art again, I’d have made my margins a bit wider, especially on the bottom.
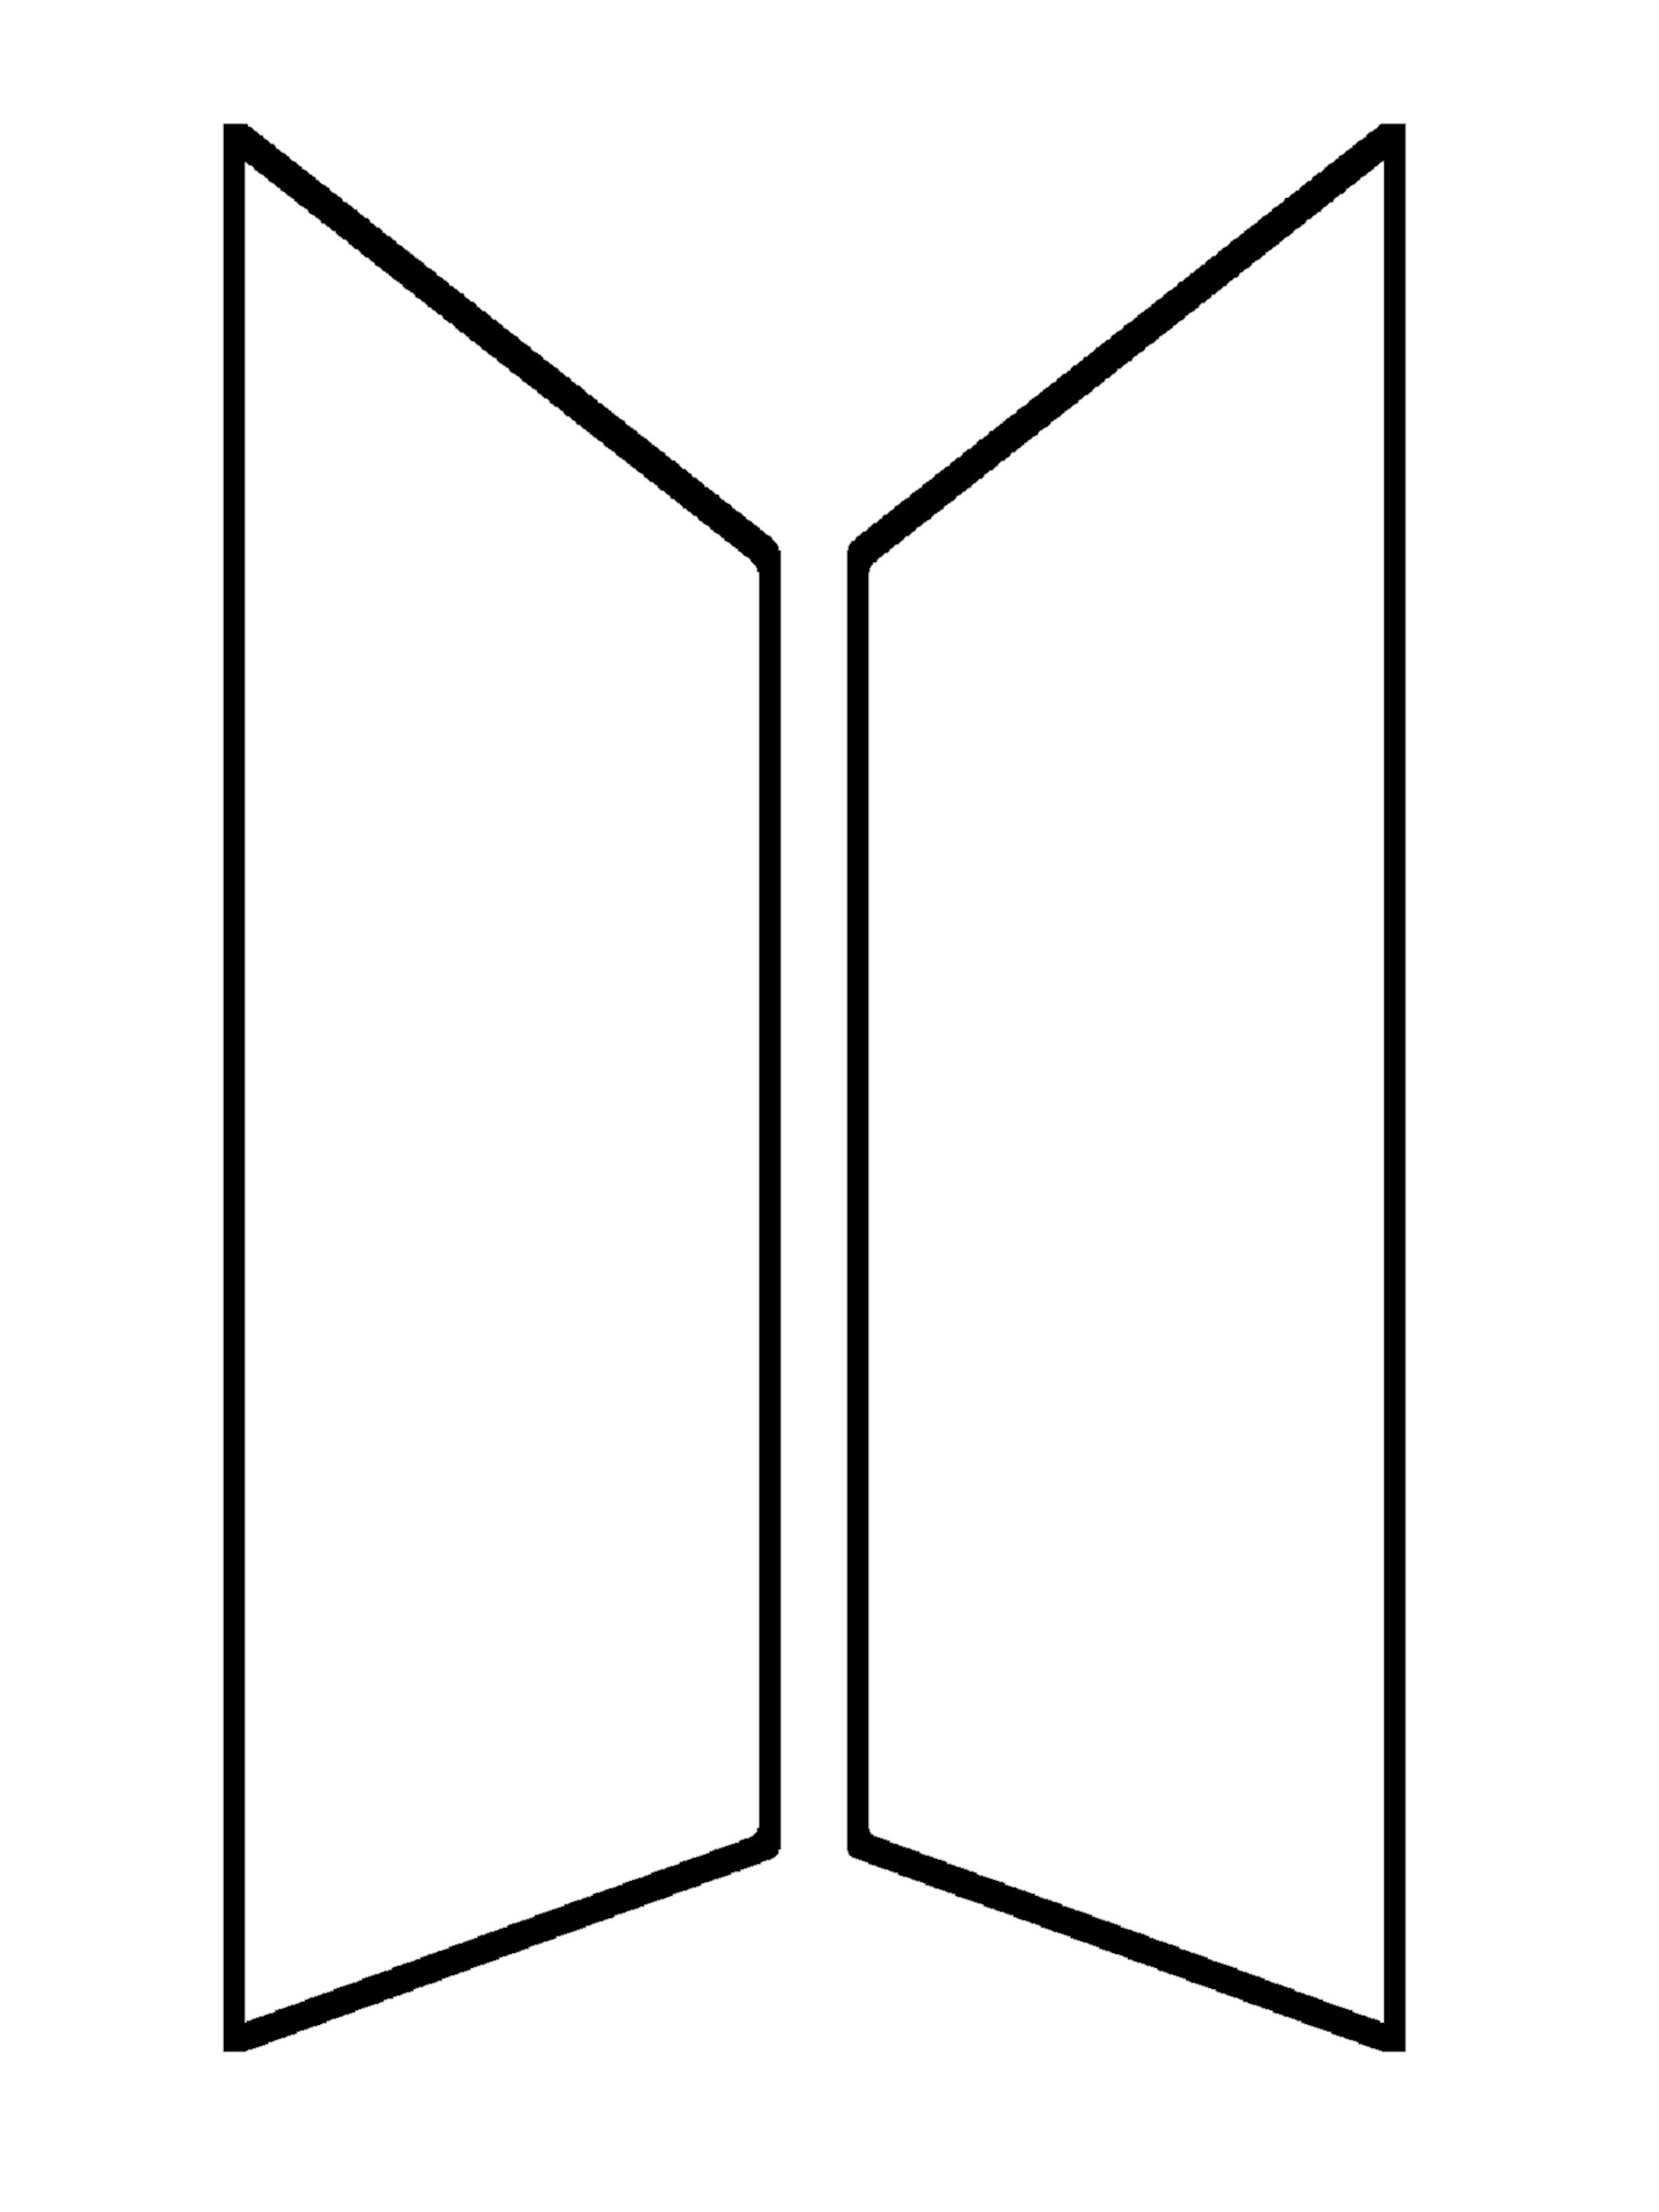
I’ve included a BTS logo you can download and use yourself, if you’d like. Its dimensions fit my 8×6 project fairly well, but you can adjust it in any image processor. Remember to either use a scale function or to enlarge it evenly, so that the image does not get sized disproportionately.
Then, I like to put a border on the edges of my project so that when I export it as PDF and print it, I know exactly where to cut and line up the edges of pattern on the wood.
Save your file frequently as you’re working on it so that there is a low chance you lose anything!
You can save/export your file as any type you like. I find that pdf’s serve me best for printing. Once you’ve saved, you can print your pattern.

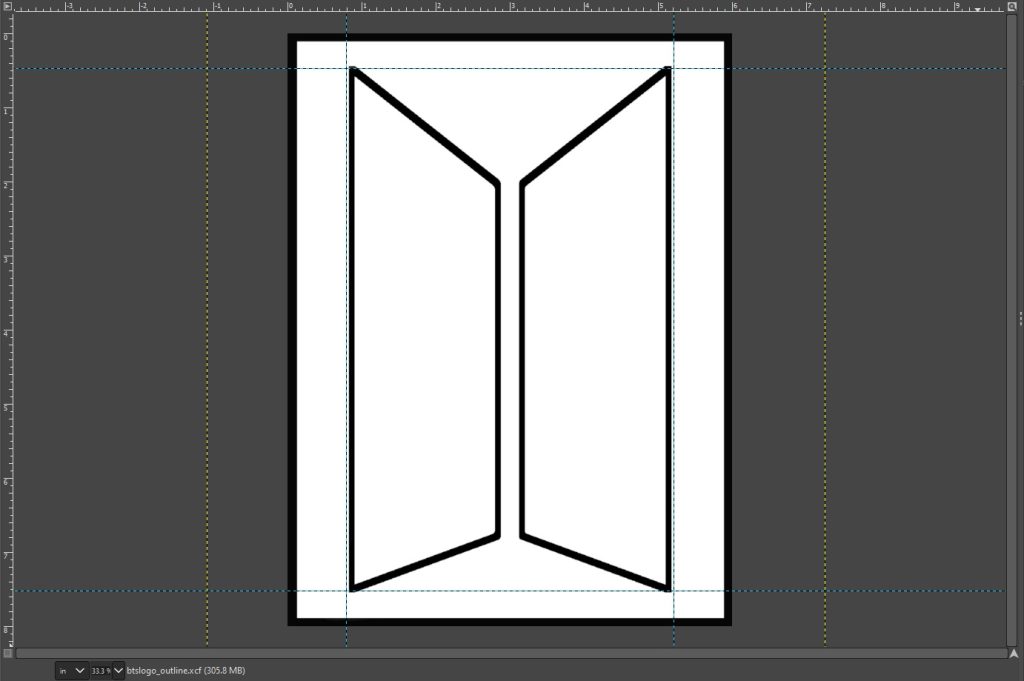
If you’re working with a size that is larger than a standard piece of paper, you can cut your pattern into two in your image processor. Save each half with margins, and a few line indicators for where the center is, as separate files and then print each of them. The line indicators will help you line up your pattern correctly after you’ve cut away the excess. Tape the halves together for a full pattern.
Be sure to let your pattern dry completely before using it. I did not this time and ended up with inky finger prints on my wood. 😭

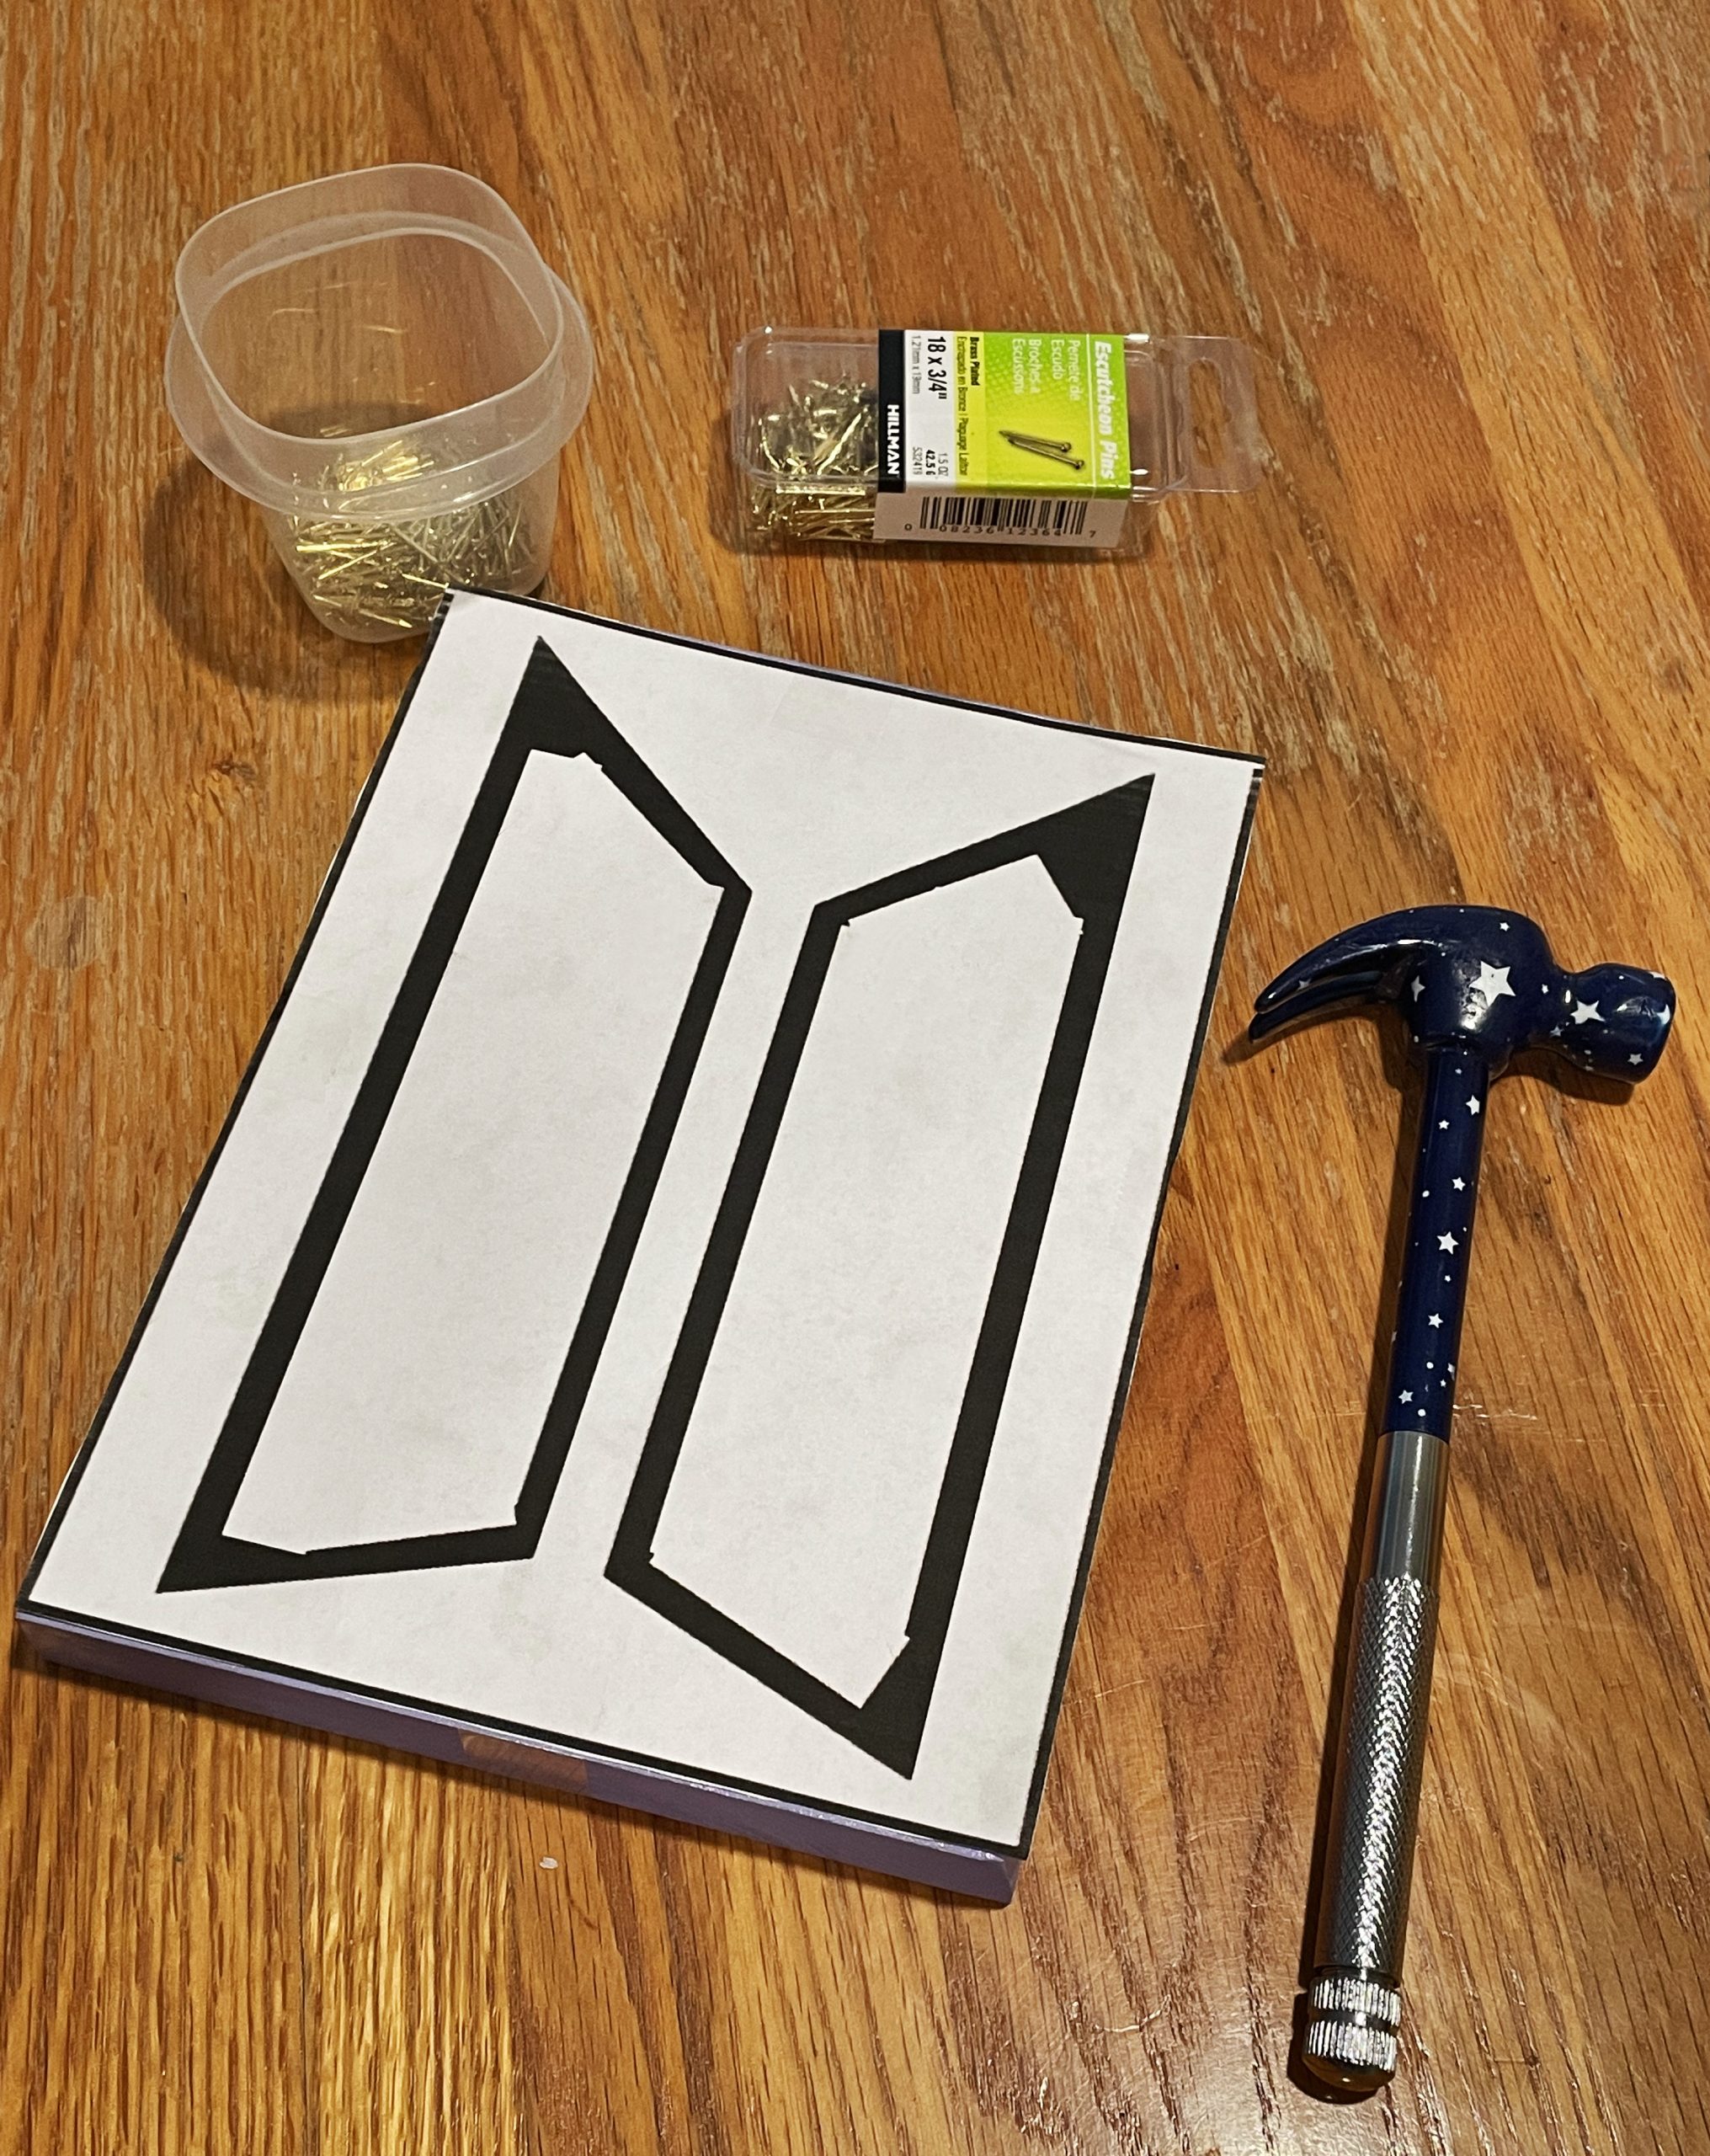
Cut you pattern to fit your wood, and then tape it into place. If you didn’t use a border on your pattern, use a measuring tape to ensure your image is centered before taping it down.
I like to use long strips of tape to wrap around the edges of the wood and secure in the back. If you’re nervous about scotch tape pulling up any paint, you can use painter’s tape.
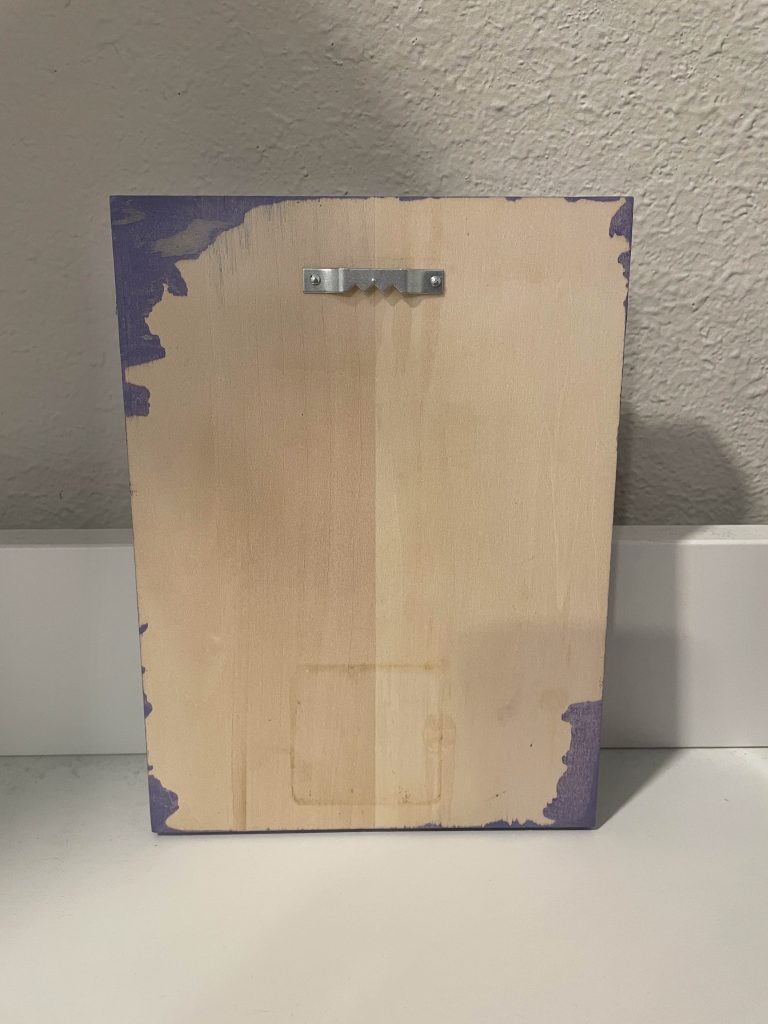
You can add your mounting bracket to the back of your string art at any time! I sometimes do it in the beginning and sometimes at the very end. If you do it at the beginning, it can make the project wobbly; at the end, you risk bending the project’s nails and dirtying the string. It just depends on what you’re comfortable with.
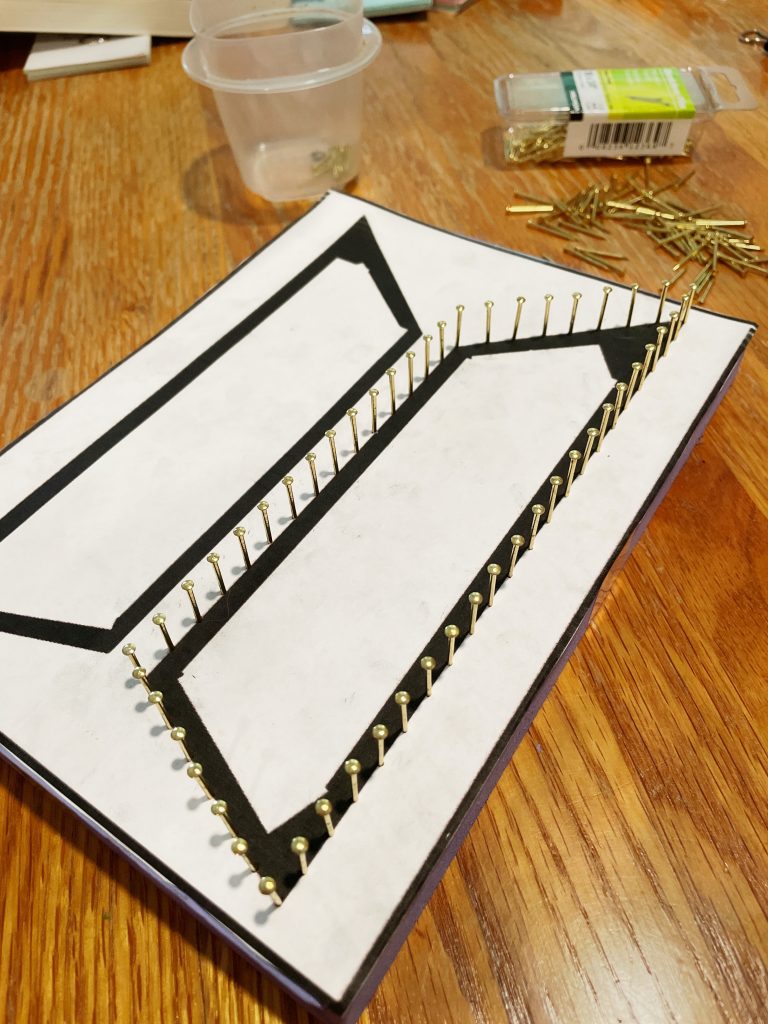
With your pattern secured, you can begin hammering nails into the board along the outer edge of your pattern. (The pattern in the photos is not the same one I included in this post. I made a whole new pattern for you guys because I care more about you than myself lol)
I insert my nails about a finger tip’s width apart but I am very inconsistent. If you care about uniformity, you can place a ruler next to your pattern to help guide your nail placement.
Tweezers can come in handy here to keep nails in the place you want as you hammer.
You will want to hammer each nail in gentle bursts to not split the wood. But be sure to hammer the nails fully into the wood because they will have to endure tension later and you don’t want them to come out!
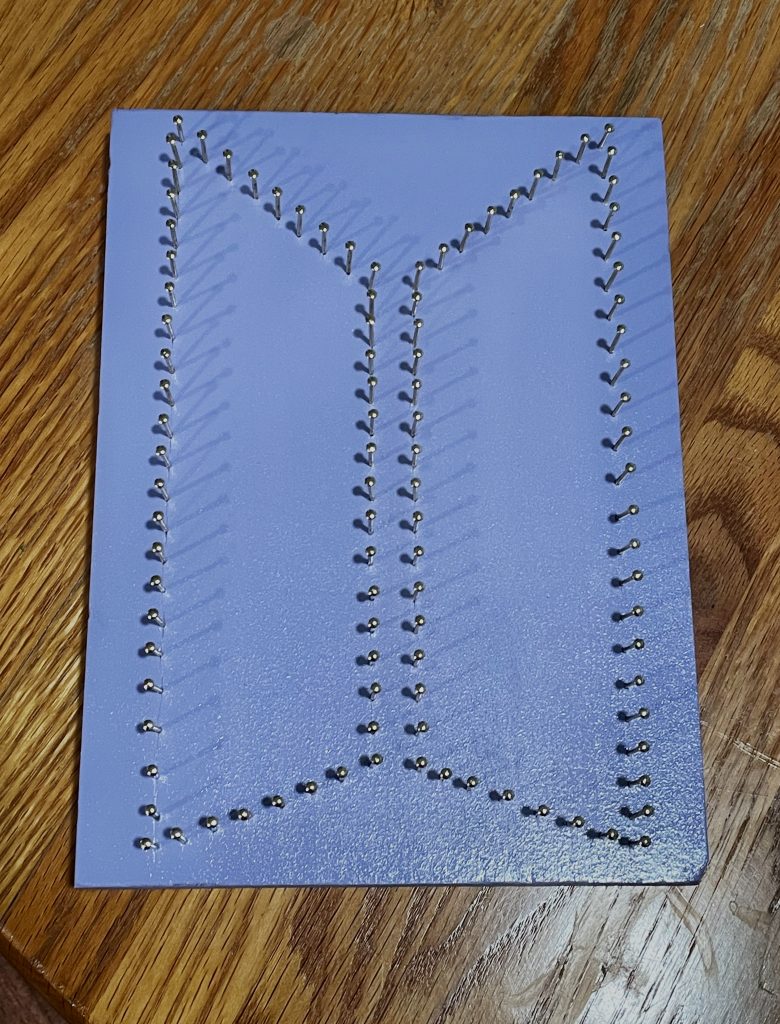
With the center portion, I like to match up the nails between the two sides as perfectly as I can manage.
After I’ve finished the nail outline, I like to go back through and hammer lightly over all the nails to ensure they’re stable and at a fairly even height.
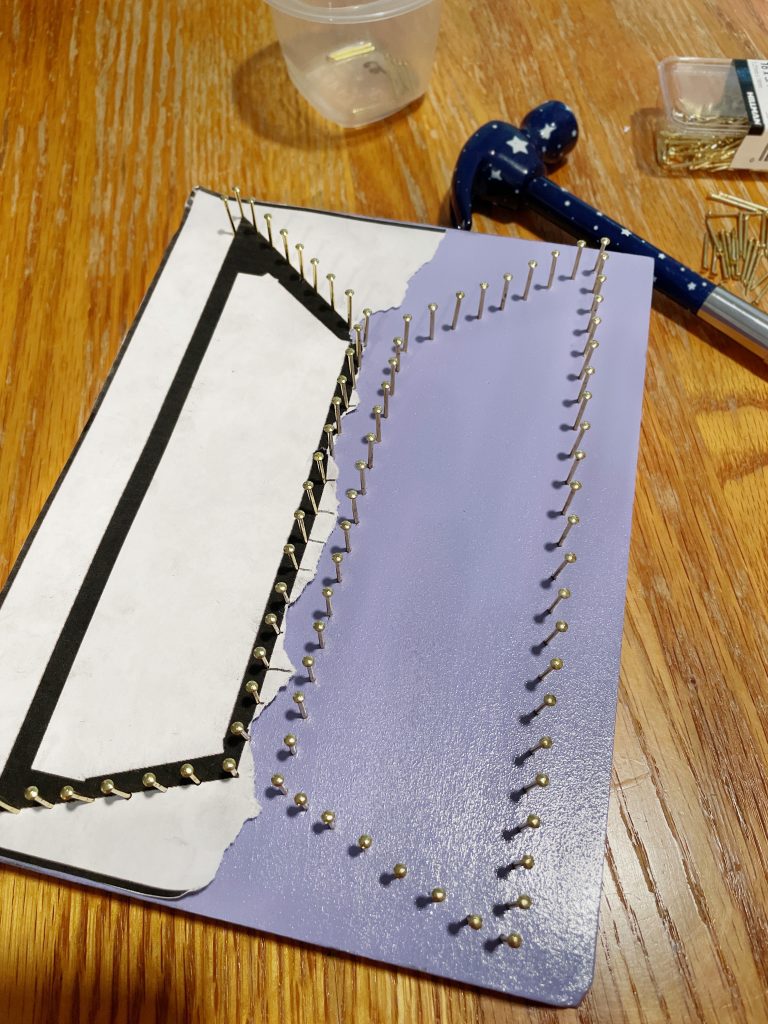
Now, you can remove your paper pattern by pulling up the tape and gently ripping the paper in sections. You can use your tweezers to remove the more stubborn bits around the nails.
Stringing Your Art
Now that your base is finished, you can string it. I like to keep the whole spool intact as I work, but you can cut portions off to work with if you like.
Make a loose knot with the end of your crochet thread and then put it on one of the nails. You can start stringing from anywhere in the logo, but you want to keep each side separate by working on each one individually.
Tighten the knot, then tie another one on the same nail. You can come back and cut off the excess tail after you’ve finished stringing that side.
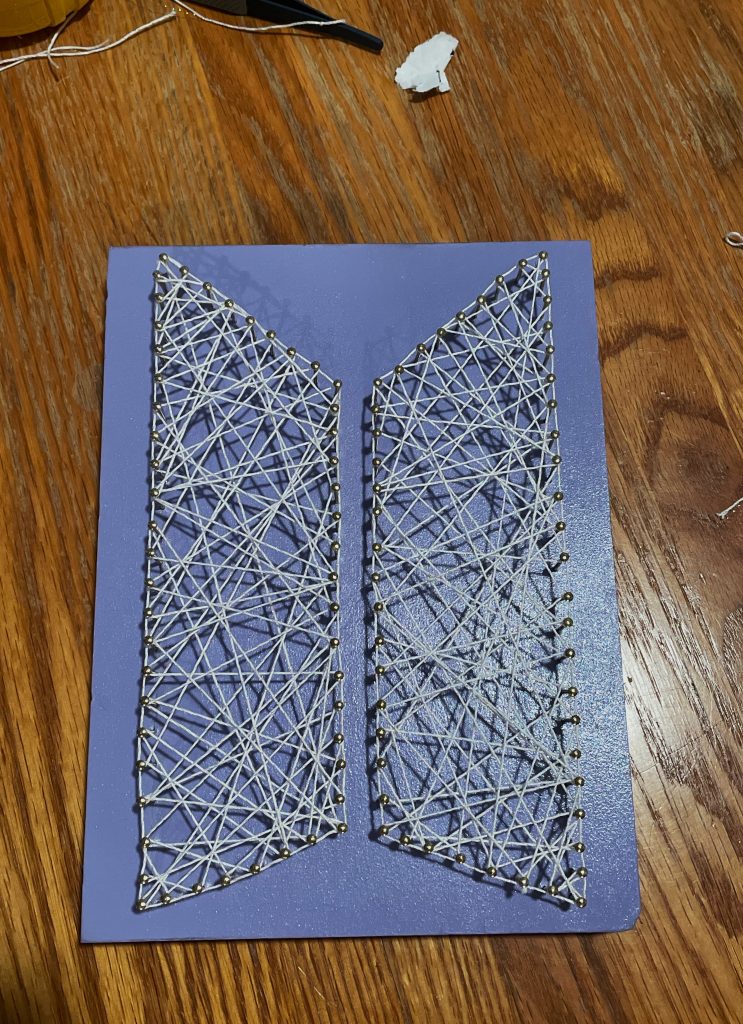
The way you string your logo is really up to you. I’ve employed a few different methods over time on different string art projects. For the BTS logo, I didn’t want a uniform back and forth design, but more toward the geometric, random feel.
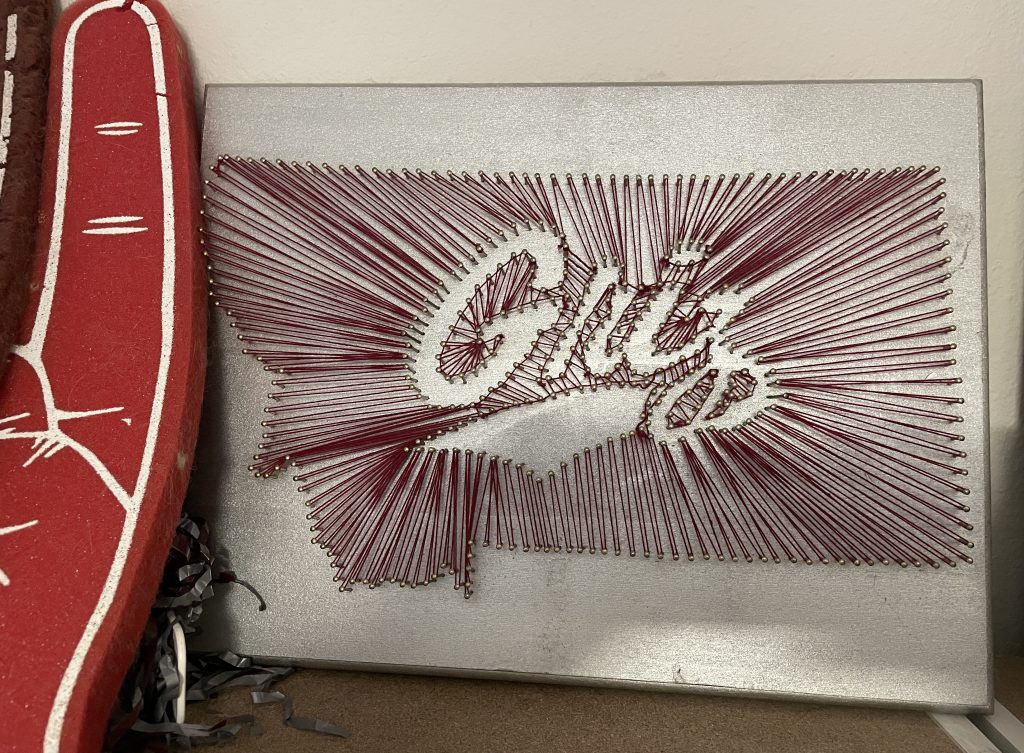

To do this, you want to work both in diagonals and horizontal lines between the four lines of nails. I shied away from doing any pure vertical lines. Gently guide the string from your first nail to the next and loop it around that nail before moving to the next. You’ll want to make a taught line but be careful of how tightly you pull on the string as you go, so as to not bend or move the nails out of their holes.
If a nail does move, you can nail it back in, though you may have to nail it further in the board than your other nails.
As I strung my piece, I liked to define the outline by randomly stringing the thread between two neighbor nails on the outside edge. I don’t suggest doing many of these in a row, but tossing them in as you go.
When you’ve finished one half to your liking, tie a knot around the nail you’re finishing on, double knot it, or even triple knot it, and then cut the end close to the knot.
String the other side in the same manner and then you’re done!
If you want to hang your BTS logo string art (and you didn’t add the hooks before), you can use a sawtooth hook set to make your art mountable.
For the 8×6, I think just one in the center works. For larger pieces, I use two. You can use a ruler or measuring tape to center it, or if you used guides to place your logo, you can line up the hook with the center of the logo.
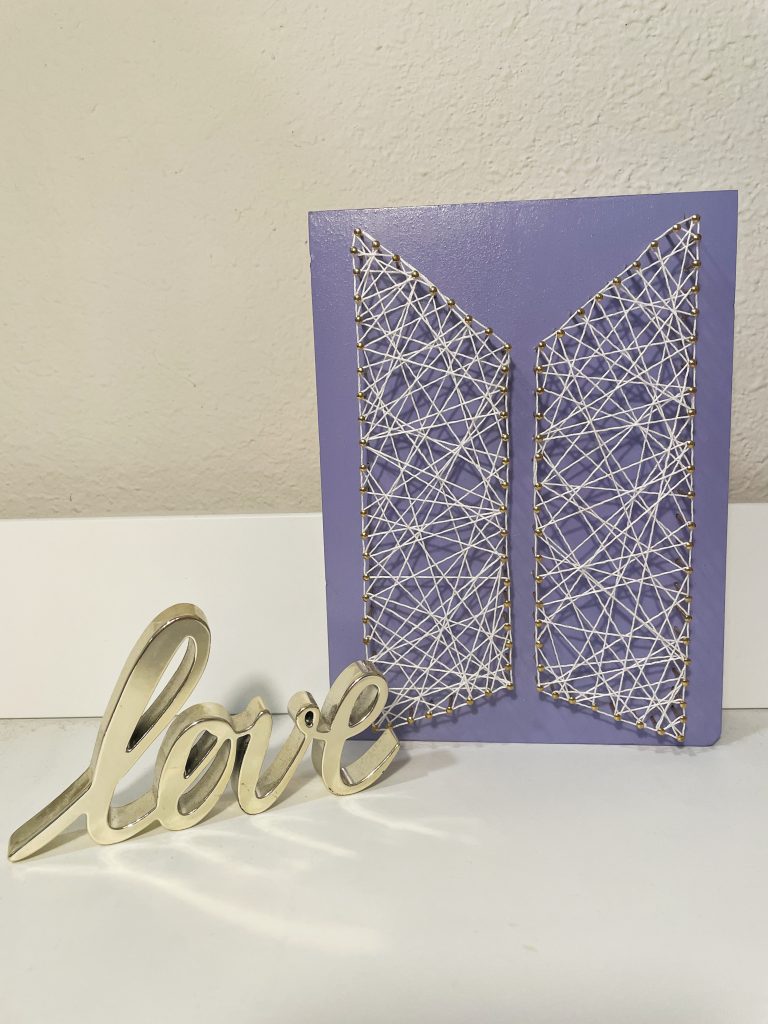
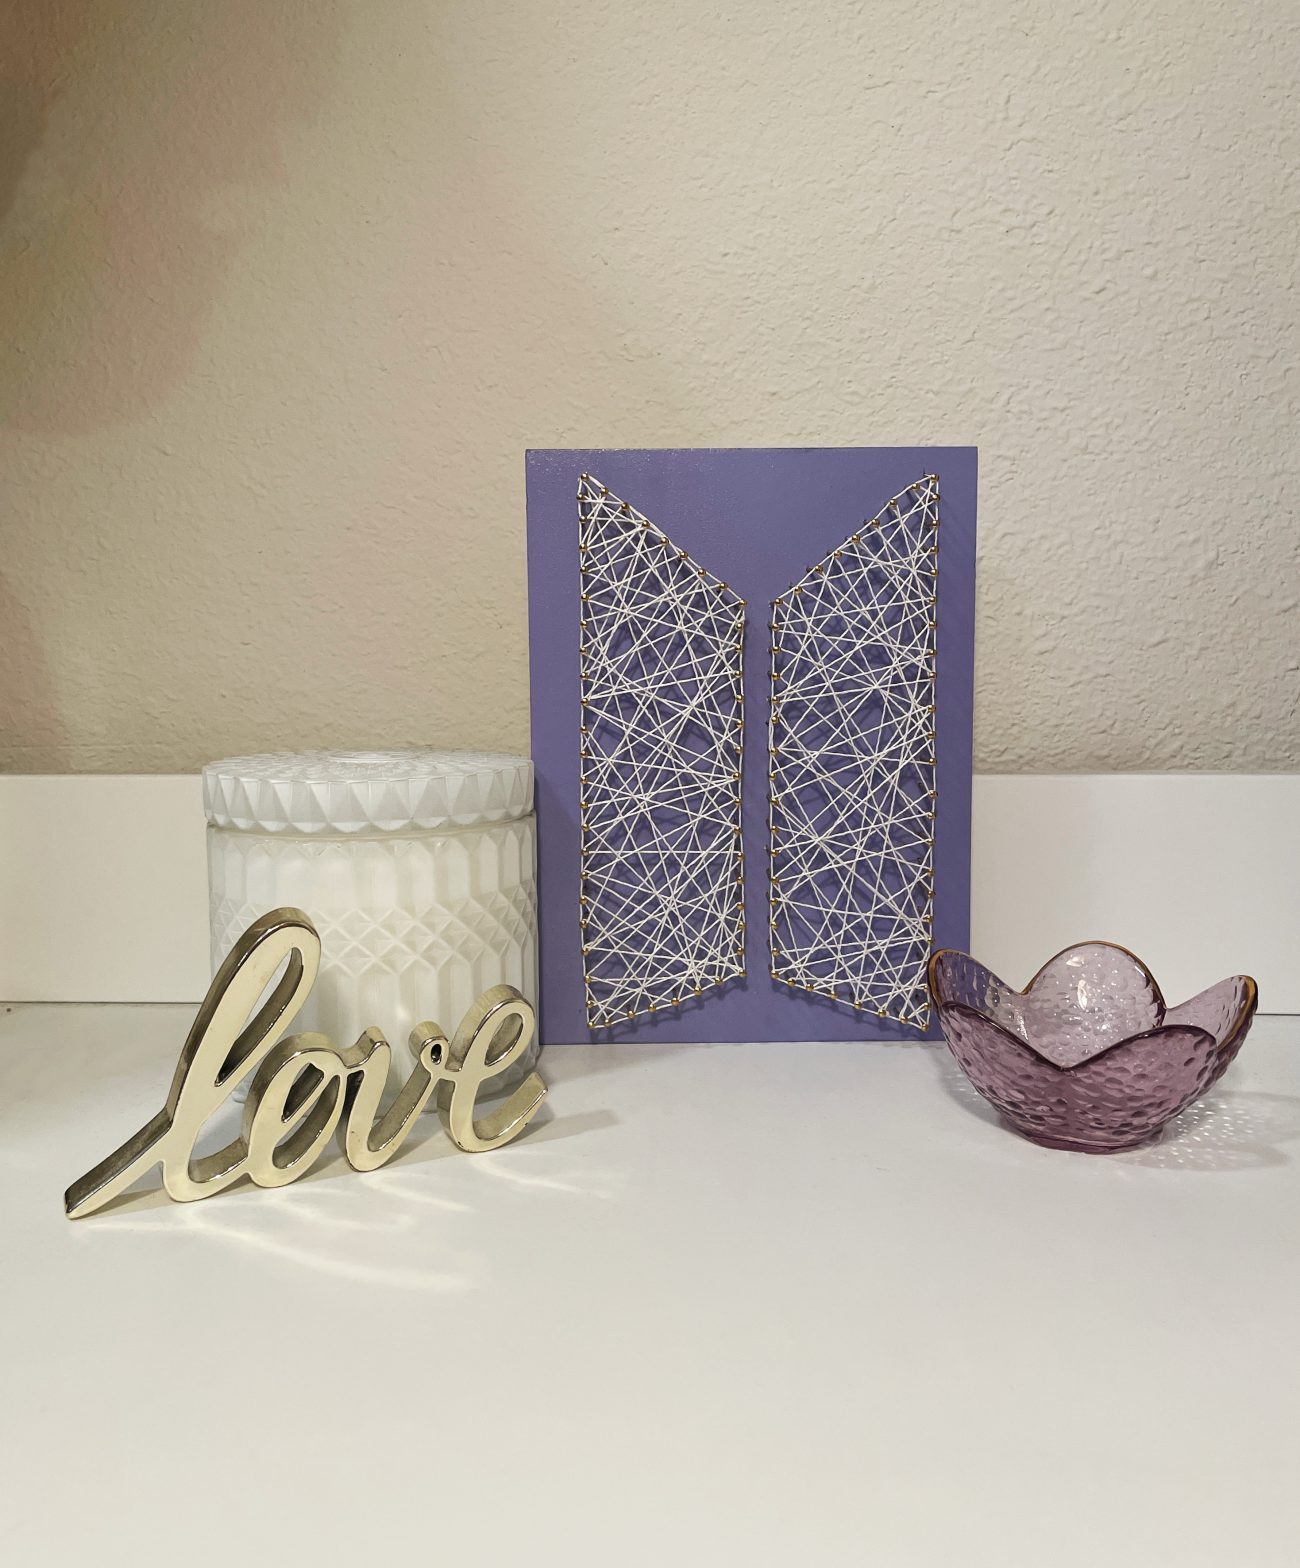
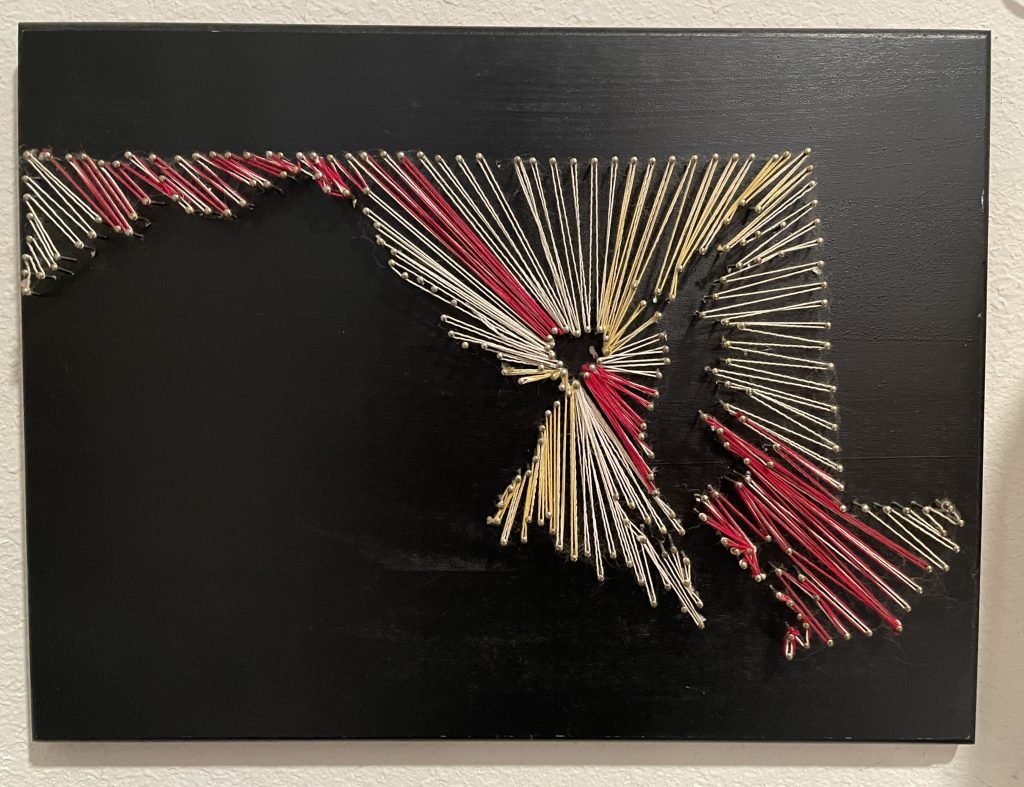
And there you have it! A BTS logo string art.
Let me know if you try your hand at this project and how it went for you! There’s a little spoiler in this post about something else I’ve been working on 🤭 I hope to have it done soon. (After I recover from COVID) See you soon!