I get excited every time a BTS member releases a new song. What ARMY doesn’t? And the single CDs they sometimes drop to accompany a single are one of my favorite, fairly inexpensive, merch-adjacent items. Some of you are so quick purchasing them! I am so slow and don’t always get the single before it sells out, but the ones I have managed to snag are so precious to me. (If anyone wants to send a Neuron my way… 😅)
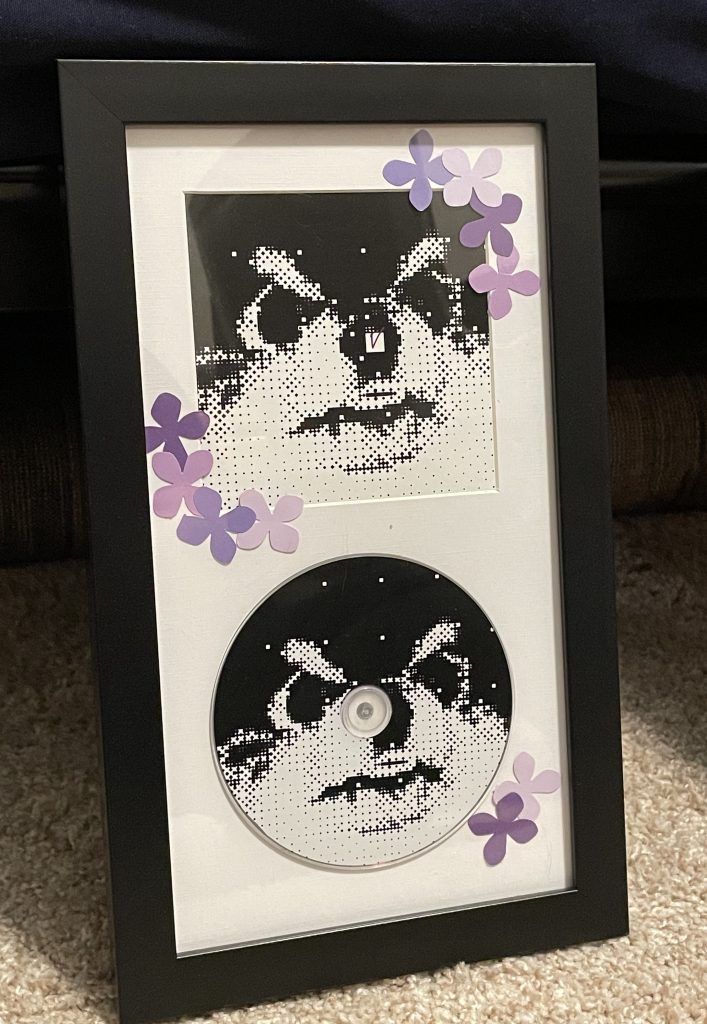
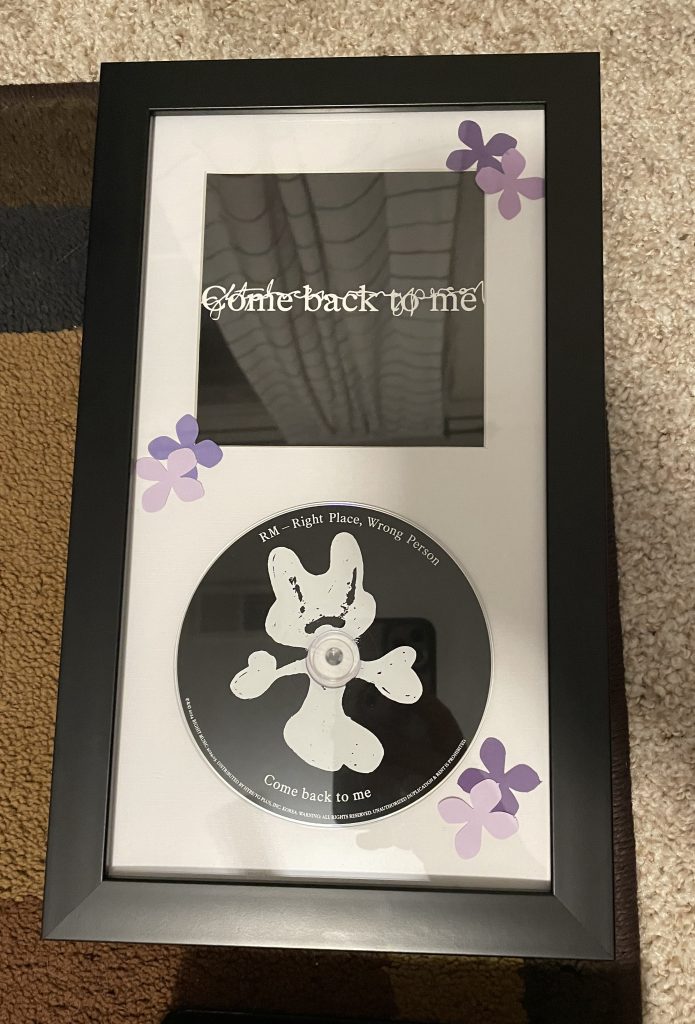
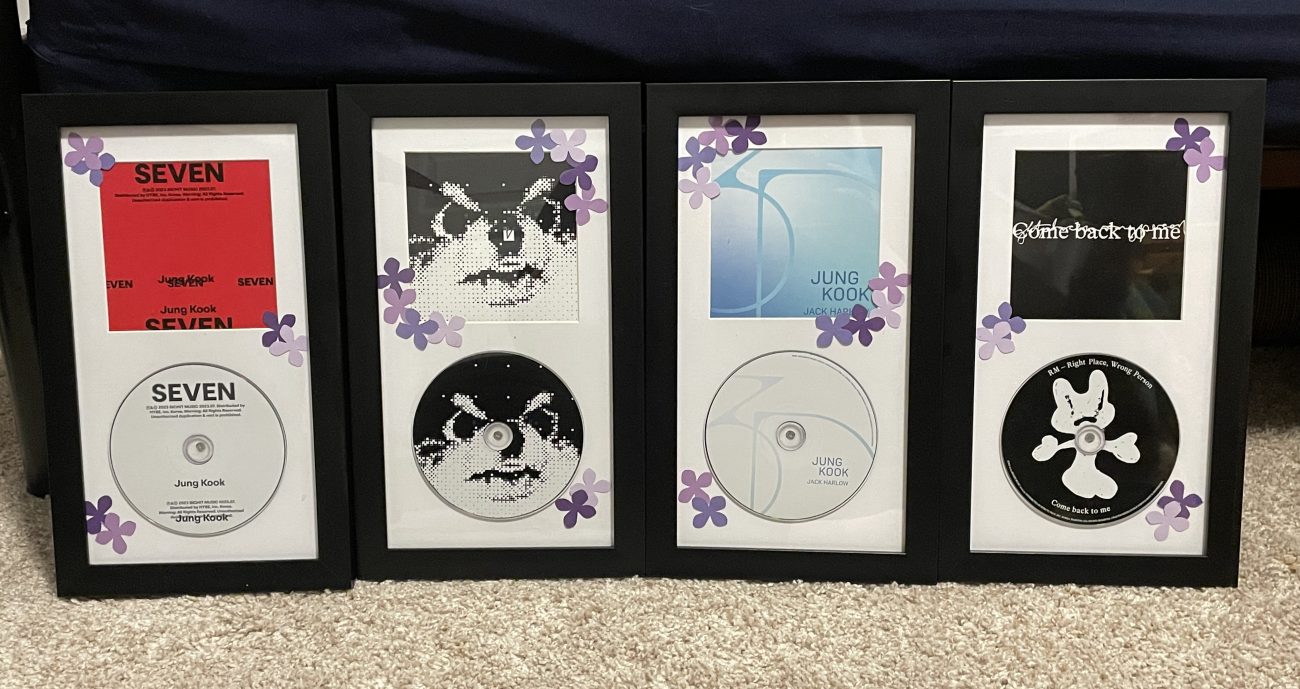
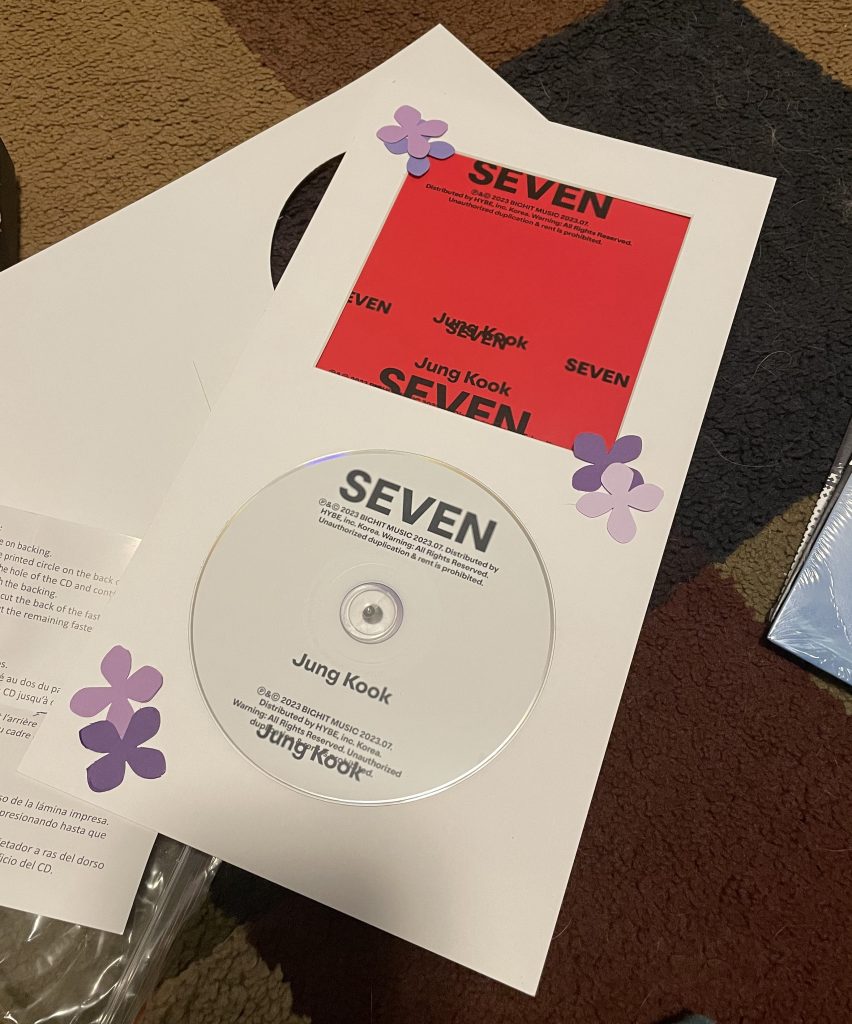
For a while, I was pretty content to display them on the bookshelf and then switch one out for the newest release, but I had been dreaming for a while of a way to display my favorites in a more permanent fashion. So after the smallest amount of research, I decided on these CD frames from Michaels (though I’m sure you can find similar frames from plenty of retailers!). I liked them because it has a place both for the cover art and the CD itself AND it was plain. Normally, plain isn’t a great attribute to have, but the amount of white space in these frames really let me explore how to decorate them.
Now, my decorations are pretty novice but I am happy with the way they turned out. And there is still a lot of room for more ideas as I gather more CDs!
If you wanted to explore a similar display here are the tools I used:
- These frames from Michael’s. I suggest using a coupon or waiting until they go on sale because $12 per CD can get a little pricey.
- Double stick tape or scrapbooking adhesives like a taper runner or glue dots.
- Scrapbooking or construction paper in your color of choice. I used this purple collection.
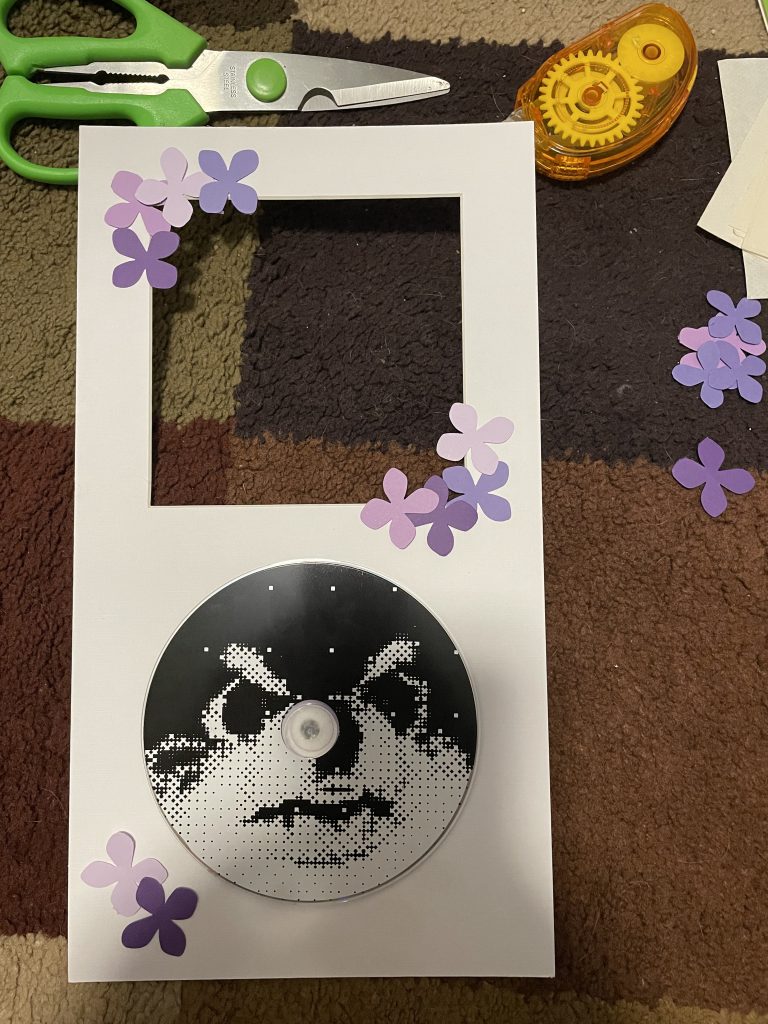
- Scissors and a shaped paper punch. I used a hydrangea-shaped punch but you can use any shape you want.
If you read the reviews for the frames, a major complaint was that the CD does not stay in place and while I found this to be true, I have accepted that I will likely never play these CDs, and I used my adhesive to stick them in the place I wanted. I found it was also best to stick the covers in place as well to avoid them falling when attaching the backs. To avoid the most damage, I put the white portion against the backing to mark where the window was on the back and then taped the cover to the backing.
With every project you do, I suggest mapping out, generally, how you want it to look before you start using adhesives. I, personally, like to try out a few different iterations before committing to one design.
My advice is to take a photo of how you like it best, so you can always return to that design. This also helps if you’re working in layers.
Unfortunately, I haven’t had a chance to hang my displays yet. I plan to move in the next couple of months and I didn’t want to put nail holes in my apartment walls I’d have to repair in just a month or two. But you can bet once I get the space, I am going to have a dedicated BTS wall. It’s going to have it all: CD displays, an enamel pin board, framed photos (the Monochrome photos!!!), and a project or two I’ll share soon.