Since the moment I watched the making video of BT21, I’ve been in love with Tata and Van. I mean, our TaeTae really put his heart into the design and story. How could you not love them? That’s why when I started brainstorming ideas for Tae’s design, I just knew I had to make a Tata bookmark.
It’s been a little while since I posted anything on this blog — it has been a pretty busy time. I got COVID seeing Jin in Newark and it hit me like a truck. It took me down and out for more than a month. (I honestly kind of feel like I’m still recovering.) And then we moved across the country in September, took part in a friend’s wedding right after, got sick again and only now does it feel like we’ve really settled in.
I’ve also been super busy getting freebies ready for the tour! OH MY GOD THE TOUR!!! But as I’ve reached my first goal of 100 bookmarks and 100 bracelets, I figured it was time to hash out a tutorial to share.
While I do love Tata, it is also an added bonus that this Tata bookmark is a super simple design and one of the quickest for stitching. It is also pretty beginner friendly, with only basic stitches used.
If you’re new here, or to embroidery, please check out my introductory post about what you’ll need to get started. And if you want to know more about how I decided to start embroidering bookmarks, feel free to read about it here.
Let’s get started.
Downloadable Pattern & Guide
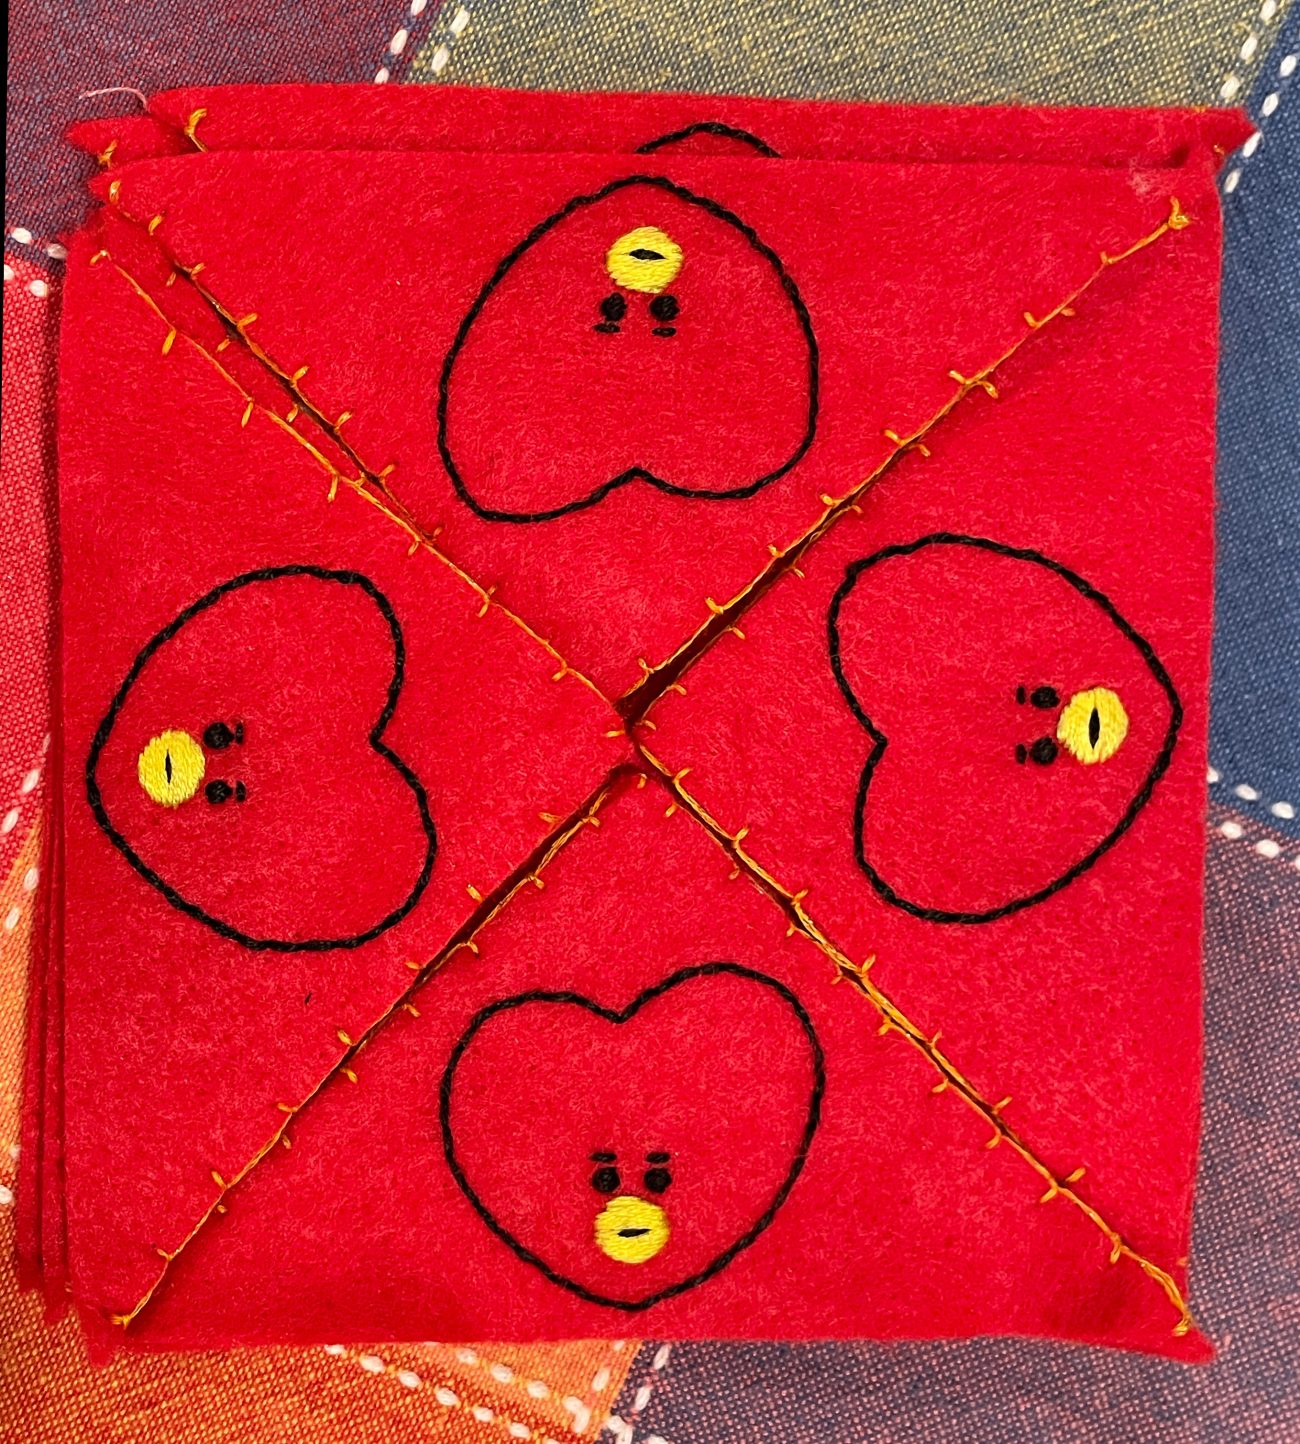
One thing I really love about the Tata bookmark is how it uses the color of the felt to it’s advantage. You don’t have to use thread to fill in the color of his face, but instead only to outline it and add details.
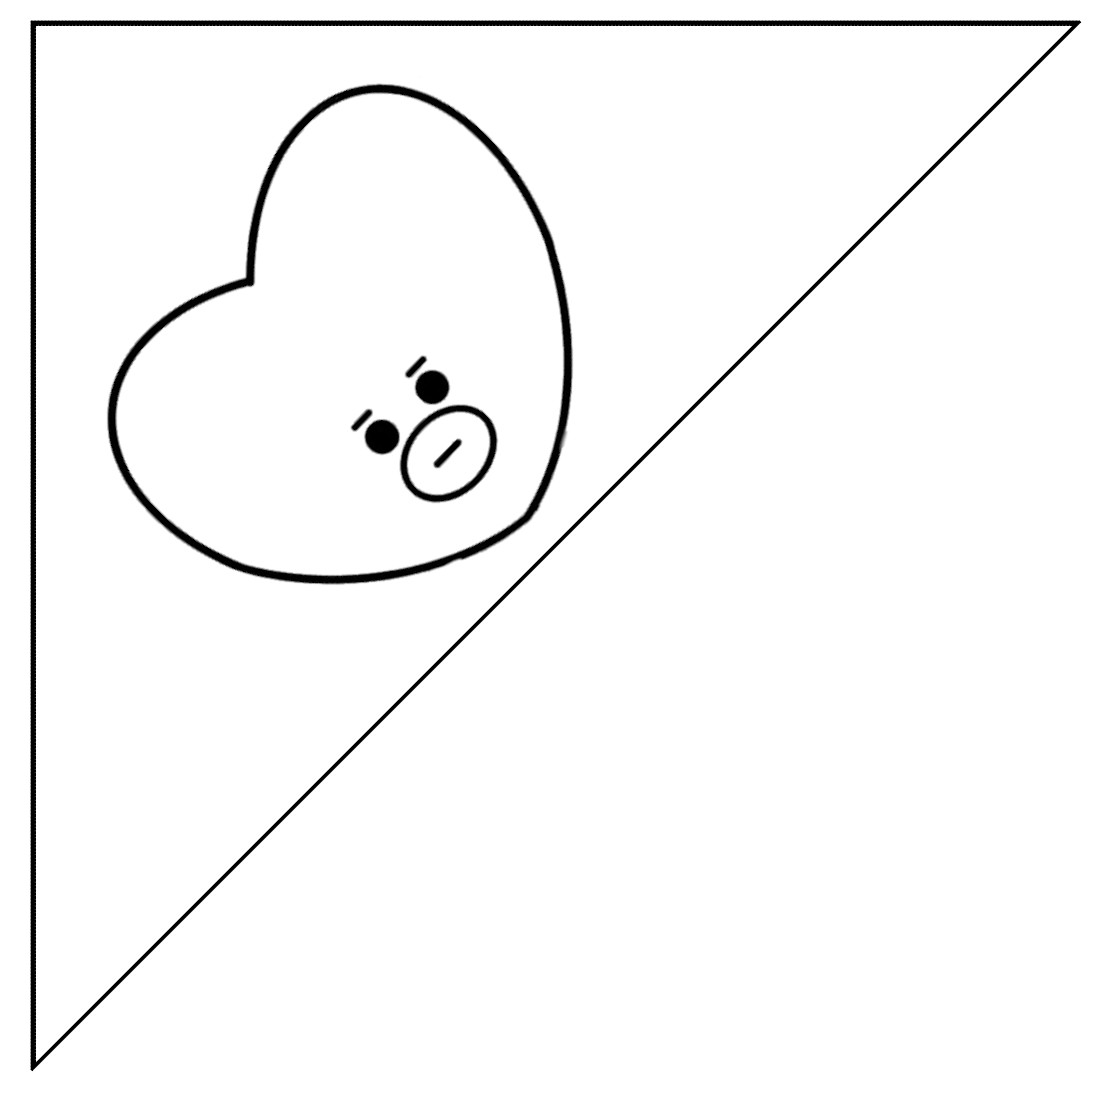
In this section, I’ve provided a PDF of the color and stitch guide, so that if you are a seasoned stitcher, you can make your own Tata bookmark without a step-by-step tutorial.
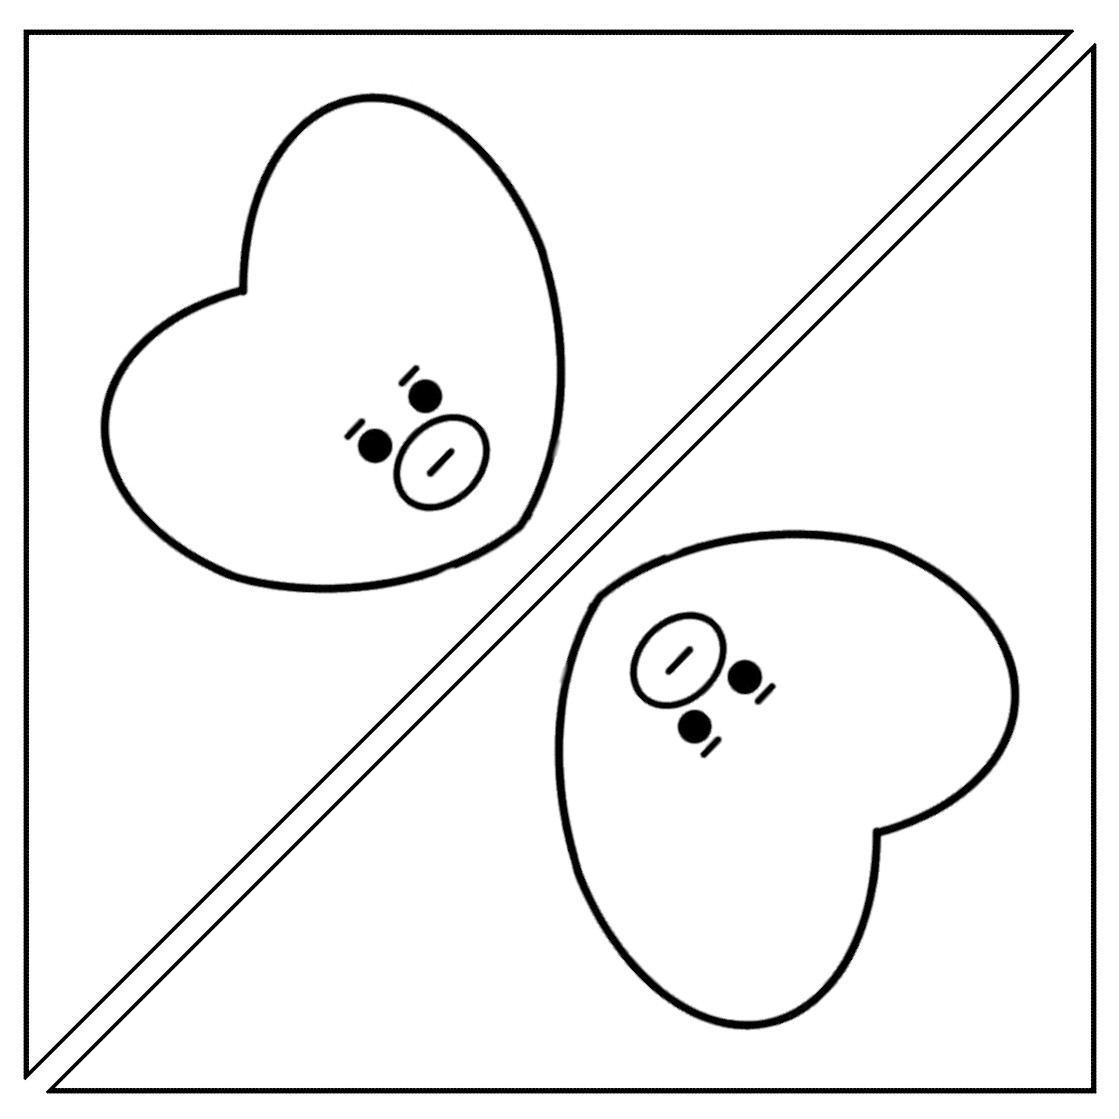
I’ve also included several file variations of the pattern so you can use it however you want. There is both a singular pattern and double one in case you want to make multiple.
XCF files are specifically for the free image processing program, Gimp, where you can edit how you please. Jpegs and PDFs can be used anywhere.
Tata Bookmark Step-by-Step
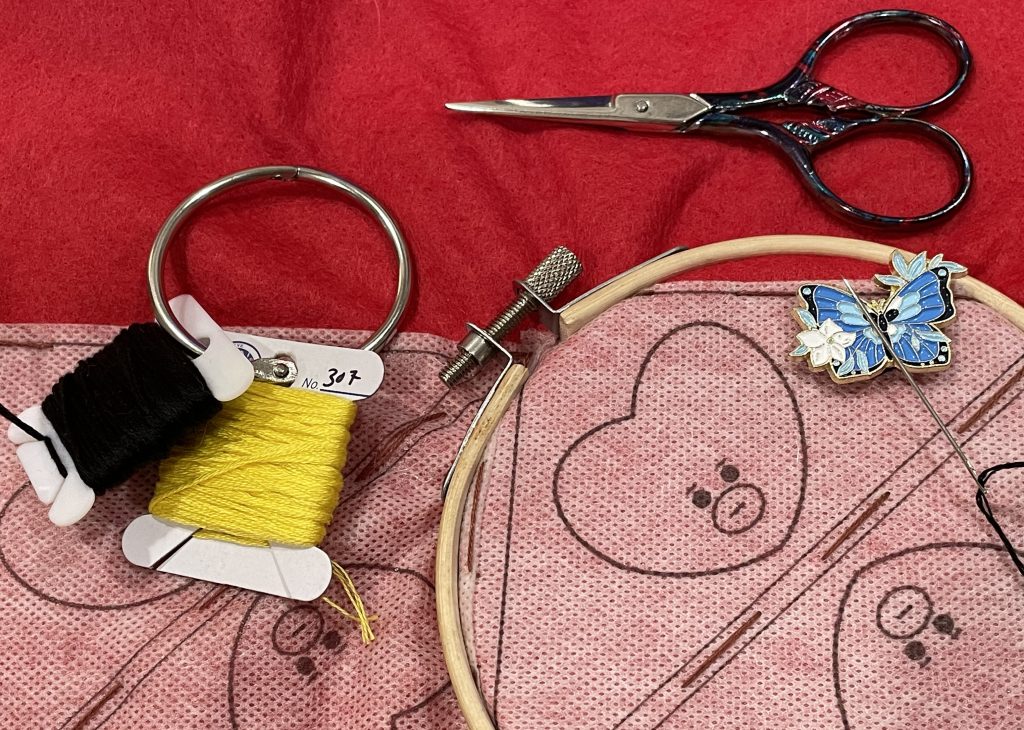
Materials
- One of the patterns provided
- DMC embroidery floss in DMC 310 and 307. To color match to another brand, you can use this website. Or you can use this website to convert the thread color to RGB values to find the closest match in another brand.
- A transfer method. I use wash-away stick ‘n stitch for all my bookmark projects.
- If you go this route you will need a printer and scissors. I like to sew my pattern on for extra sturdiness. You will need extra floss if you would like to go that route as well.
- To wash away the pattern, you will also need warm water. (I also use a bowl and a metal chopstick)
- Medium-sized needles (5, 6 or 7).
- Embroidery scissors (or any small scissors) & fabric scissors
- An, at least, 4-inch hoop, if you want to use a hoop.
- At least a 4-inch x 4-inch piece of felt. The bigger hoop the you use, the more felt you’d want.
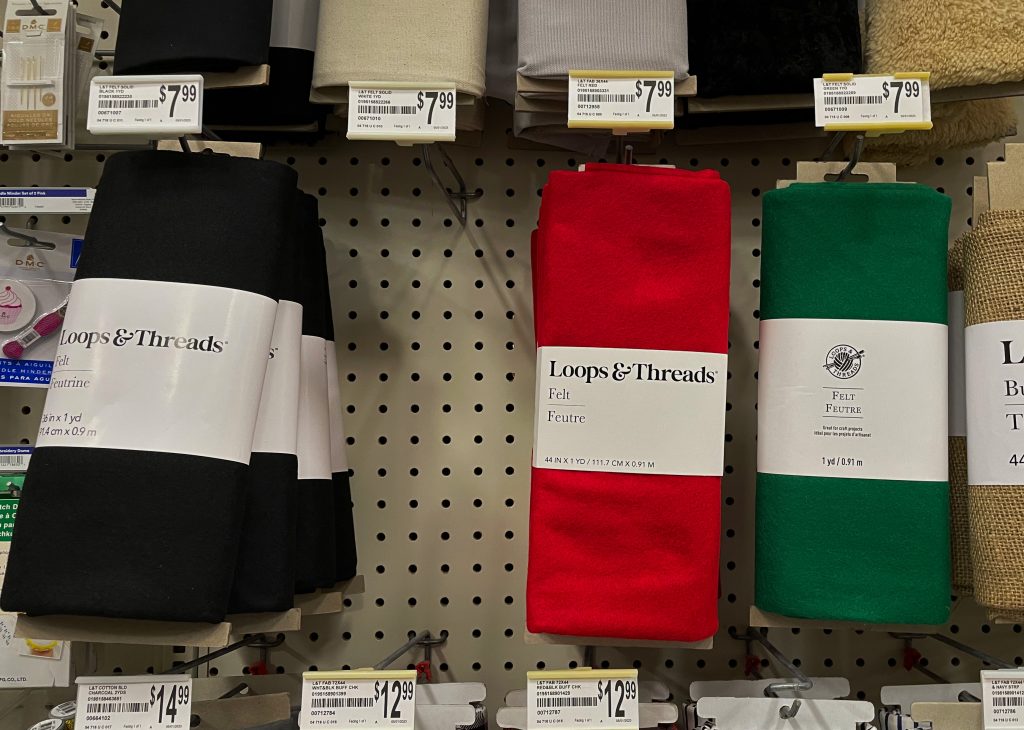
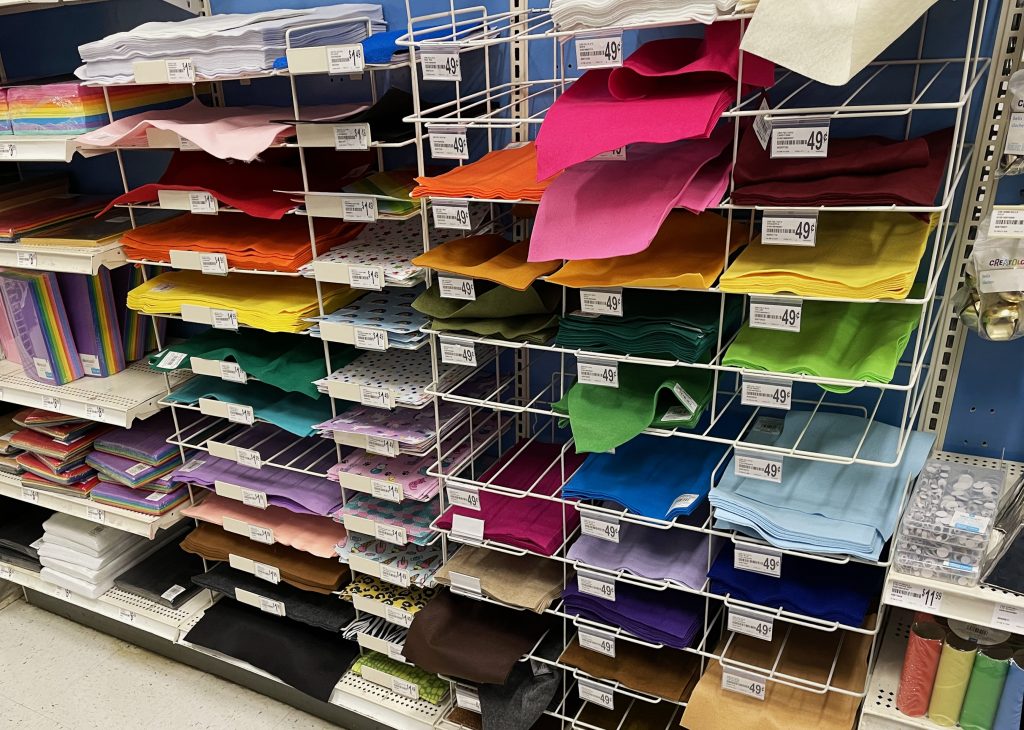
I use a standard red shade felt for the Tata bookmarks. I get my paper-sized sheets at Michael’s in the children’s craft section. They also recently have started stocking a very limited selection of felt bolts, as well!
If you’d like a more detailed step-by-step of my bookmark prep process you can read my Golden bookmark tutorial at ‘getting started.’
Getting Stitching
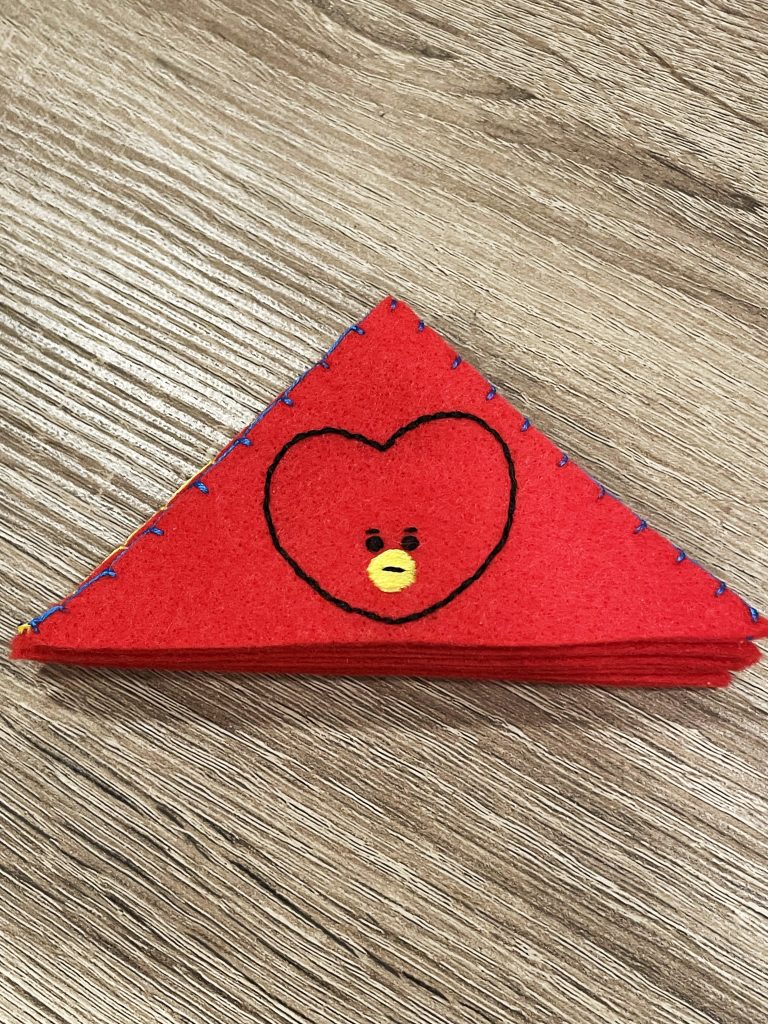
Once I have everything set up the way I like, I like to start the Tata bookmark off by doing the outline of his face. You’ll need three strands of DMC 310. Thread your needle with the floss and then double-knot the other end. Security of your first stitch is crucial, so I highly suggest double-knotting.

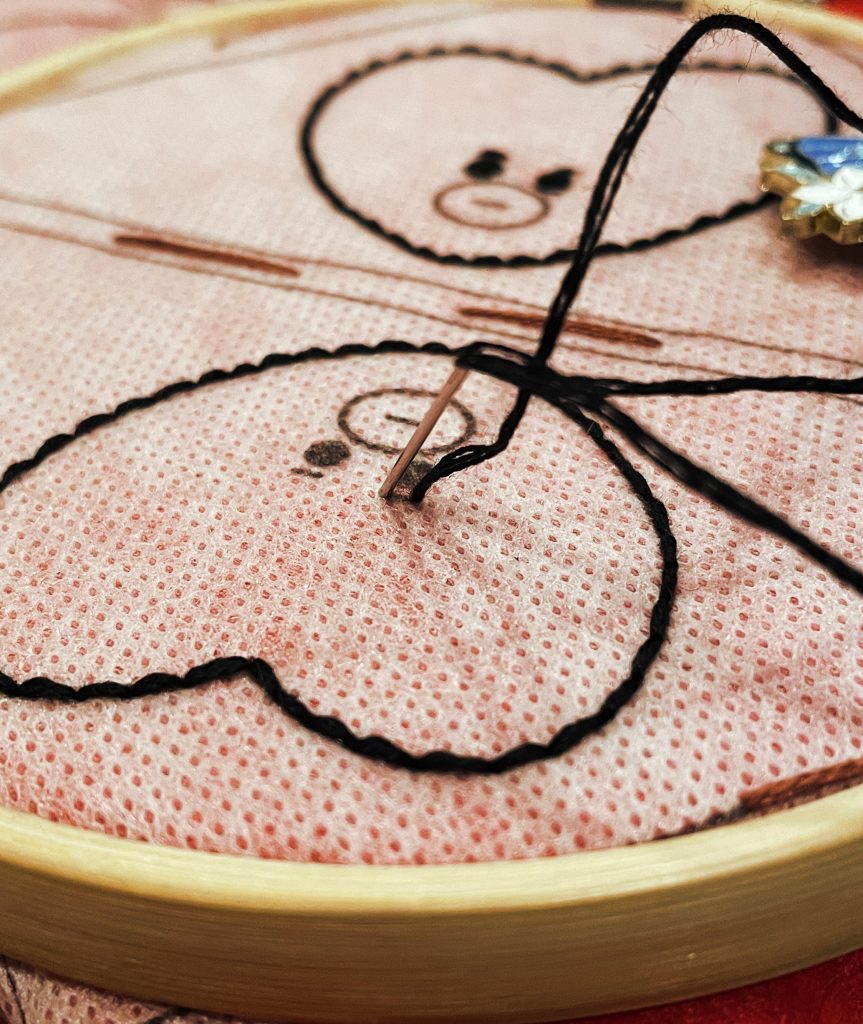
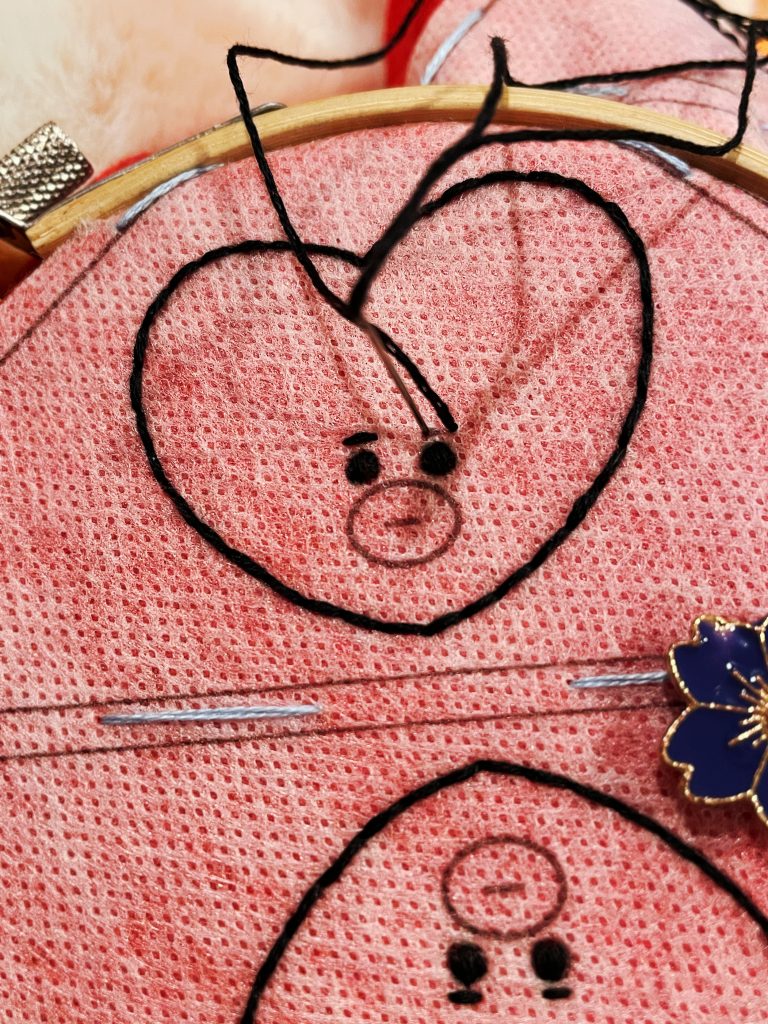
Use a simple backstitch to make the outline of Tata’s face. You’ll want to use smaller length stitches so that it is easier to follow the curves of head.
I like to start on the left side and work my way around, but it is just a personal preference.
Once you have completed his face shape, run your needle and floss a few times through the stitches on the back to keep it in place and then snip your thread.
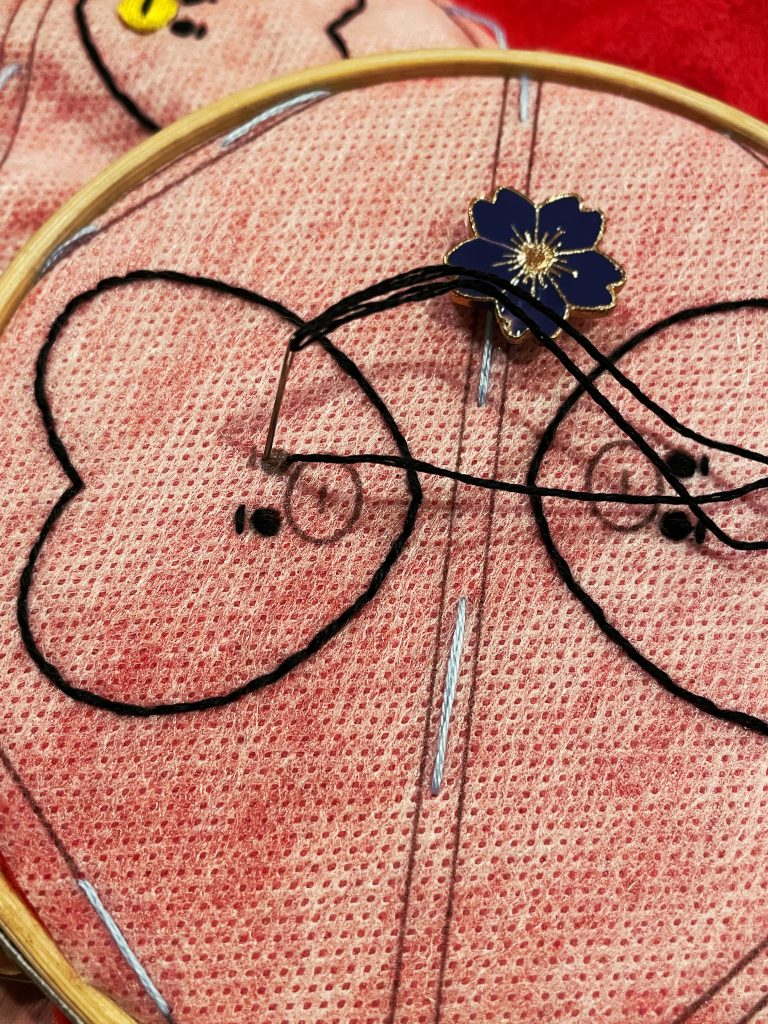
Re-knot your floss and use the same color and amount to straight stitch Tata’s eyebrows. We want the face details to be dethatched from the outline so that book pages do not get stuck in any connecting floss.
I like to do one eyebrow, then vertically satin stitch the eye below it, then move to the next eye, then the final eyebrow. You could just as easily do each eyebrow and then move to eyes.
Once you’ve finished vertically satin stitching the eyes, secure the thread, cut it and set aside any floss left over. We’ll use it for the mouth detail later.
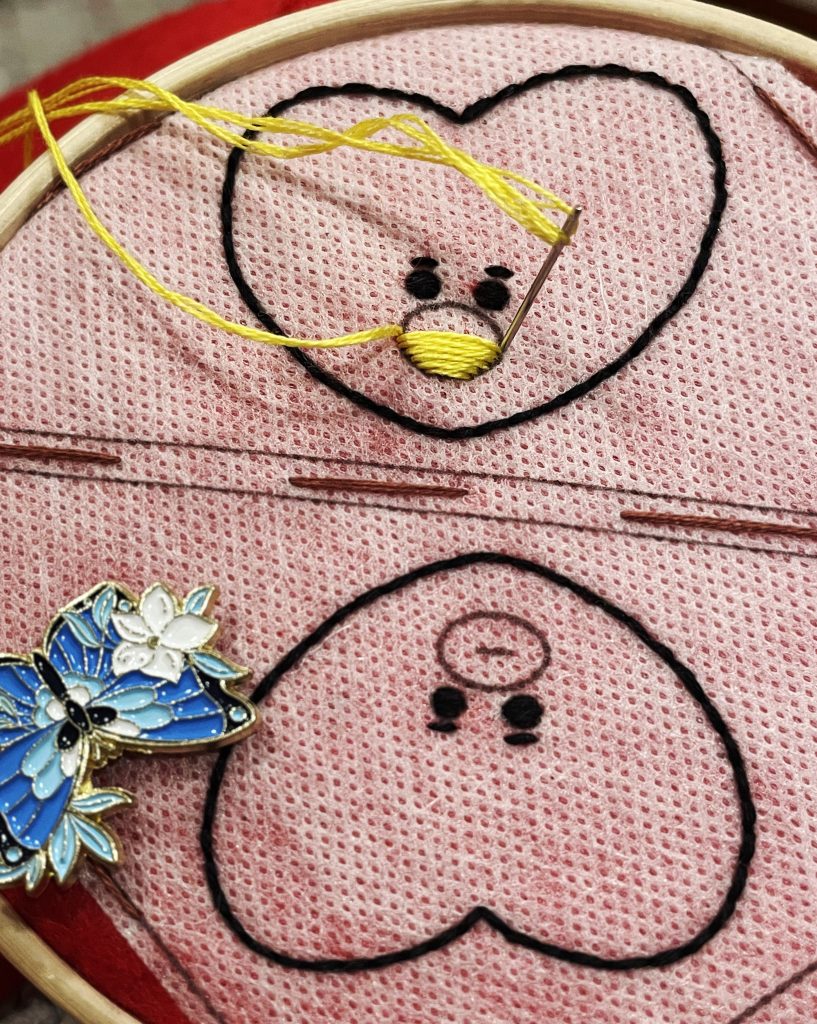
Next use 3 strands of DMC 307 to make Tata’s mouth. Horizontally satin stitch the oval. He may look a little strange at this point— a little like he has a beak— but that’s okay.
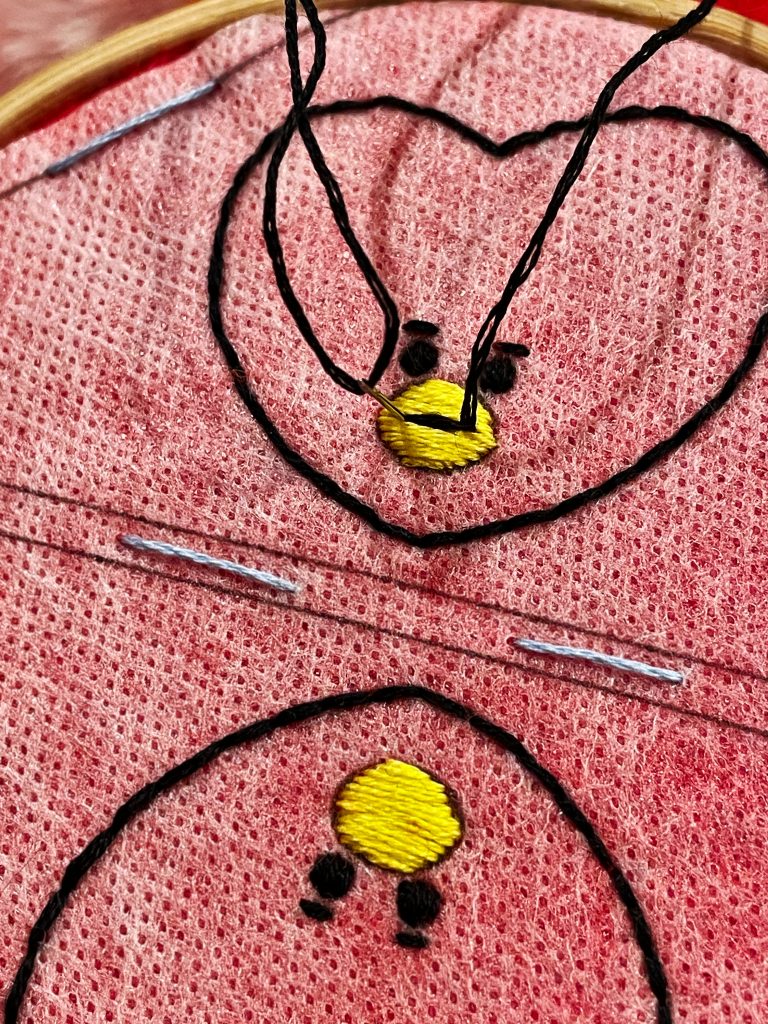
Finally, we’ll take back up the three strands of DMC 310 and straight stitch a small line in the center of the mouth. Then stitch the same line again just to give it extra definition.
If you wanted, you could use more strands (5 or 6) to give fuller definition to the line of Tata’s mouth with just one straight stitch. I haven’t tried it but I’m sure it would work as well.
Cleaning Up & Assembly
If you cut out bookmarks before embroidering, didn’t use a wash-away transfer method, or you’ve followed one of my posts before, you can skip ahead to assembly. The next several steps follow my bookmark process post-embroidery.
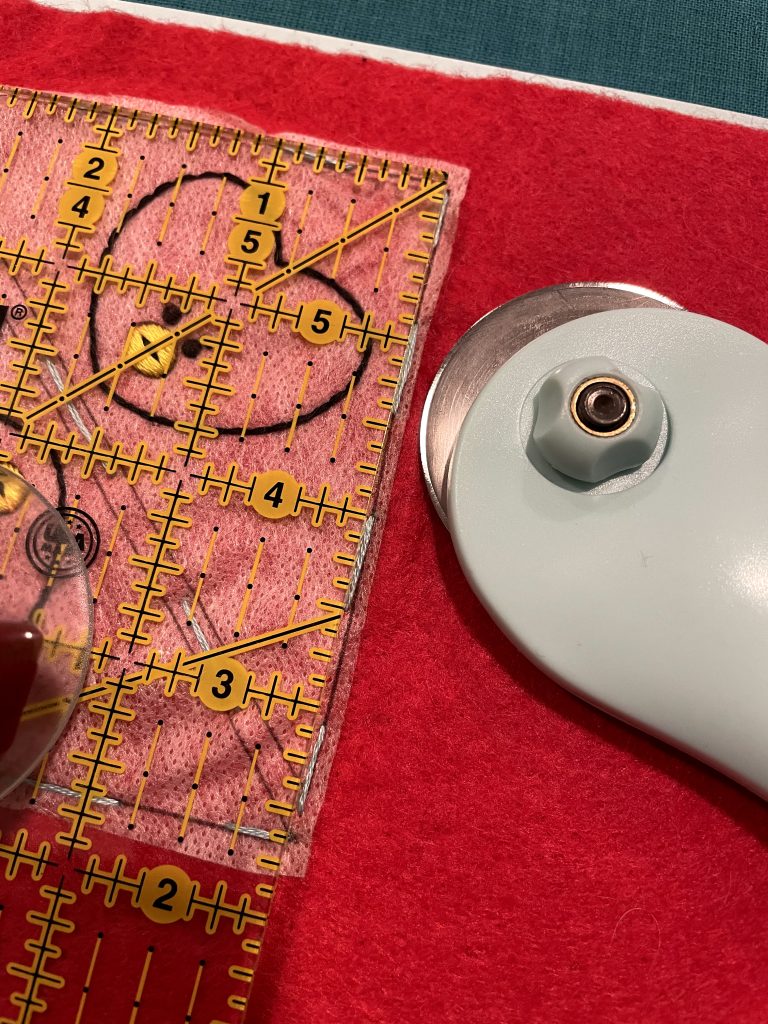
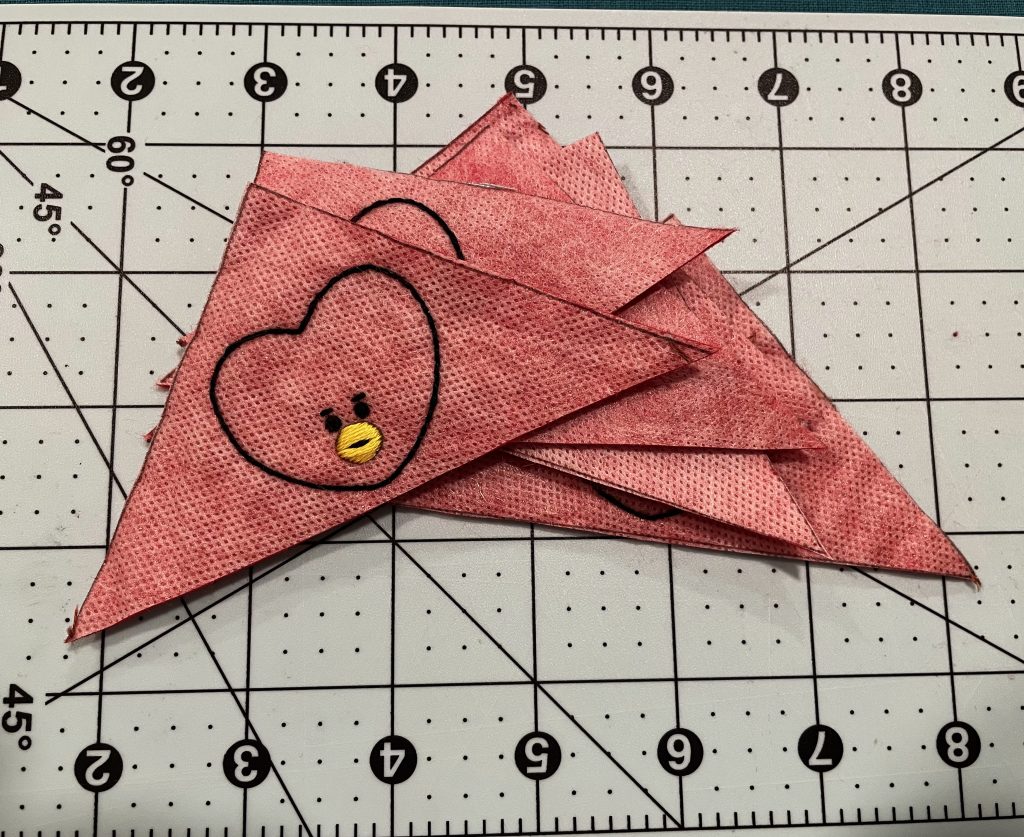
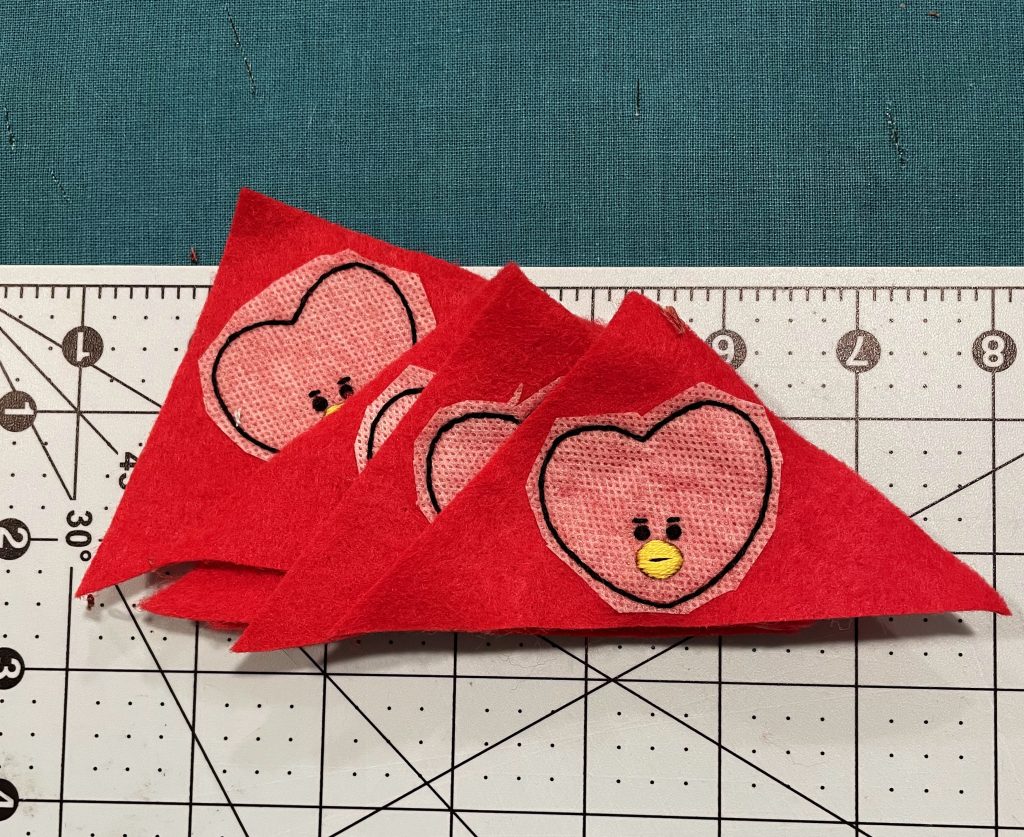
Cut your finished Tata bookmark from the rest of your felt. I use a straight edge and a rotary blade on a cutting mat.
After cutting the bookmark, I like to trim away large portions of blank stick n’ stitch so that the cleaning process will be easier. Though, sometimes the adhesive is really sticky and can damage the felt if forcibly removed. In that case pre-trimming can sometimes be ill advised and is up to your discretion.
Next, run the bookmark under warm water, scrubbing lightly with your fingers. I find cold water doesn’t work as well.
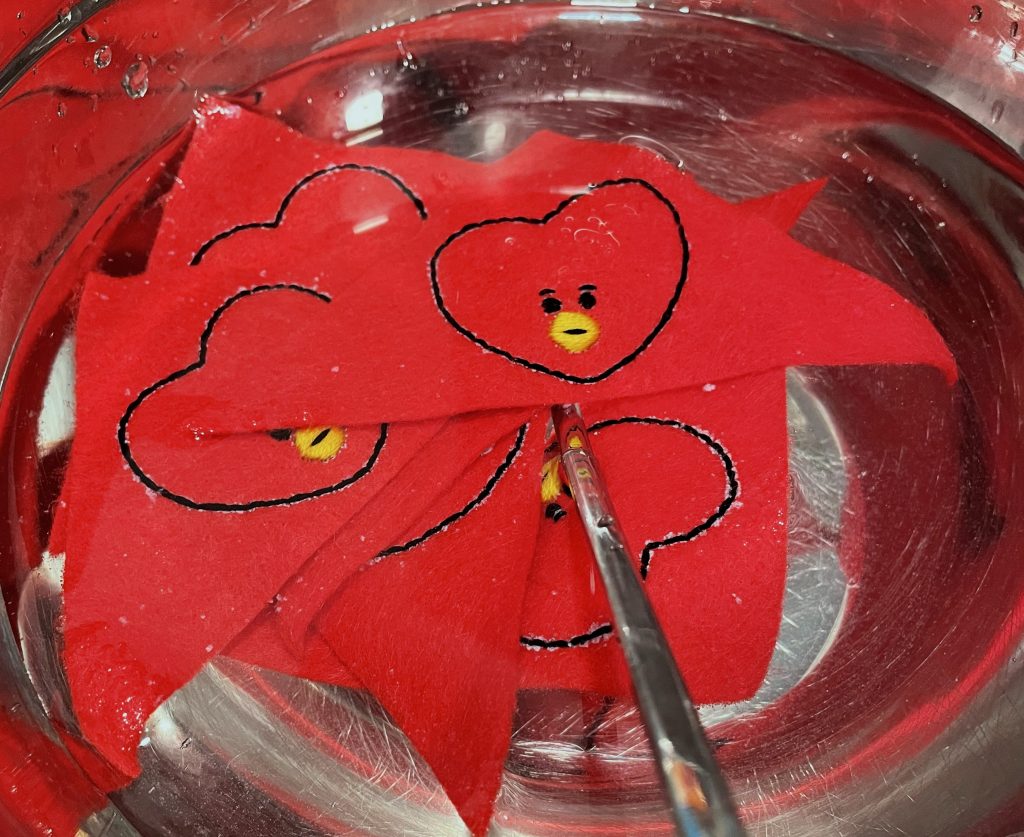
After that, I place my bookmark in a bowl of warm water and use the small end of a metal chopstick to be sure all the adhesive has washed away from the stitches. (Particularly in the small in-between spaces.) And to also reshape any errant ones. If the adhesive isn’t washed away your stitches may be crusty and hard.
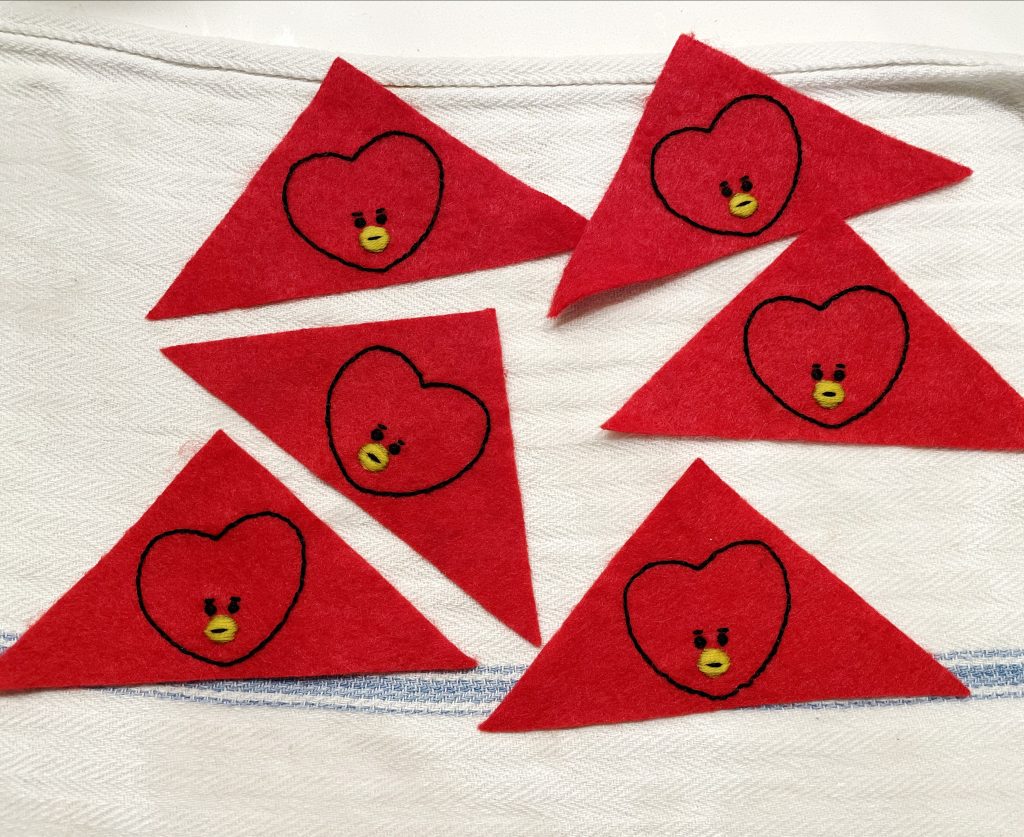
You can squeeze it in your hand or press them into a clean towel. Then lay it flat and let it dry completely. I let mine sit overnight.
For the backings, I like to use each bookmark front individually to cut out a back so that it will be the exact same dimensions. Place a front on the same color felt and use it as a guide to cut out the back.
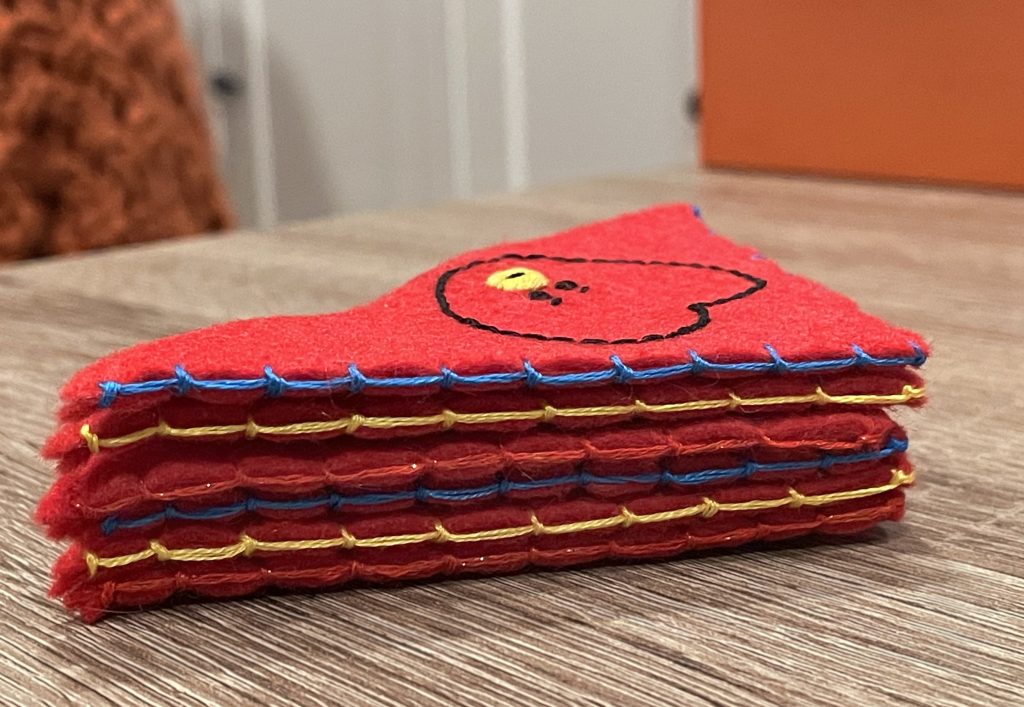
Now, we can begin assembling our Tata bookmark. Place the two sides together so that the back (the part with all the messy stitching) faces the inside and their edges line up.
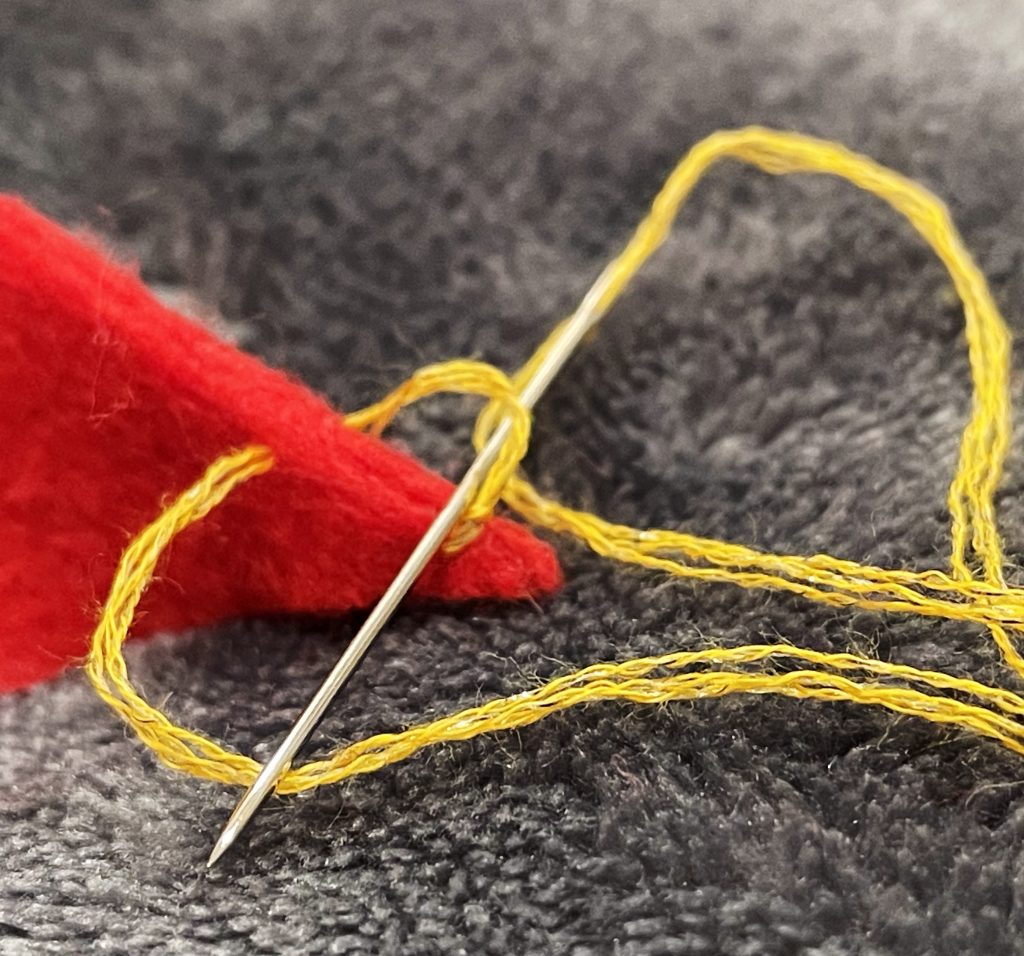
We’re going to use a blanket stitch on the edges of our triangles to sew them together. I am going to link a video that may work better for visual and audio learners.
Thread your needle with three strands of DMC 307. (You can also use a sparkly floss of either yellow/gold, red or a blue to allude to Tata’s polka dots.)
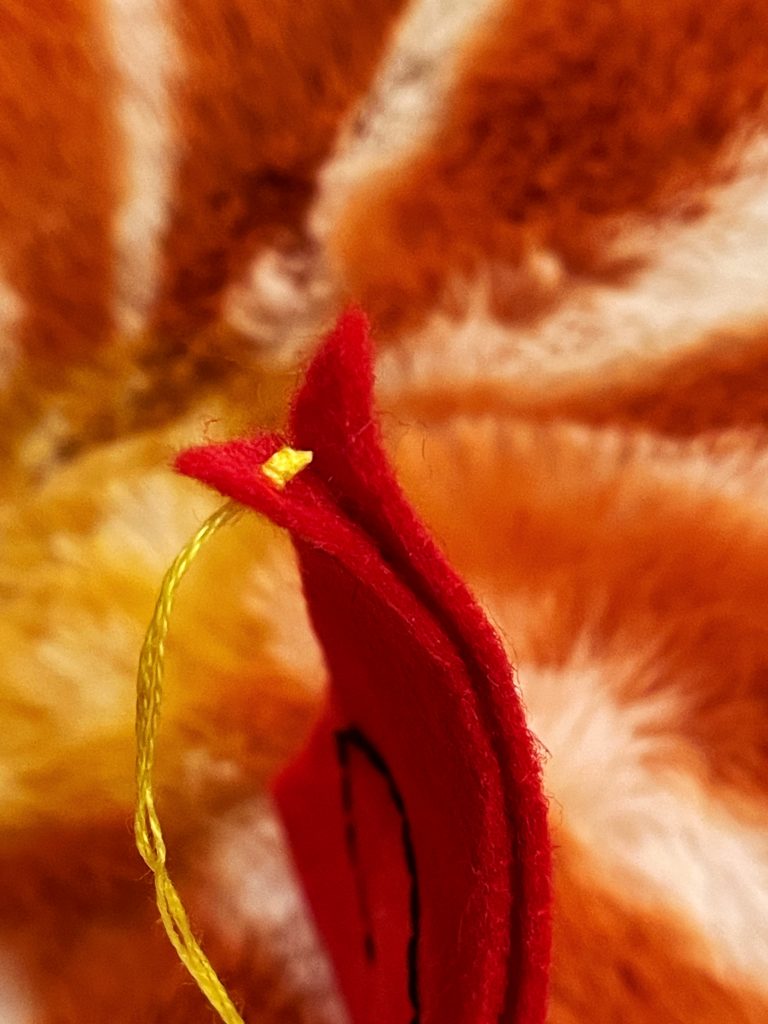
Then, push your needle through one side of the bookmark from the center. This will hide your knot in the middle.
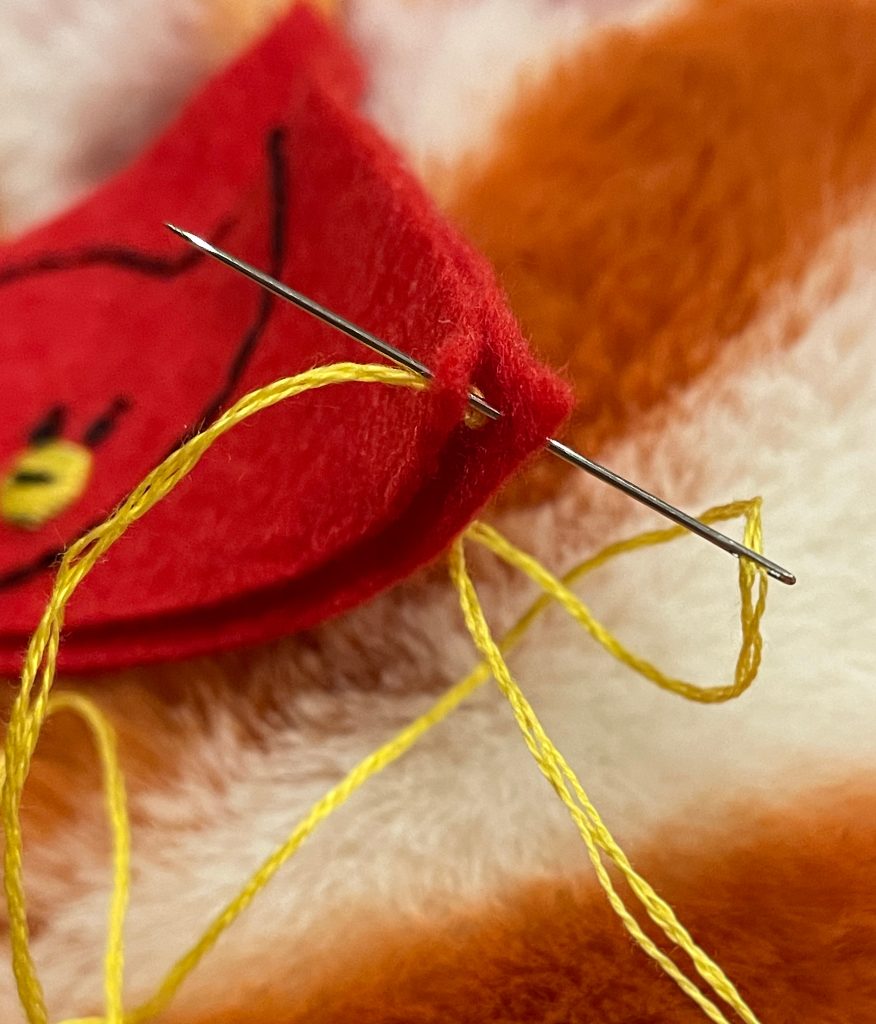
Next, push your needle through both sides, using the same hole as your first stitch.
Before pulling the stitch all the way through, push your needle through the loop you’ve created, then draw tight.
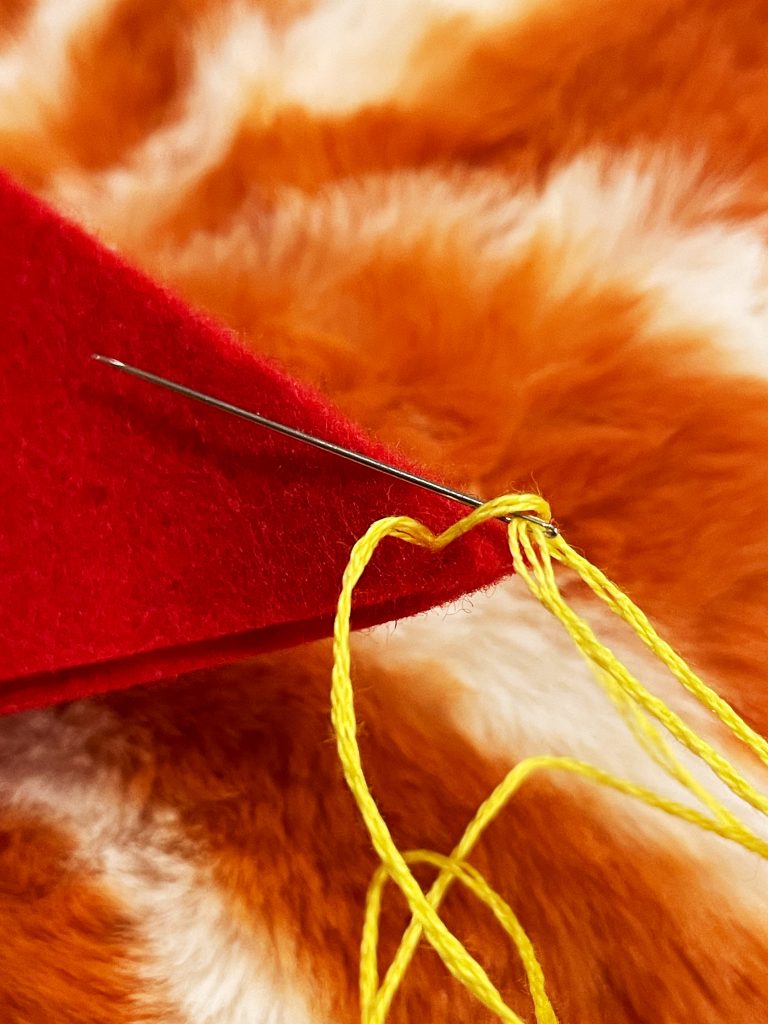
Move a stitch length down the edge, push your needle through both sides, and then bring the needle back through the loop before drawing tight.
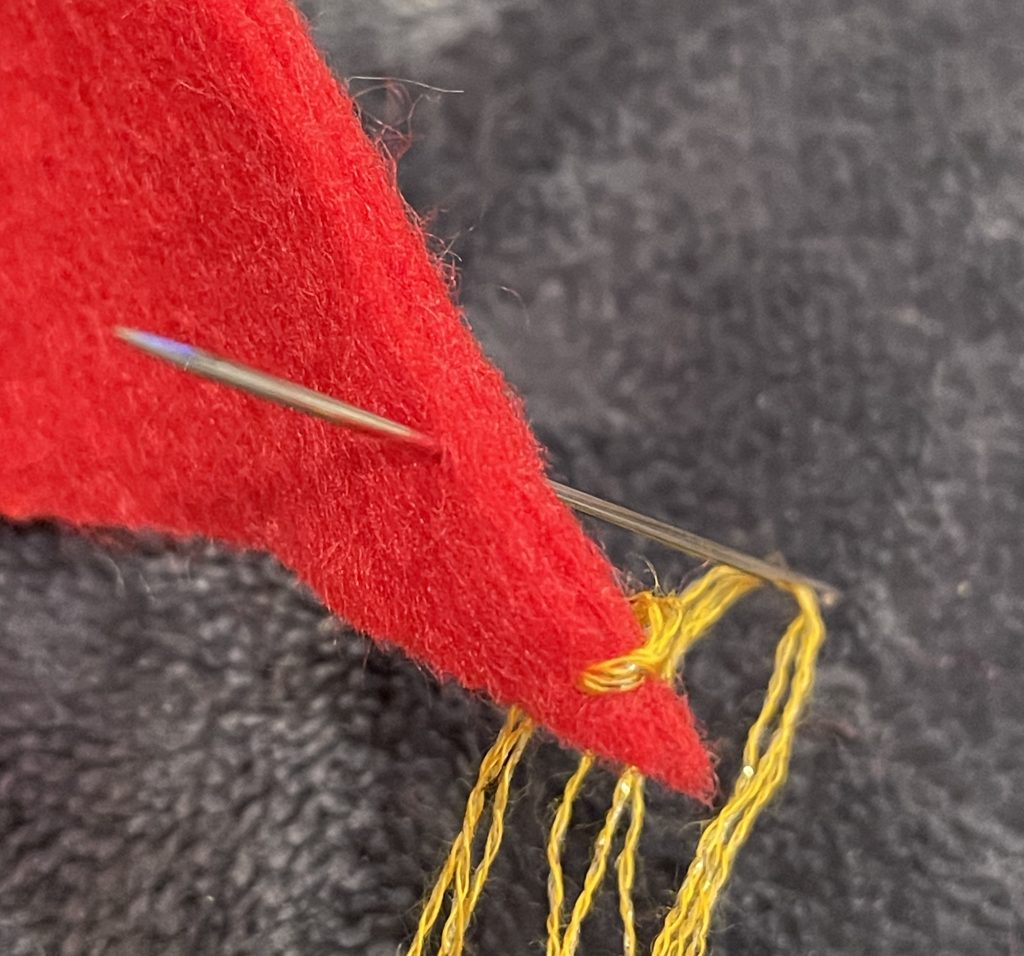
For a clean blanket stitch you want to always stitch from the same side as you go. I always bring my stitches toward the front of the bookmark from behind.
Once you’ve reached the end, make a knot over your last stitch and trim away the excess.
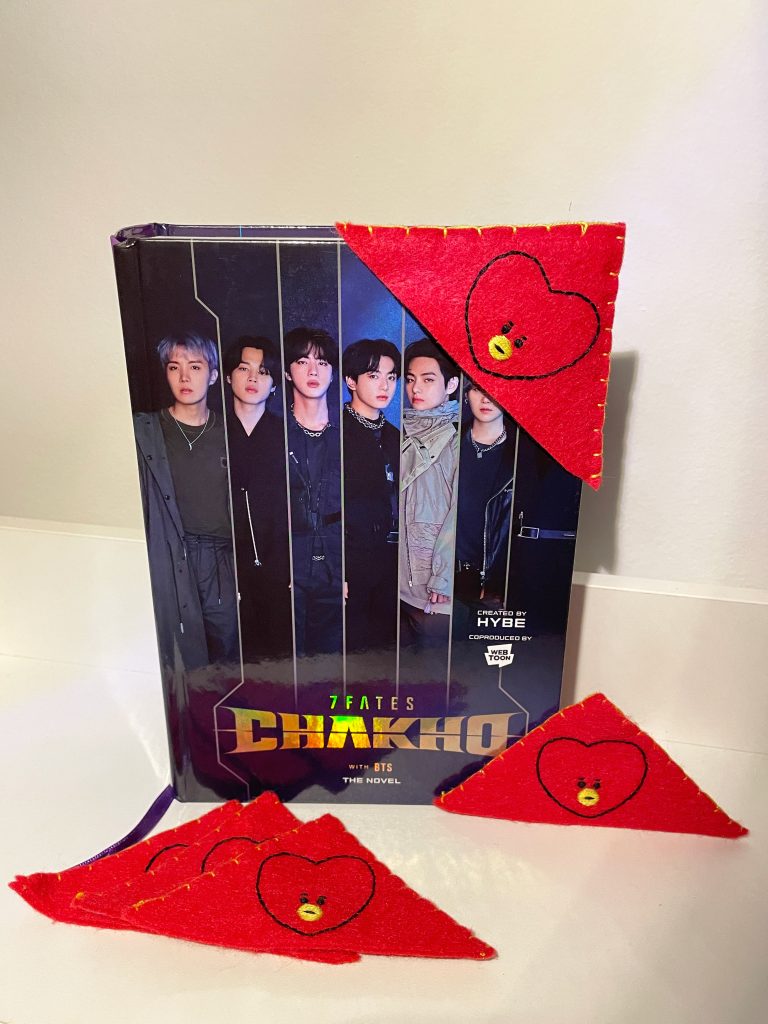
And now you have your very own Tata bookmark!
Please feel free to reach out with any questions; I’m always happy to help! If you want to share your completed bookmark, I’d be super excited for you to tag me on Instagram or X. Let’s be mutuals, too!
It’s still a while off, but I am going to be at both days of the tour in Newark and Chicago handing out bookmarks and bracelets, so let me know if you’ll be around. I may be at some shows in LA, too!
And if you have any requests for the next pattern I should share, let me know.
Happy comeback season everyone!!